


Searching for a compact, flexible and cost effective WiFi solution for our new project we came across Spark IO This tiny board met all our requirements and looked ideal for our application, however, it was ‘out of stock’ in many if not all online electronic stores. Best we could do was to ‘express interest’ which is really a totally useless thing. The only possible place to get it from was Spark’s own online store so after doing some considerations and failing to find something similar in functionality and price tag we decided to take the risk and order. The parcel arrived in less than two weeks and contained a neat box with Spark IO itself, USB cable and protoboard which was a pleasant surprise. Spark IO visually looked even more compact than we expected. After unpacking and quick visual inspection the next logical step was to try the board in action. The Spark’s website contains comprehensive documentation which describes setup process as quick and painless and it by the way turned out not to be the case. That is a typical ‘chicken and egg’ problem whereby in order to be able to control the board it has to be configured and in order to configure it there is a need to get control. The idea of using a mobile phone as a tool of Spark’s initial configuration is great on the surface but hopeless when something goes wrong or when there are more than one Spark core awaiting configuration. Ironically, the fallback plan that is intended to help with configuration hurdles is just not good enough. Let’s have a closer look at potential difficulties with board’s first connection.
In order to get configured, Spark core a) has to be programmed with valid WiFi settings to get Internet access and b) has to be ‘claimed’ – in other words, associated with our developer’s account so that we (and no-one else) can access the board remotely virtually from any place on Earth (provided that the place has Internet connection). Unfortunately, programming a device with correct WiFi setting is not enough. Nowdays many WiFi networks have MAC address filtering in place which basically means that MAC address must be manually specified on WiFi access point. But the thing is that there is no easy way to get Spark core’s MAC address! It is labeled nether on the kit’s box, nor on the board or WiFi module. Then the next logical step would be to connect the board to a PC via USB cable and interrogate it to get MAC address, right? No! The command line interface is really ascetic – it only allows to set WiFi SSID and password and read core’s unique identifier (also known as core id), nothing more. Well… maybe core id contains MAC address then? To answer this question we downloaded source code for spark’s firmware and after analysing it discovered that core id is actually a unique microprocessor id and has nothing to do with WiFi MAC address which brought us back to square one leaving with the same question: how to get Spark core’s MAC address?
Turning our attention to the Internet we realised that people were suffering from the same problem. Here is a discussion about extracting MAC address by running a sketch. The funny part is that in order to upload sketch to the core, it has to be already claimed. And in order to be claimed it must have an Internet access already! So really it all comes down to disabling MAC address filtering on your WiFi access point, claiming the core, programming it with the sketch that extracts the MAC address and after that adding the newly discovered MAC address to the list of permitted devices on WiFi access point and only then enabling MAC address filtering again. Why it should be done in such a clumsy way – it is really a question to Spark core developers, all this could be easily simplified by just adding one extra command to Spark’s command line interface which would retrieve MAC address. As simple as that.
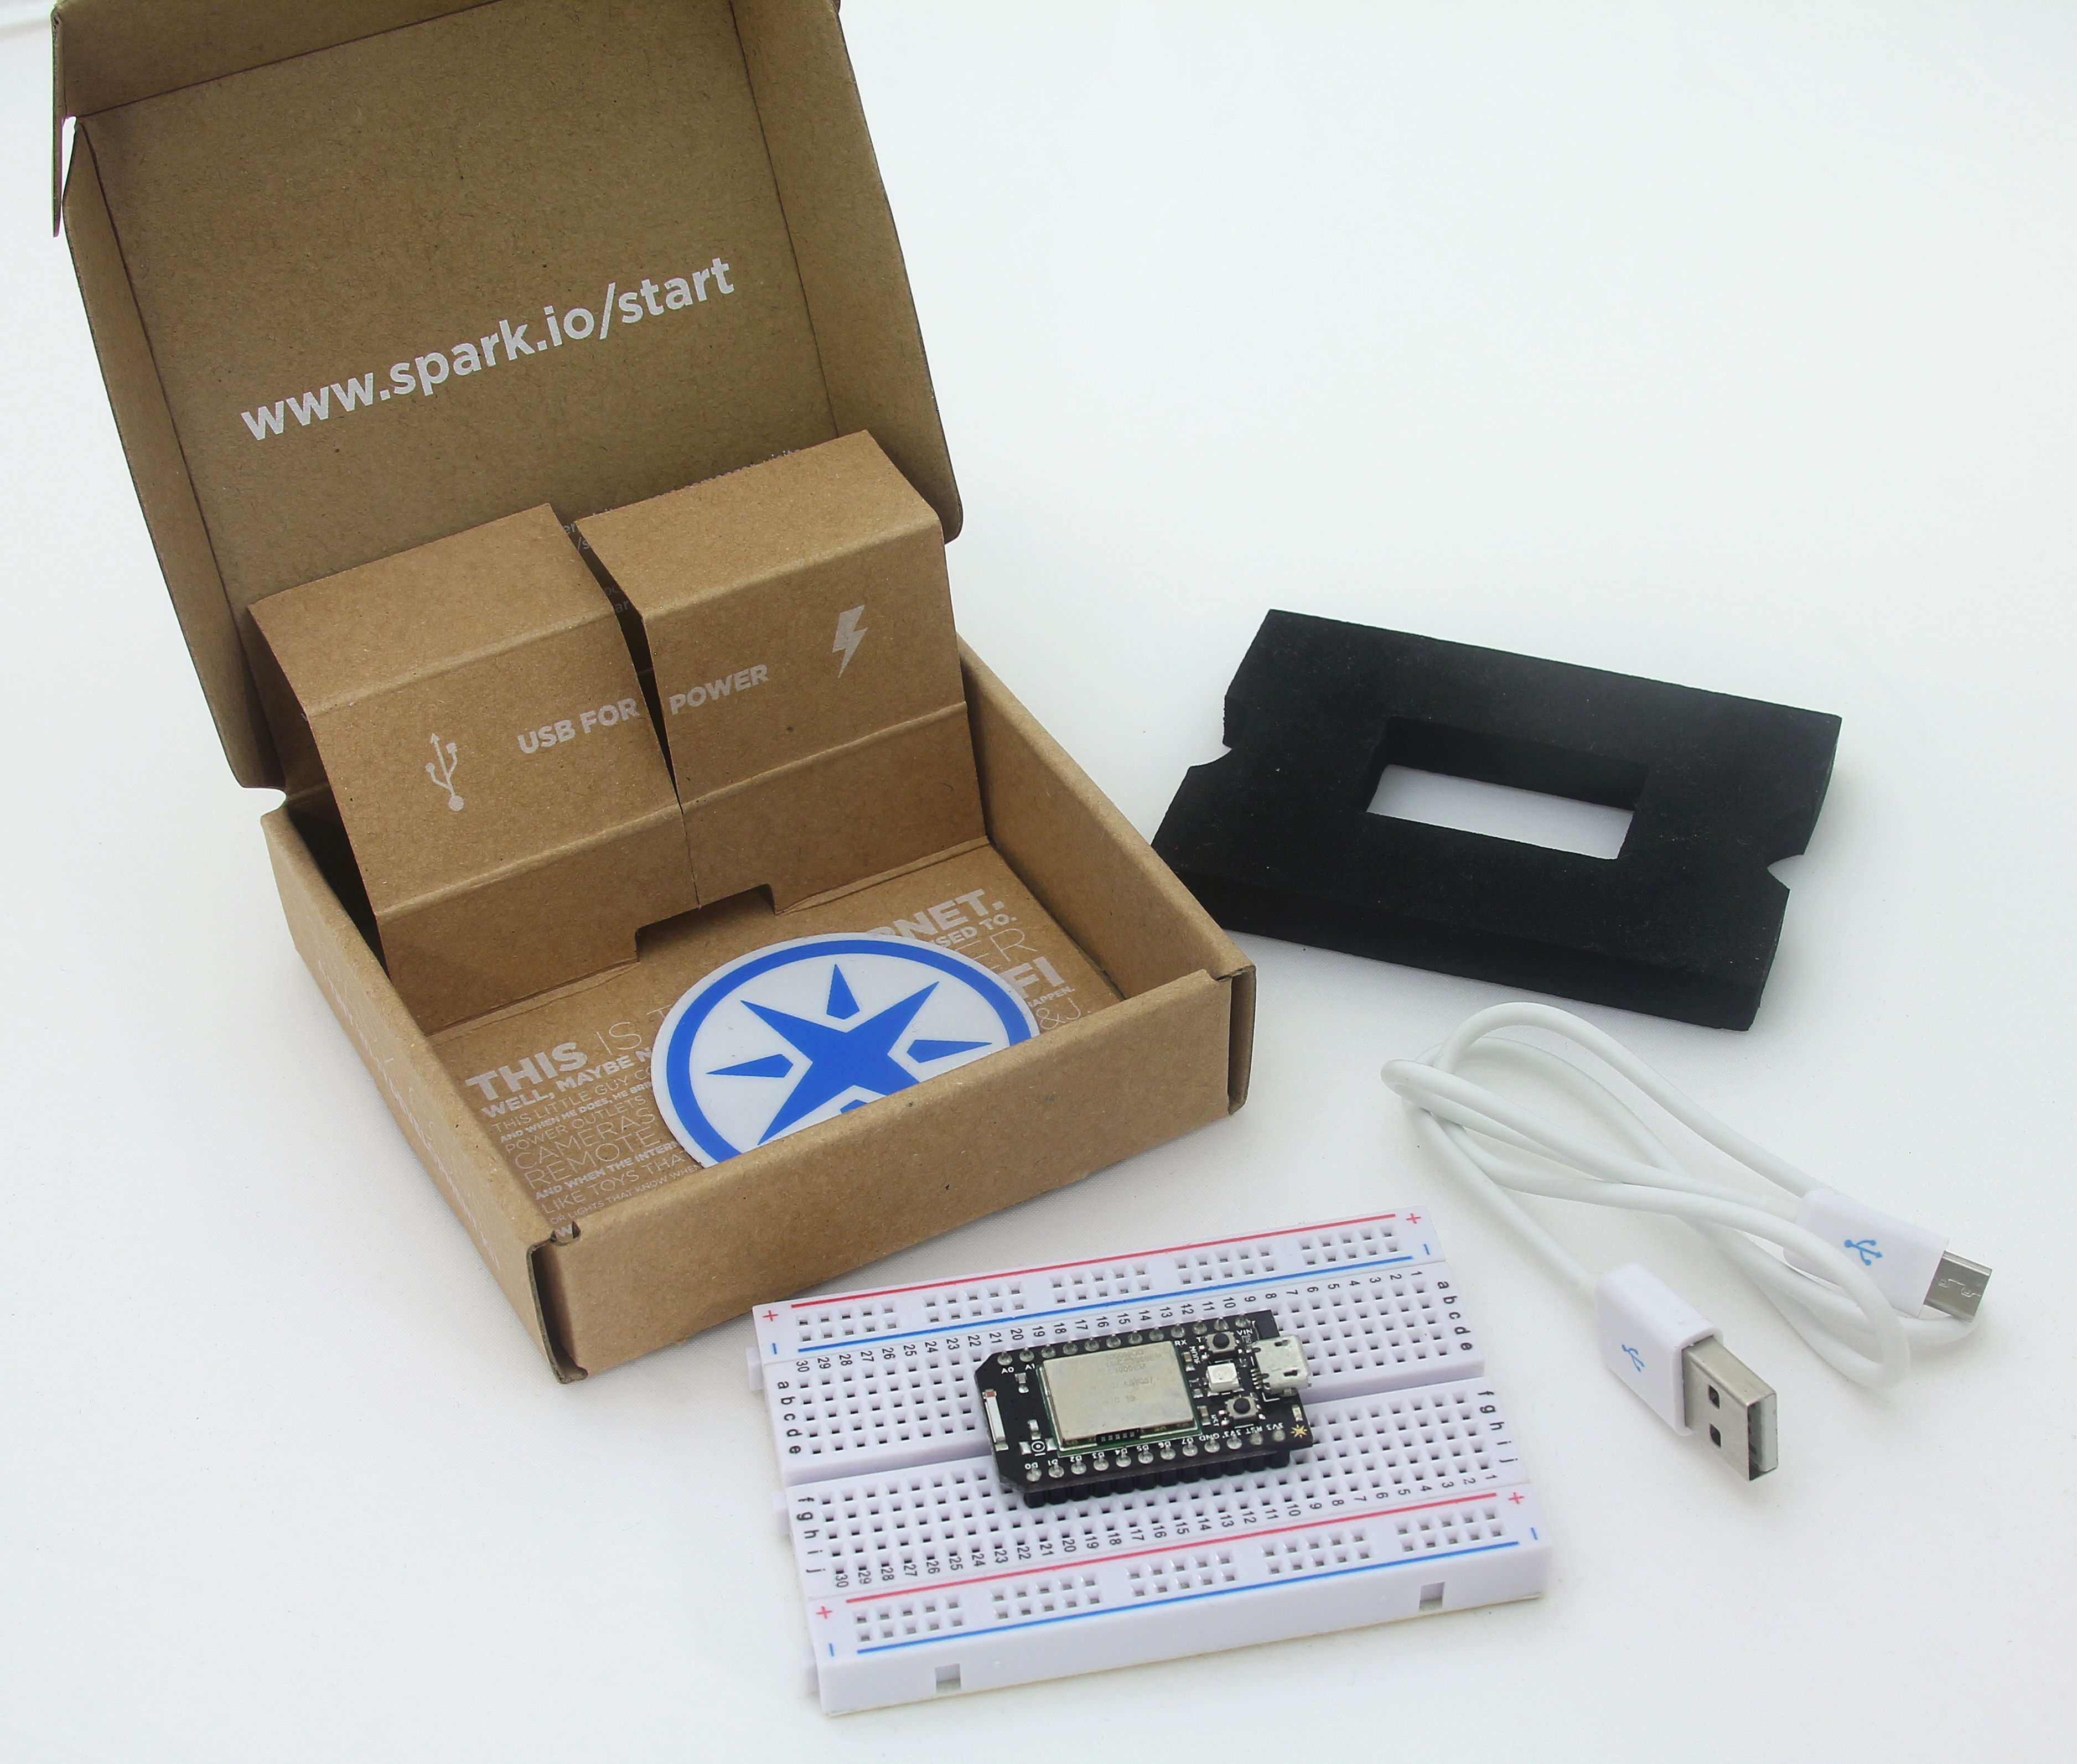
Spark IO Unpacked
But in the end the problem with configuring was the only thing that we really didn’t like. The core has been eventually claimed and we felt tremendous freedom and flexibility provided by the solution.
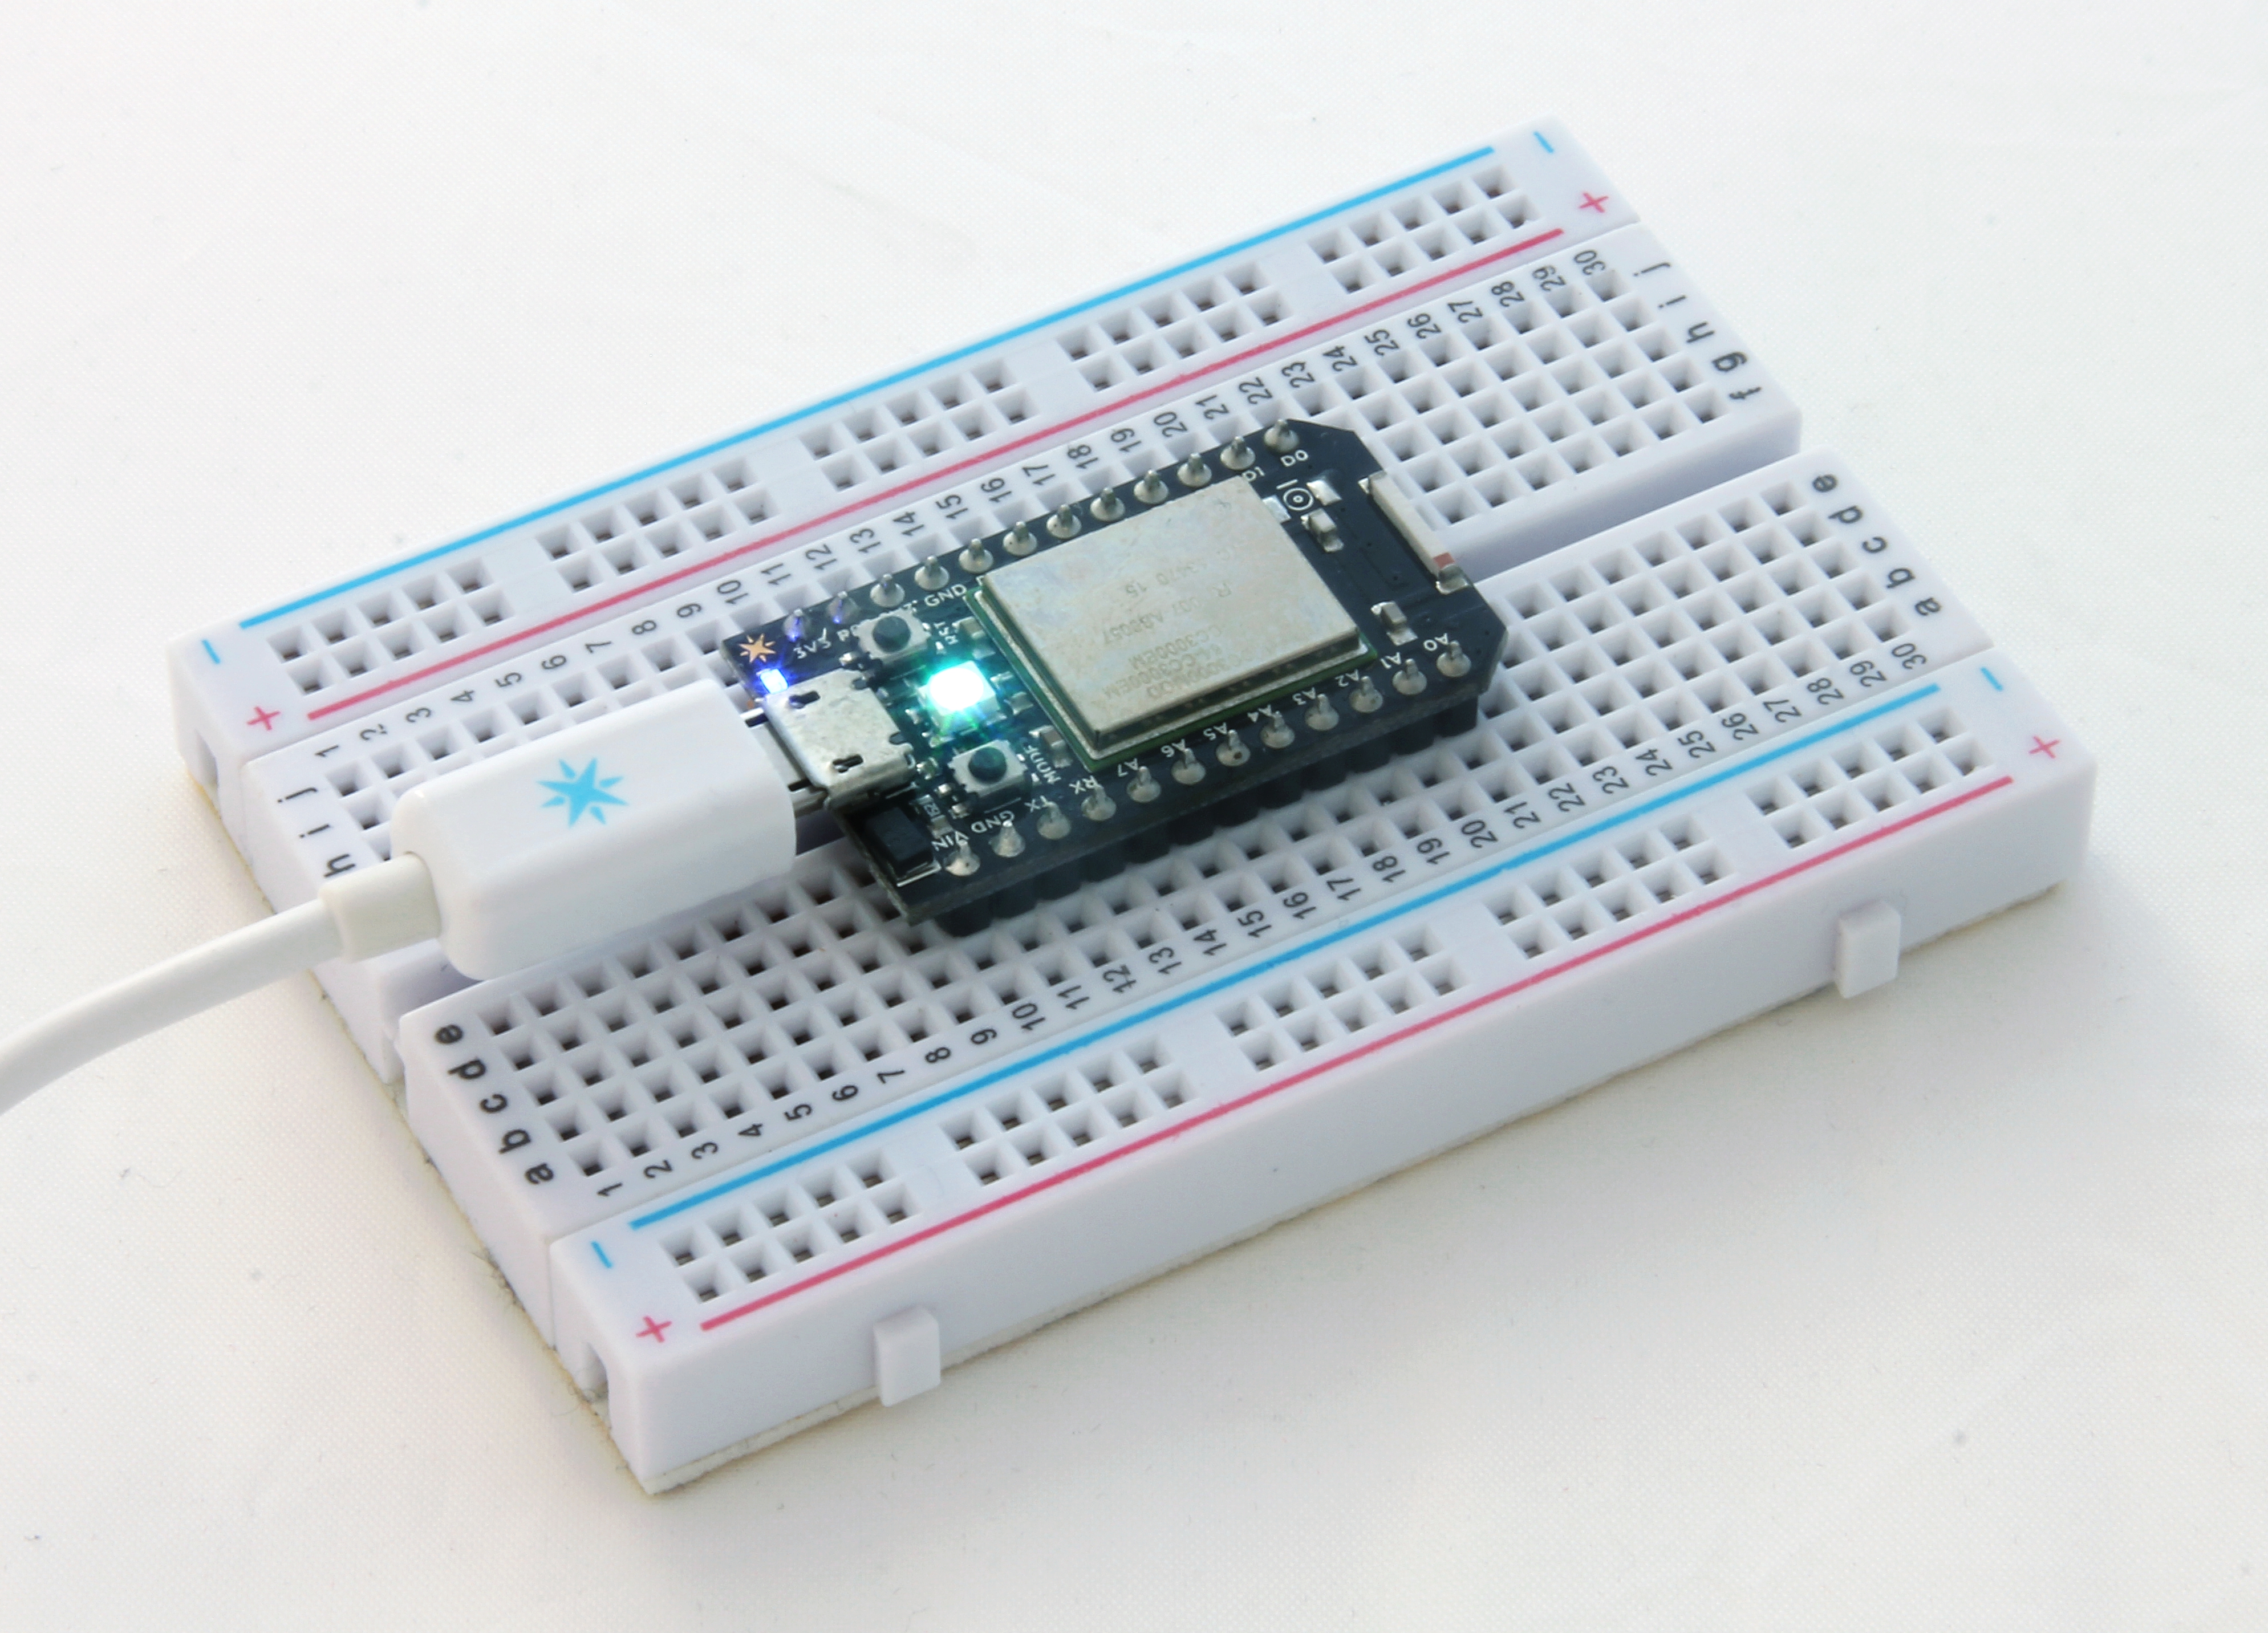
Spark Core Successfully Configured
Of course, as any product is has its own pros and cons and here is the list below that we came up with:
Advantages:
– It is Arduino compatible. Sketches and libraries designed for Adruino can be used for Sketch IO designs with zero or minimum modifications;
– It is fast. Ridiculously fast comparing to Arduino;
– It has really small form factor;
– It comes with API for cloud, iPhone and Android OS integration. All cloud-Spark core, cloud-userapp communications are secure;
– It is probably the cheapest WiFi-powered kit of that kind at the moment;
– Online development environment, zero effort to install and configure (it is also a disadvantage by the way 🙂 );
Disadvantages:
– There is obviously no backward compatibility with Arduino;
– Number of GPIOs is less than, let’s say’ in case of Arduino Uno;
– Difficulties with getting MAC address which complicates initial configuring process;
– Not widely available at the moment. The only place to buy is SparkIO itself;
– Online development environment, your source code is kept somewhere is the cloud out of your control and potentially available for everyone if anything;


Leave a Reply
You must be logged in to post a comment.