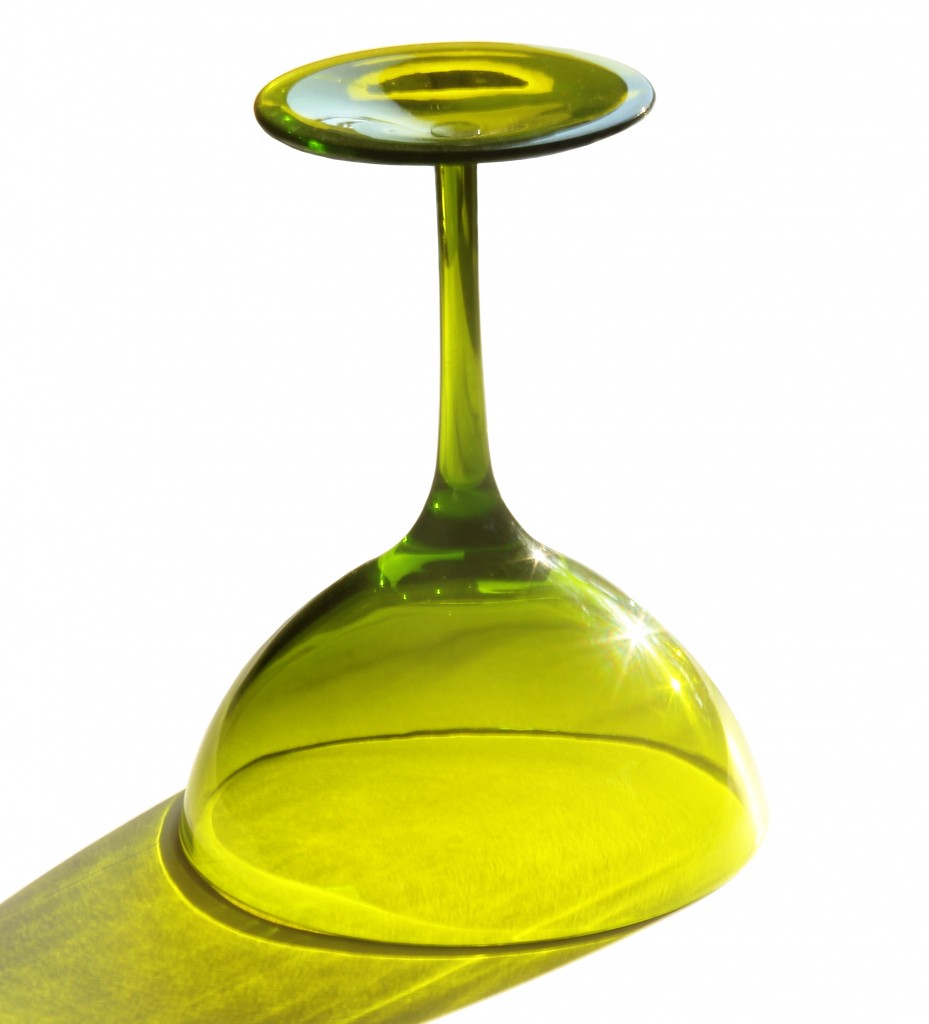
Stylish and professionally looking enclosures for DIY electronics is a known challenge for both beginners and advanced hobbysts. Custom made cases are either too expensive, too difficult/time consuming to build or the resulted forms are too primitive/ugly. Besides, electronics engineers usually are not exceptionally good at 3D designing and they tend to consider assembled and tested PCBAs as virtually finished products. As a result, the importance of putting everything in a box is often underestimated and even neglected. After all, who cares if the project ‘is working fine’? 🙂 However, unappealing enclosure design may easily ruin the whole project even though its electronic part works like charm. That is why we decided to build something unusual as a case for our Luminardo board and today our goal would be to make a VFD filter. The problem with filter is that it has to be transparent which is almost impossible to achieve when using 3D printing. On the other hand, laser cutting on acrylic blanks could give us transparent part of virtually any shape but it would be flat. An alternative approach would be to find something transparent of a peculiar shape and use it as a blank for our filter. We looked around and found in one of Chinese shops a… plastic glass for just 3 Australian dollars. The glass is shown on the picture below.
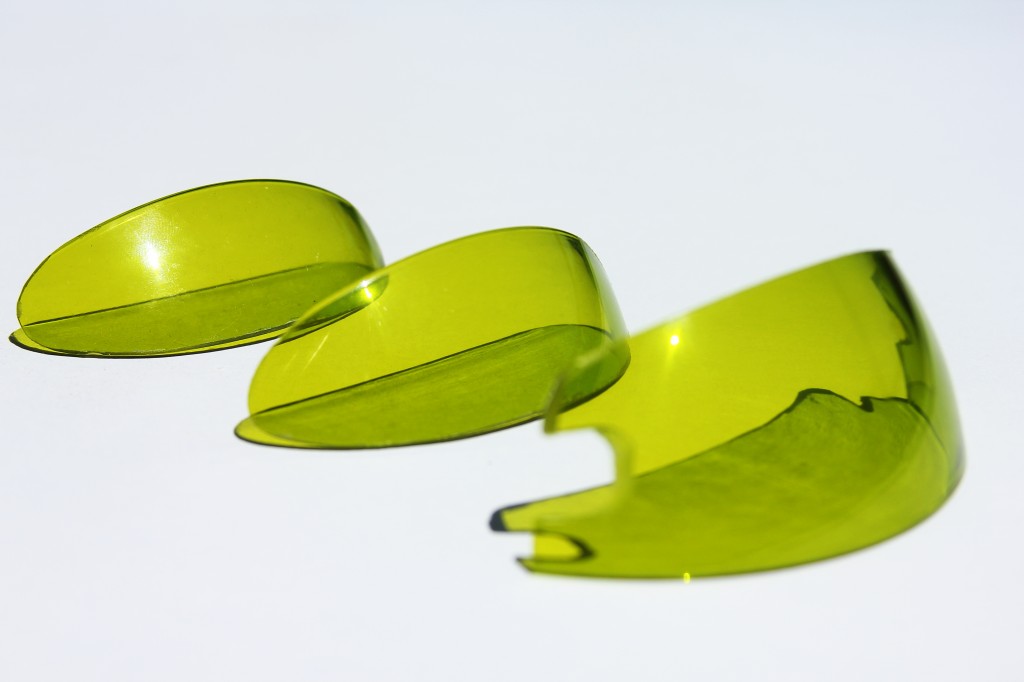
The next step would be to cut a few elements off the plastic glass in the shape of visor. This was done by means of a rotary tool (Dremel) and finished with a double-cut flat file. The result is shown on the picture below, as an experiment we cut out three elements with variations in shape in size.
To make sure that the filter fits the remaining parts of our enclosure (which we are going to design in Sketchup later) we need to create its 3D model. At a first glance it looks like a difficult job because of surface’s complexity but in reality it is fairly simple. The key is to start over with modelling of glass surface created by lofting technique (glass’ section and ‘follow me’ tool). Then cut off the excess of material just like it has been already done in the physical world by means of dremel and files. As a final touch apply material to adjust color and transparency accordingly to make it look like real. Here is what we got as a result of our effort:


Leave a Reply
You must be logged in to post a comment.