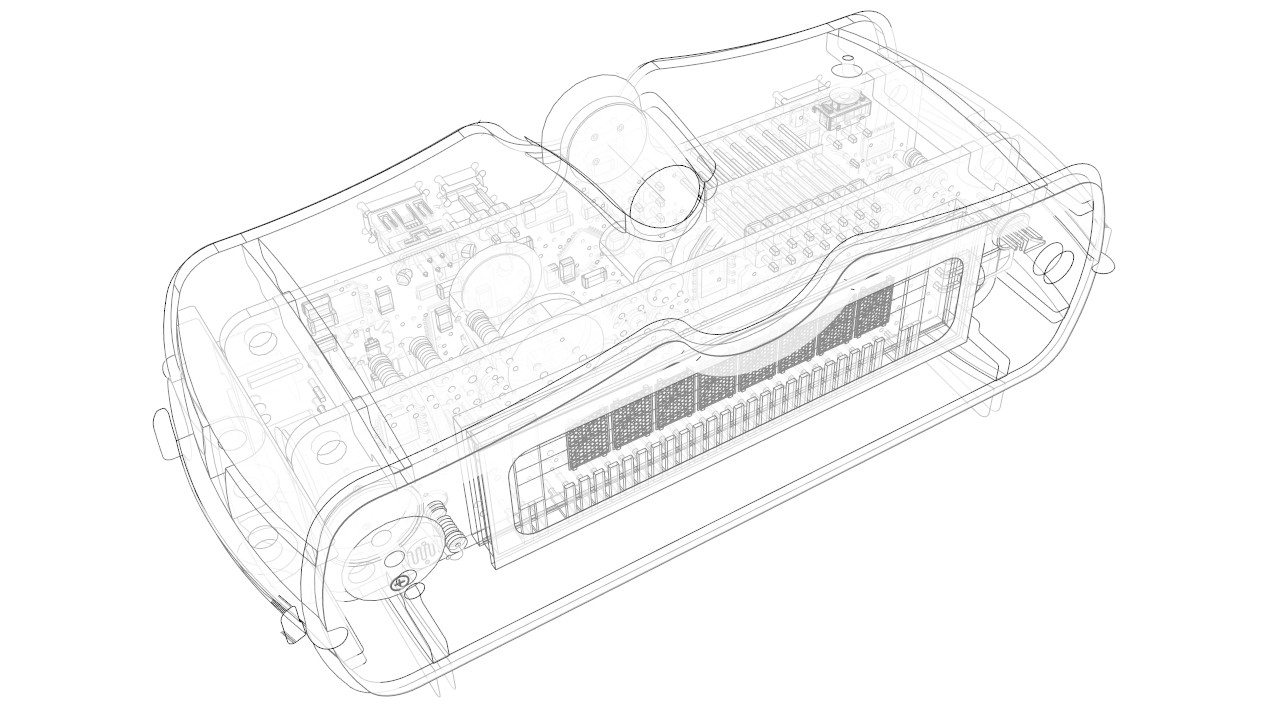
The idea of making enclosure fully out of acrylic panels was abandoned due to ‘squarish’ look of the final product. We really wanted to create something a little bit more stylish and this is why the most obvious choice was 3D printing. That way it was possible to make rounded corners and streamline shape. However, with 3D printing it is almost impossible to get a transparent or at least translucent surface which was required at least for the front panel. So in the end a decision was made to have a mix of acrylic flat panels and 3D printed elements of enclosure. By doing this we could reduce the volume of 3D printed parts which are more expensive to make than acrylic laser cutting. We could also make front and rear panels transparent allowing clearly see not only VFD display but the electronics as well. And still it was feasible to give the case a modern look, thanks to the 3D printing technology which gives designer’s fantasy literally unlimited freedom. The sketch below demonstrates main features of the future case: flat rear and front acrylic panels held together by top and bottom curved halves, the top half has a cowl around the motion sensor.
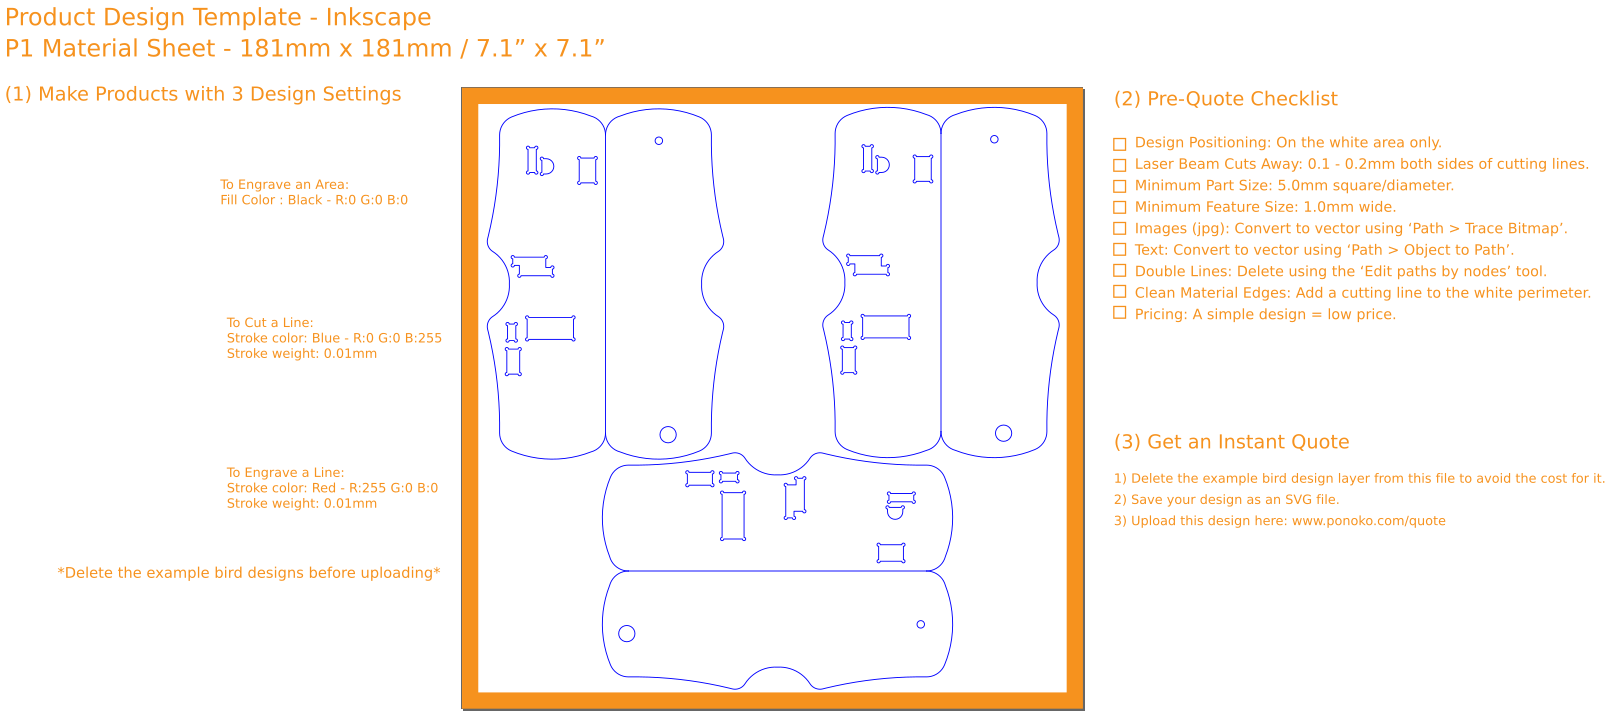
The final design is done in Sketchup with free licence without need to manipulate with solid objects but it made designing effort a bit challenging and more time consuming. Both front and rear panels are made of a clear 2mm thick acrylic blank, in Ponoko the most appropriate blank was P1 (181 x 181 mm), however, it was still too big for us so we managed to fit panels for three Luminardo cases. The font panel has holes for a buzzer and RGB LED. The rear panel has cutouts for ISP, two serial and one I2C headers, a USB Type A Female and a USB mini connectors, a cutout for a temperature sensor and for a 1-Wire header.
The top and bottom shells are 3D printed. Both of them have internal supports for the acrylic panels and the board assembly. The shells are held together by two M3 standoffs and two M3 screws. The top shell has a niche for the motion sensor and a hole for accessing RESET button. The model of the top shell is given below.
The bottom shell has two feet beneath and two holes for M3 screws. The model of the bottom shell is given below.
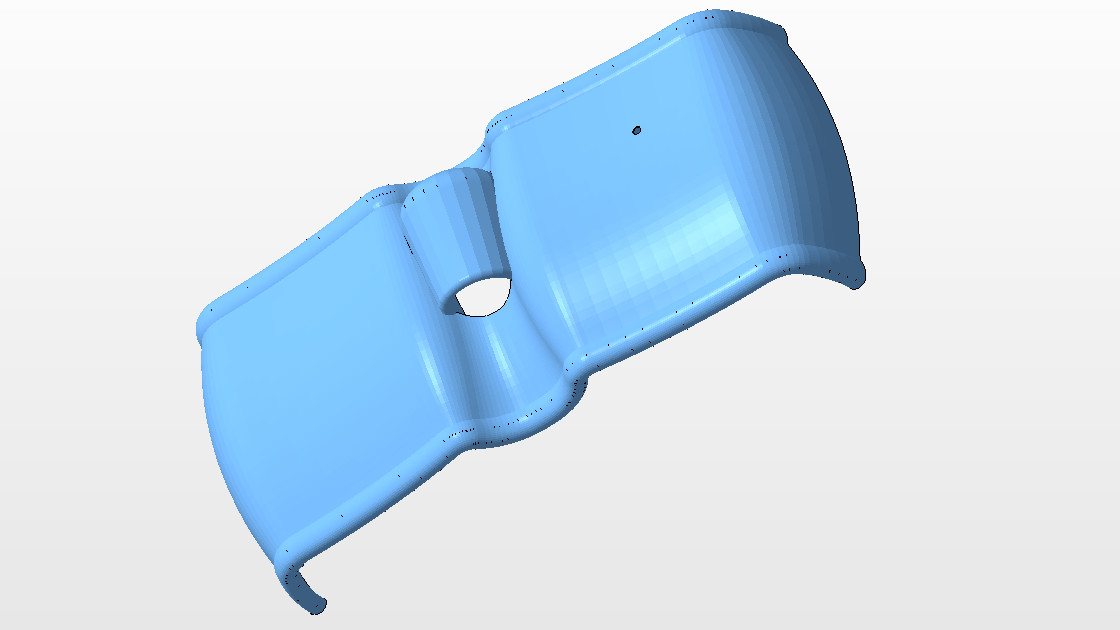
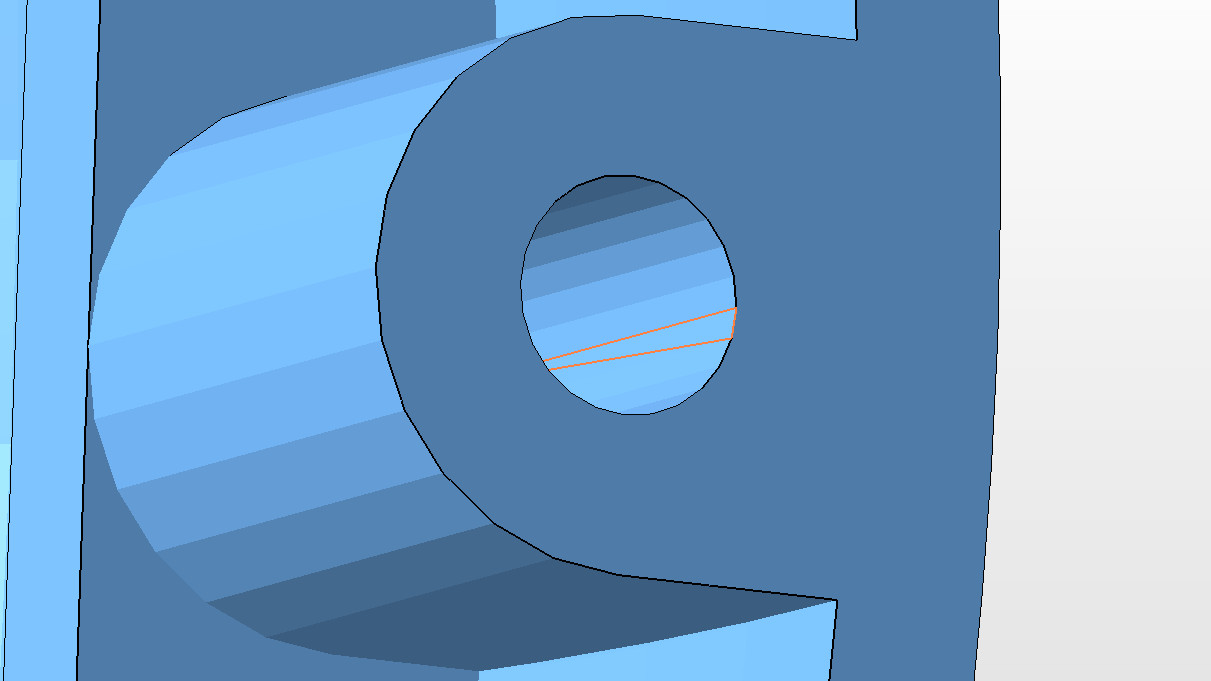
When 3D design is done the next step would be to export it to STL format before sending to a 3D printer. If the model was not designed as a solid object (this is actually our case) then be prepared that first STL model most probably contains some errors. To analyse and pinpoint such problems there are countless number of software tools. We used Meshmixer and Netfabb. Netfabb turned out to be more advanced, it could still detect some issues when Meshmixer didn’t complain about anything anymore but we still couldn’t pass through Ponoko’s validator. The problem was with one face being ‘degenerated’ and despite all our effort we could not find any issue. So eventually we simply allowed Netfabb to autorepair it and when it was done we were able to upload our model to Ponoko. Two pictures below show a model at fault and its degenerated face detected by Netfabb.
The final assembly is given below.
After several experiments we came to a decision that it is much better to 3D print both shells using PLA material. It has significantly less shrinkage comparing to ABS, it is still strong enough and can be safely used indoors without risk of degrading (in spite of opinions widespread in the Internet).
A virtual assembling video is provided below:
Downloads:
1. Luminardo 2.0 Fully Assembled (PCBAs and Enclosure) 3D Model
2. Luminardo Case Top Shell 3D Model
3. Luminardo Case Bottom Shell 3D Model
Links:
1. Luminardo Front and Rear Acrylic panels on Ponoko



Leave a Reply
You must be logged in to post a comment.