


As the headlining in our Toyota Camry 1998 was deteriorating we decided to do something about it. But instead of rushing to the nearest auto upholstery/motor trimmers we tempted to do it ourselves. What does it have to do with electronics, an attentive reader would ask. Well, if we were going to deal with roof repair anyway then it would be a great opportunity to fit a dashcamera at the same time hiding all the wiring behind the roof and/or plastic panels. Knowing that it would make us spent quite some time we didn’t even suspect what we were getting ourselves into but nevertheless we still think that it was worth the effort.
A little bit of theory. Sagging roof is usually caused by time and temperature which disintegrate fabric’s foam layer. As a result, fabric is slowly getting loose. The more fabric gets loose, the faster the process goes. What makes it particularly disappointing, there is no quick solution. It is absolutely pointless to inject some glue or adhesive between foam panel and fabric as the panel is covered with disintegrated stuff and has to be thoroughly cleaned first.
Before doing anything with the old fabric we need to get some materials and tools. For a passenger car like our Toyota Camry we would need 2 meters of new gray fabric and adhesive. Not saying that it was the cheapest option but this was what we ended up with after a little bit of shopping around in Sydney. As per usual, here is a our comparison between ‘doing yourself’ and ‘asking someone to do it for you’:
| Variant I – done by automotive upholstery/motor trimmers | |
| Item | Price |
|---|---|
| Sagging roof fabric replacement | Starts from 300.00 |
| Variant II – do it yourself | ||
| Item | Price | You save |
|---|---|---|
| 2m x LIGHT GREY Foam Backed Brush Nylon “Headlining” | 58.00 | |
| BOND-IT™ Contact Adhesive “Hard Surfaces” | 22.95 | |
| Total | 80.95 | 219.05 |
No doubts, each option has its own pros and cons. Letting professional to do the job is obviously faster but more expensive. We wouldn’t gain any new skills too. When doing ourselves, it is more time consuming, challenging, requires some tools but cheaper, more fun and more experience in the end. It also allows us to deviate from boring standard approach and try to do something else – for example, install video recording system. And finally, when doing ourselves we can control the quality of our work and as a result, may have even better outcome, however, doing something for the first time usually means that inevitably there will be mistakes. In this post will be try to highlight typical pitfalls of this process and help others to avoid our misjudgments and miscalculations.
First step is to dismantle foam panel with old fabric altogether. It requires removal of car’s interior elements including plastic panels running along the windows. If possible, do this with someone’s help, it is very difficult to remove the panel without breaking it with just one pair of hands – this is what happened to us, without knowing in advance we broke the foam in many ways. Also, when removing any plastic part, it is worth remembering that if we are applying too much force then it is a good indication that we are doing something wrong – stop, have some rest and examine the part one more time to understand better how it is fitted and what holds it in place.

Sagging Roof
Bring the foam panel to a dry place (preferable outdoors as we will be using toxic substance during our work). Get rid of the old fabric.
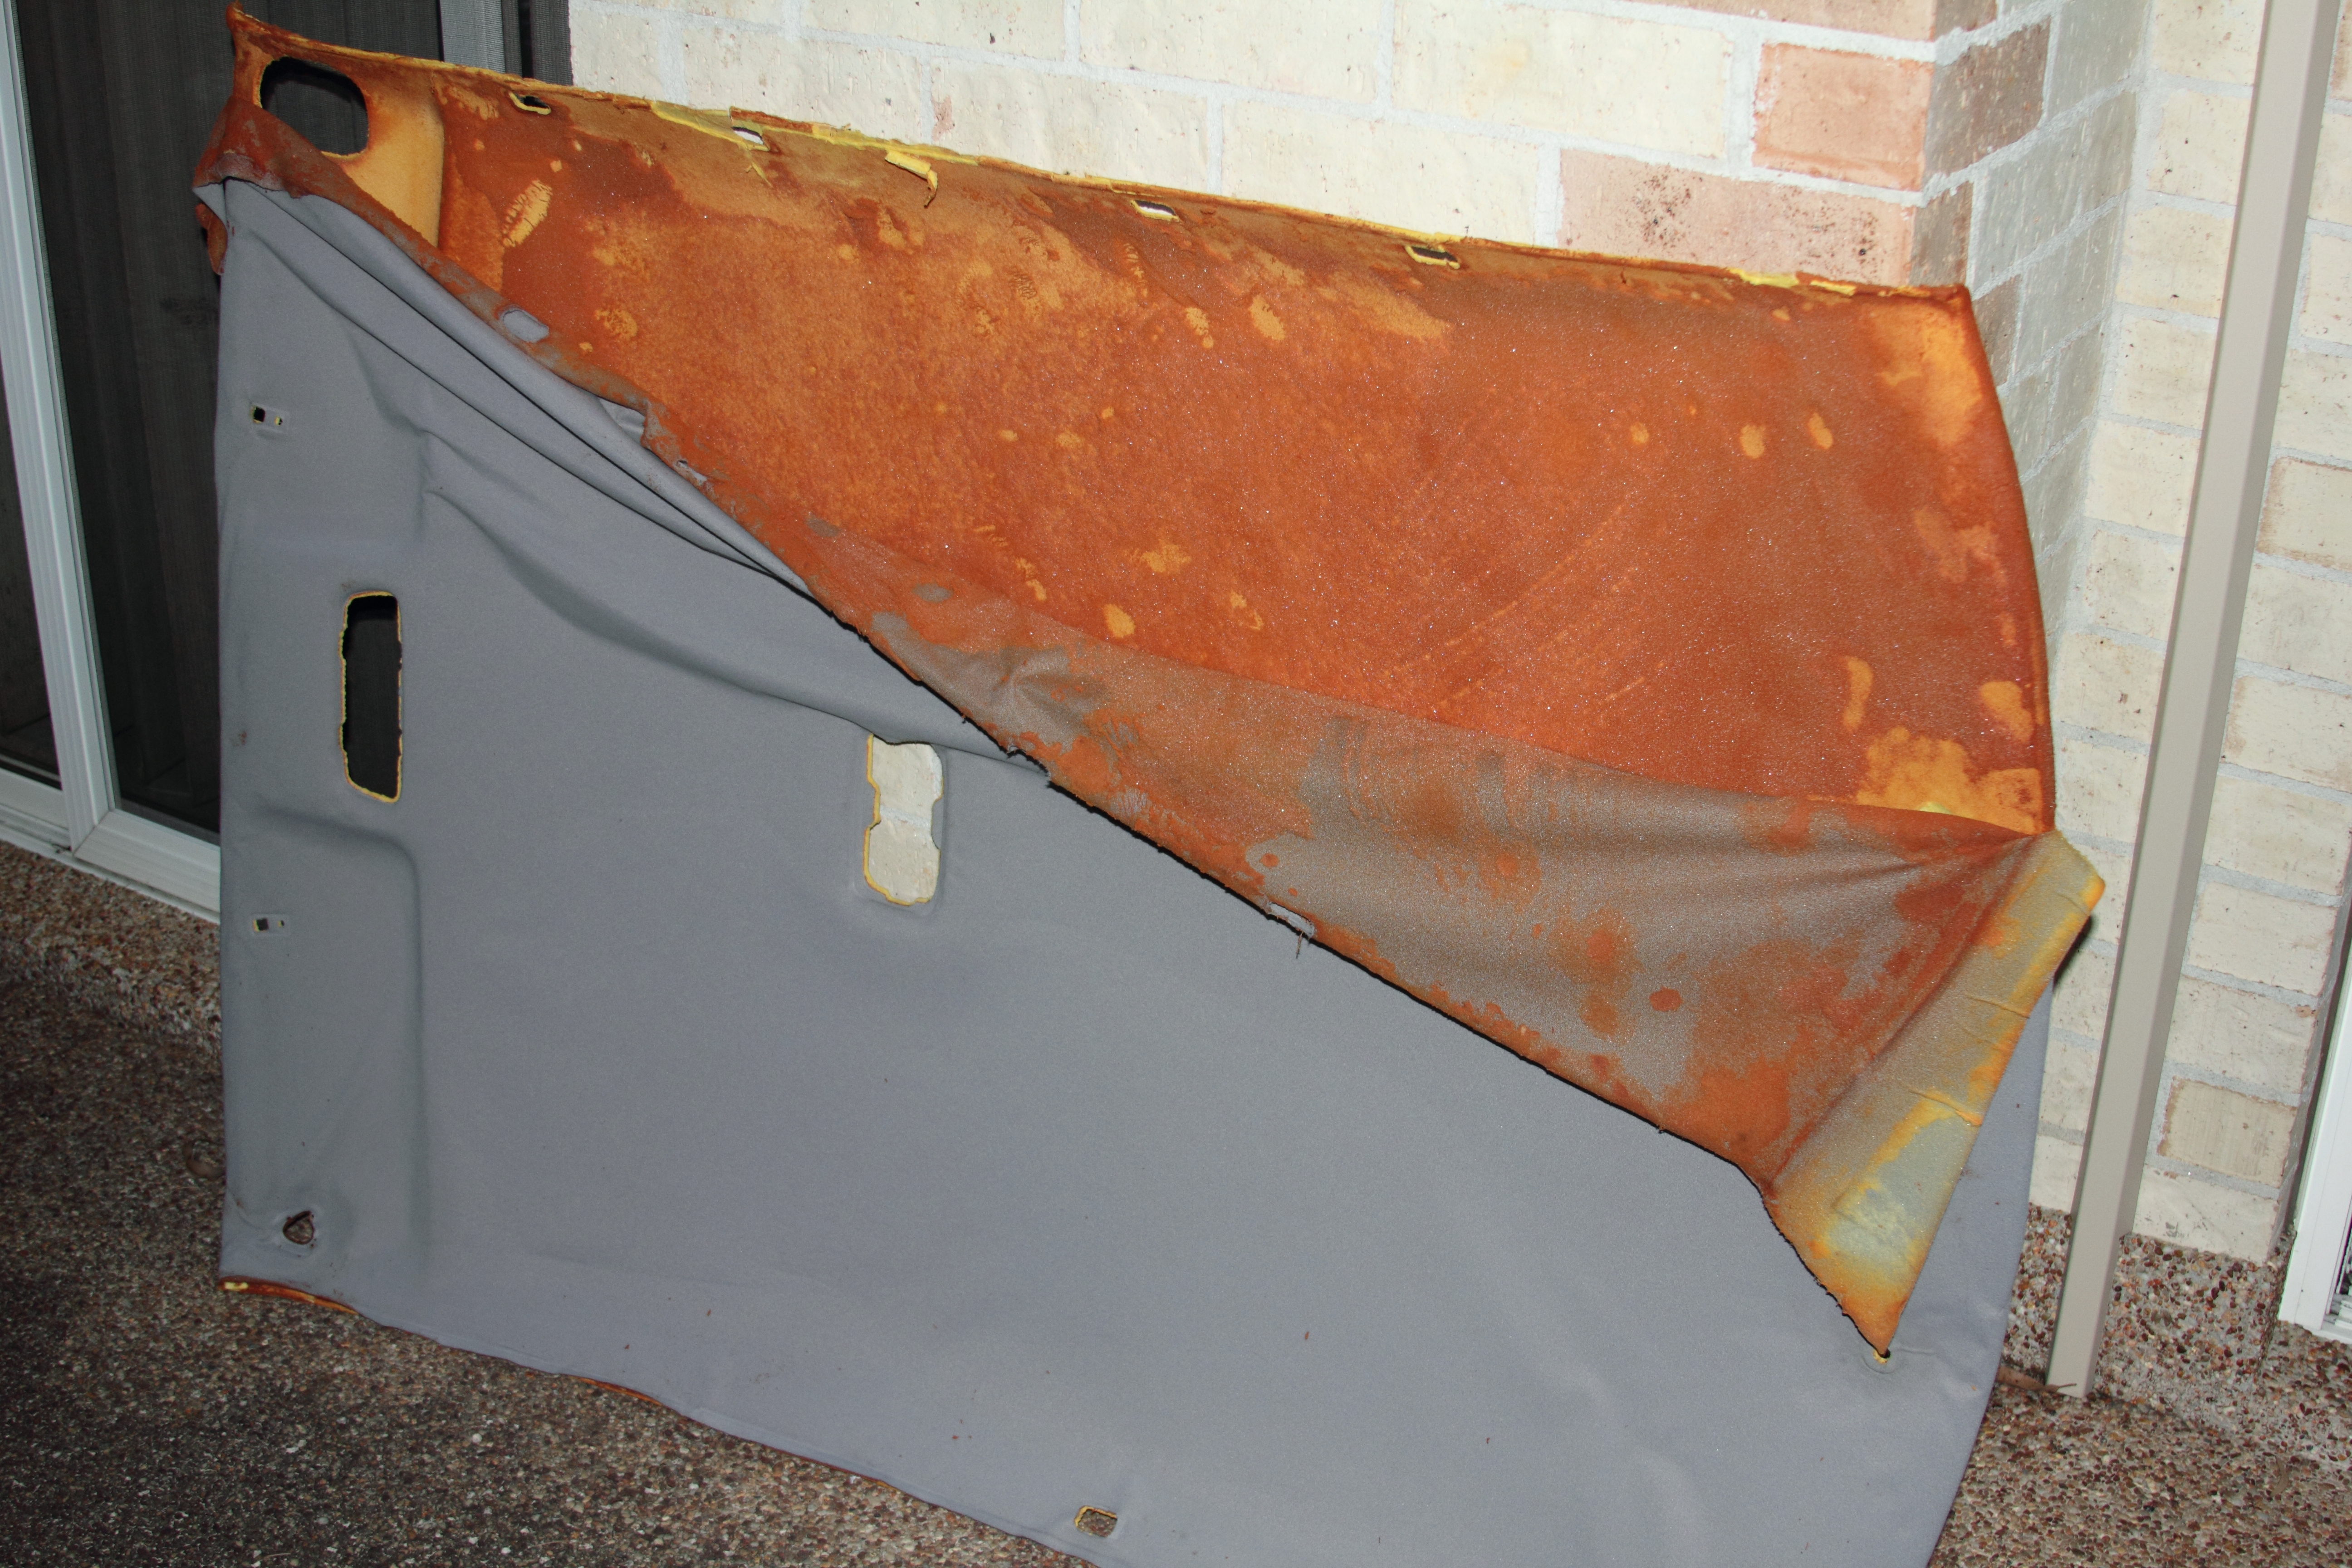
Foam Panel With Old Fabric
Carefully clean the foam panel of the spongy layer which used to be a foam layer of the fabric. Without doing this all subsequent activities would be absolutely useless as adhesive wouldn’t hold.
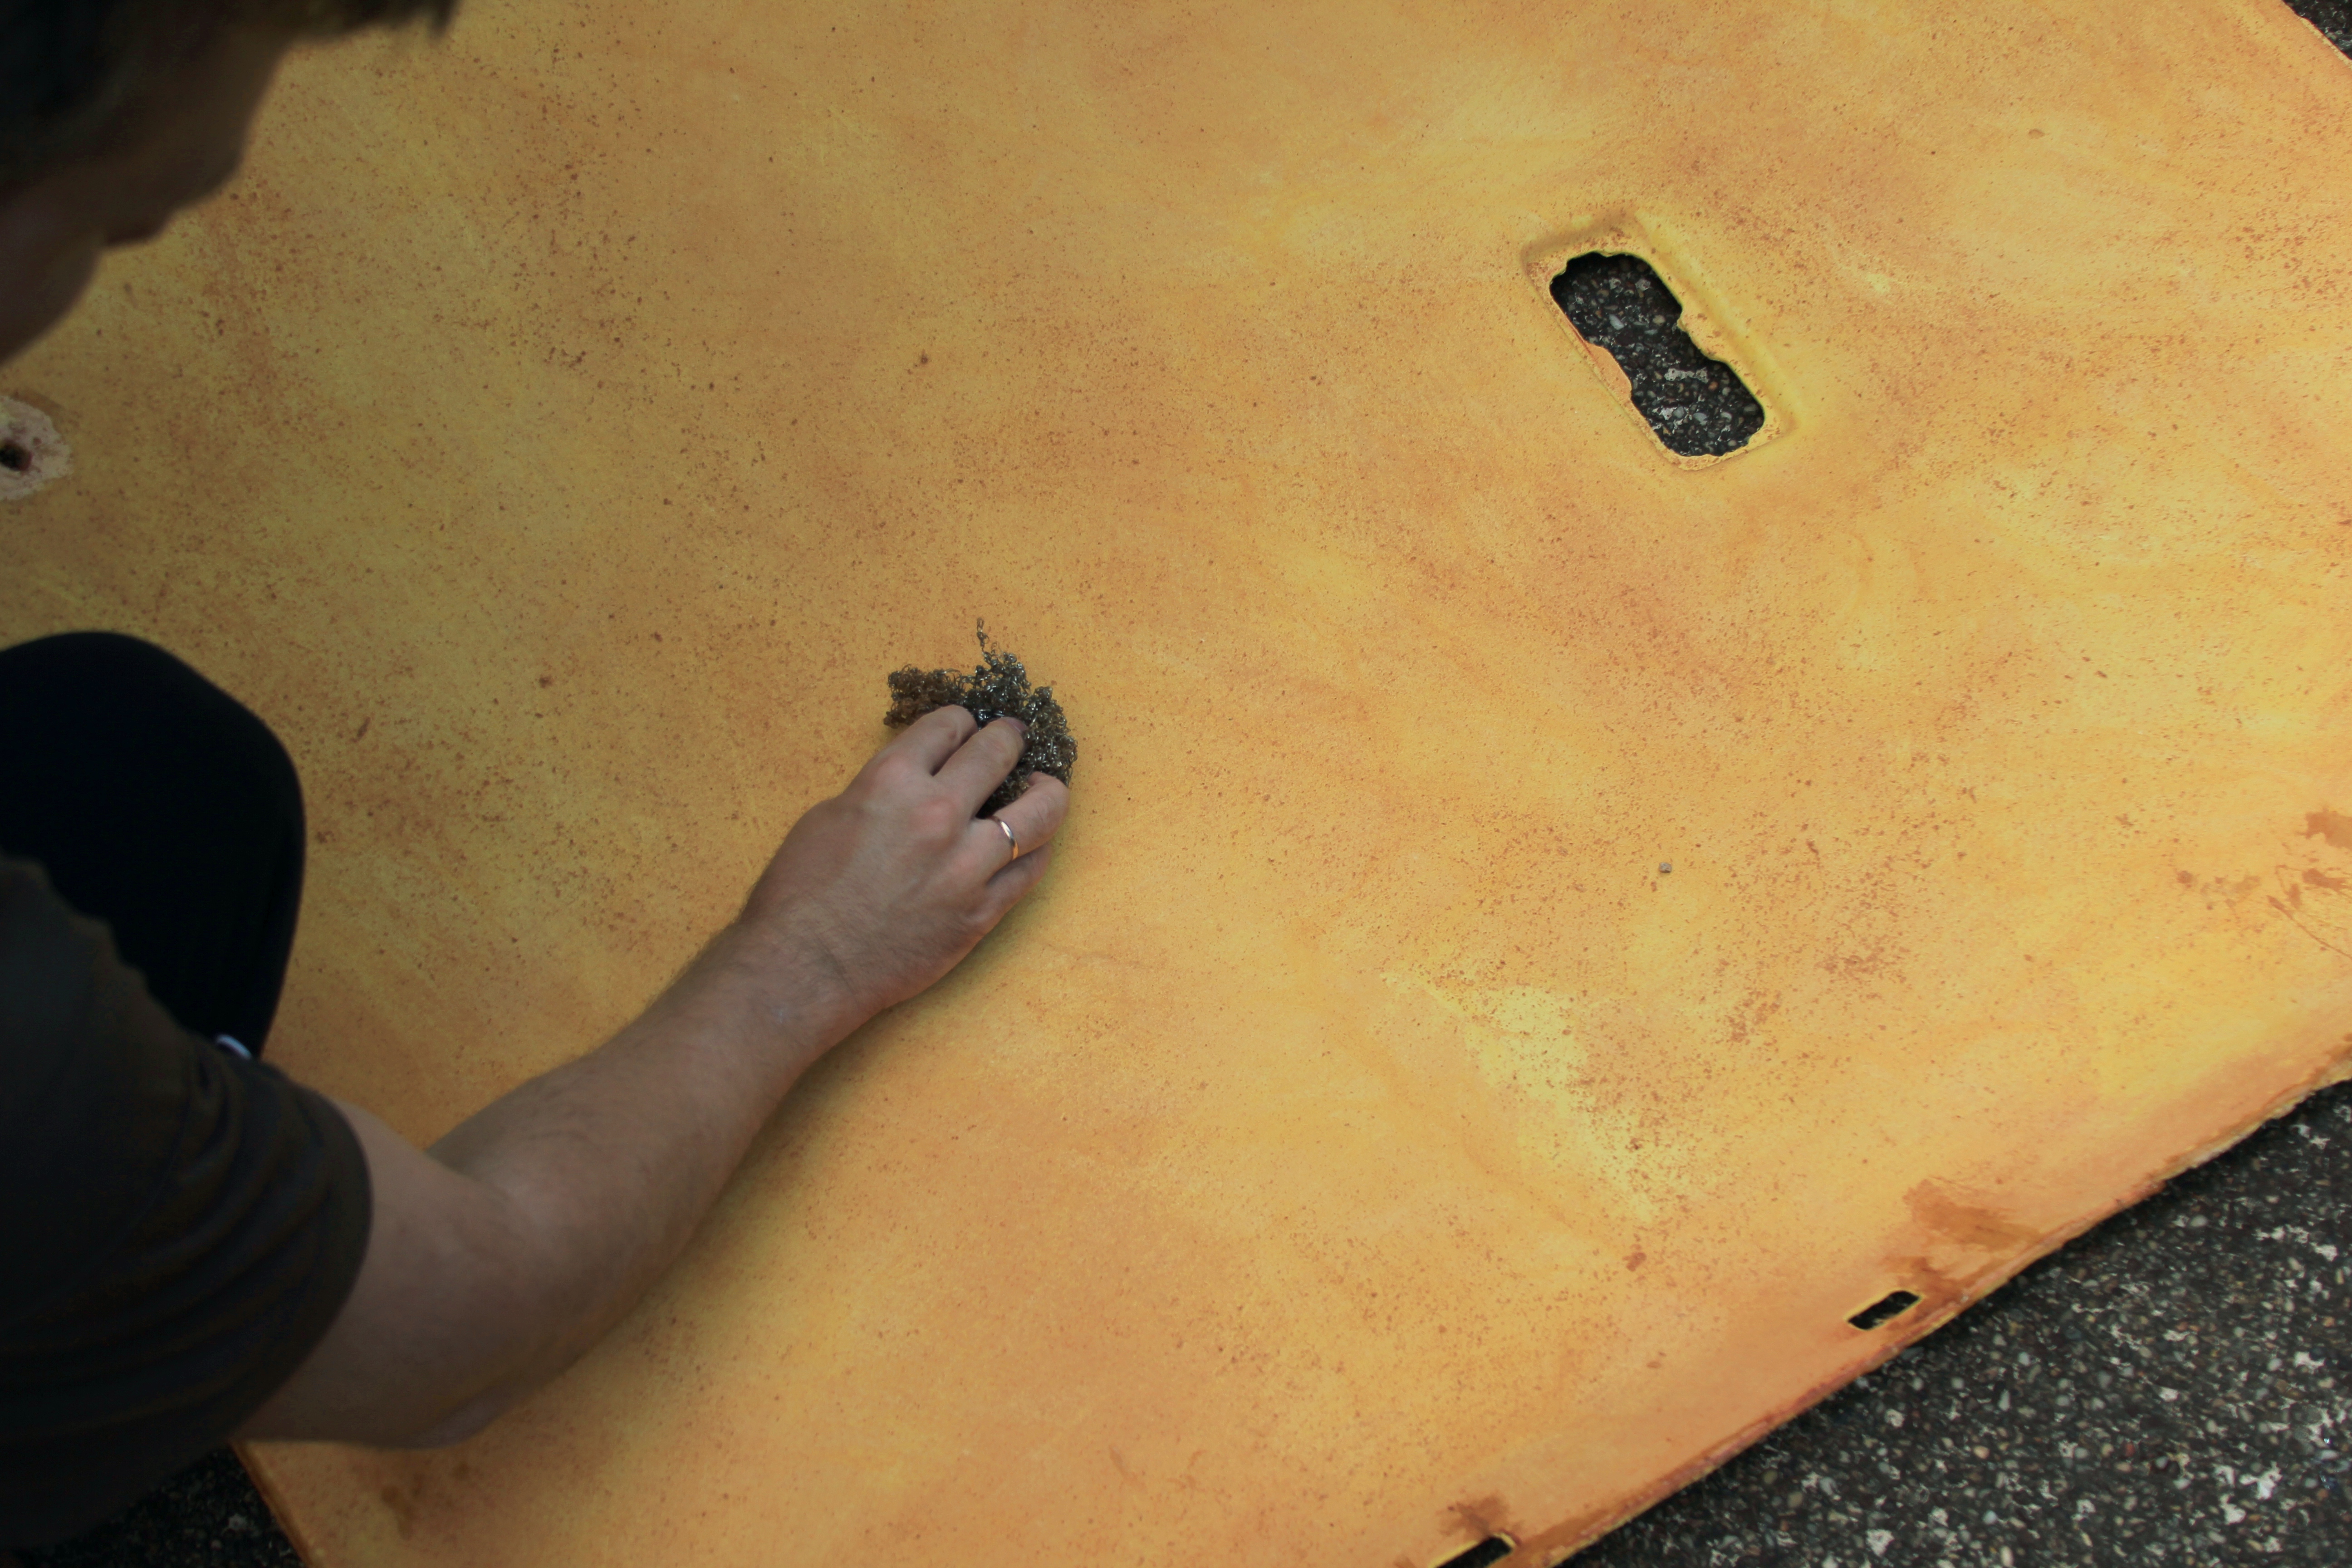
Toyota Camry 1998 Cleaning Foam Panel
Restore the structure of broken foam panel (if it is broken as it was in our case). We used a two-component epoxy that cost about 2 dollars per pack. Keep in mind that epoxy is very toxic when in liquid state, take all the precautions as directed on epoxy’s label.
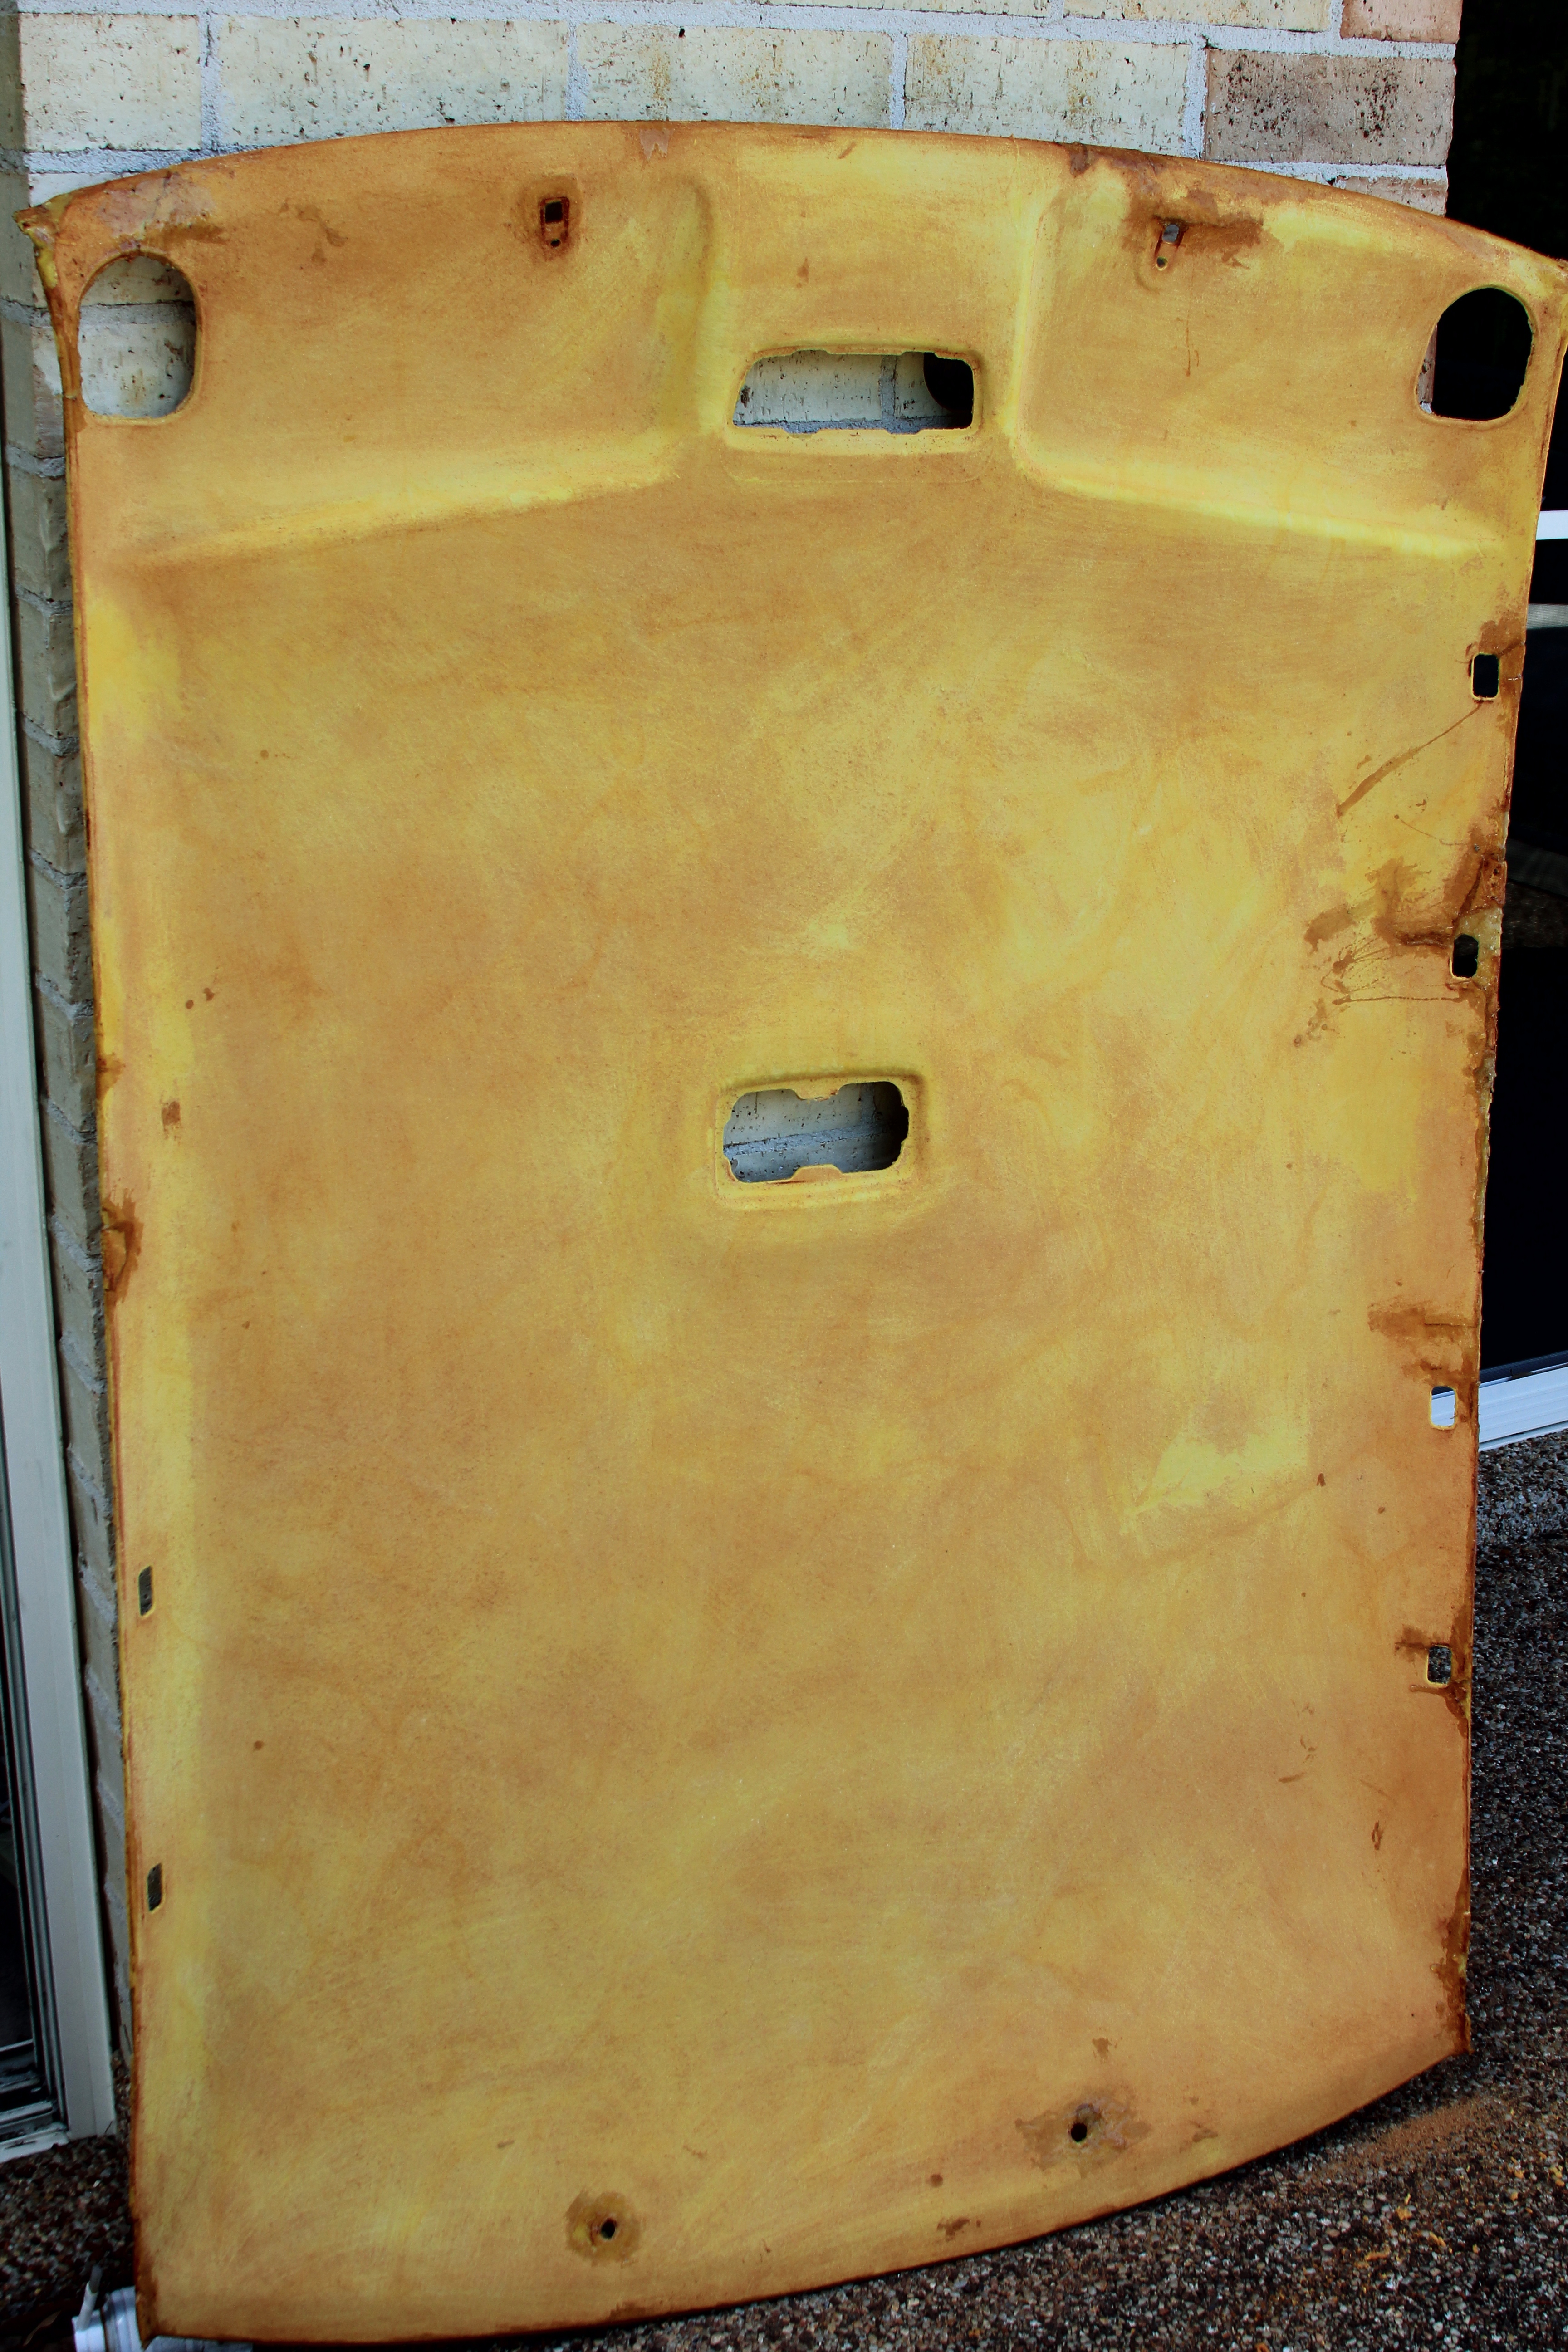
Toyota Camry 1998 Foam Panel_Cleaned And Restored
Prepare new fabric and adhesive. Make sure that foam panel’s surface is clean as even small imperfections will be visible later through new fabric. Get ready the adhesive. Make sure there is no rain coming if you do it outdoors.
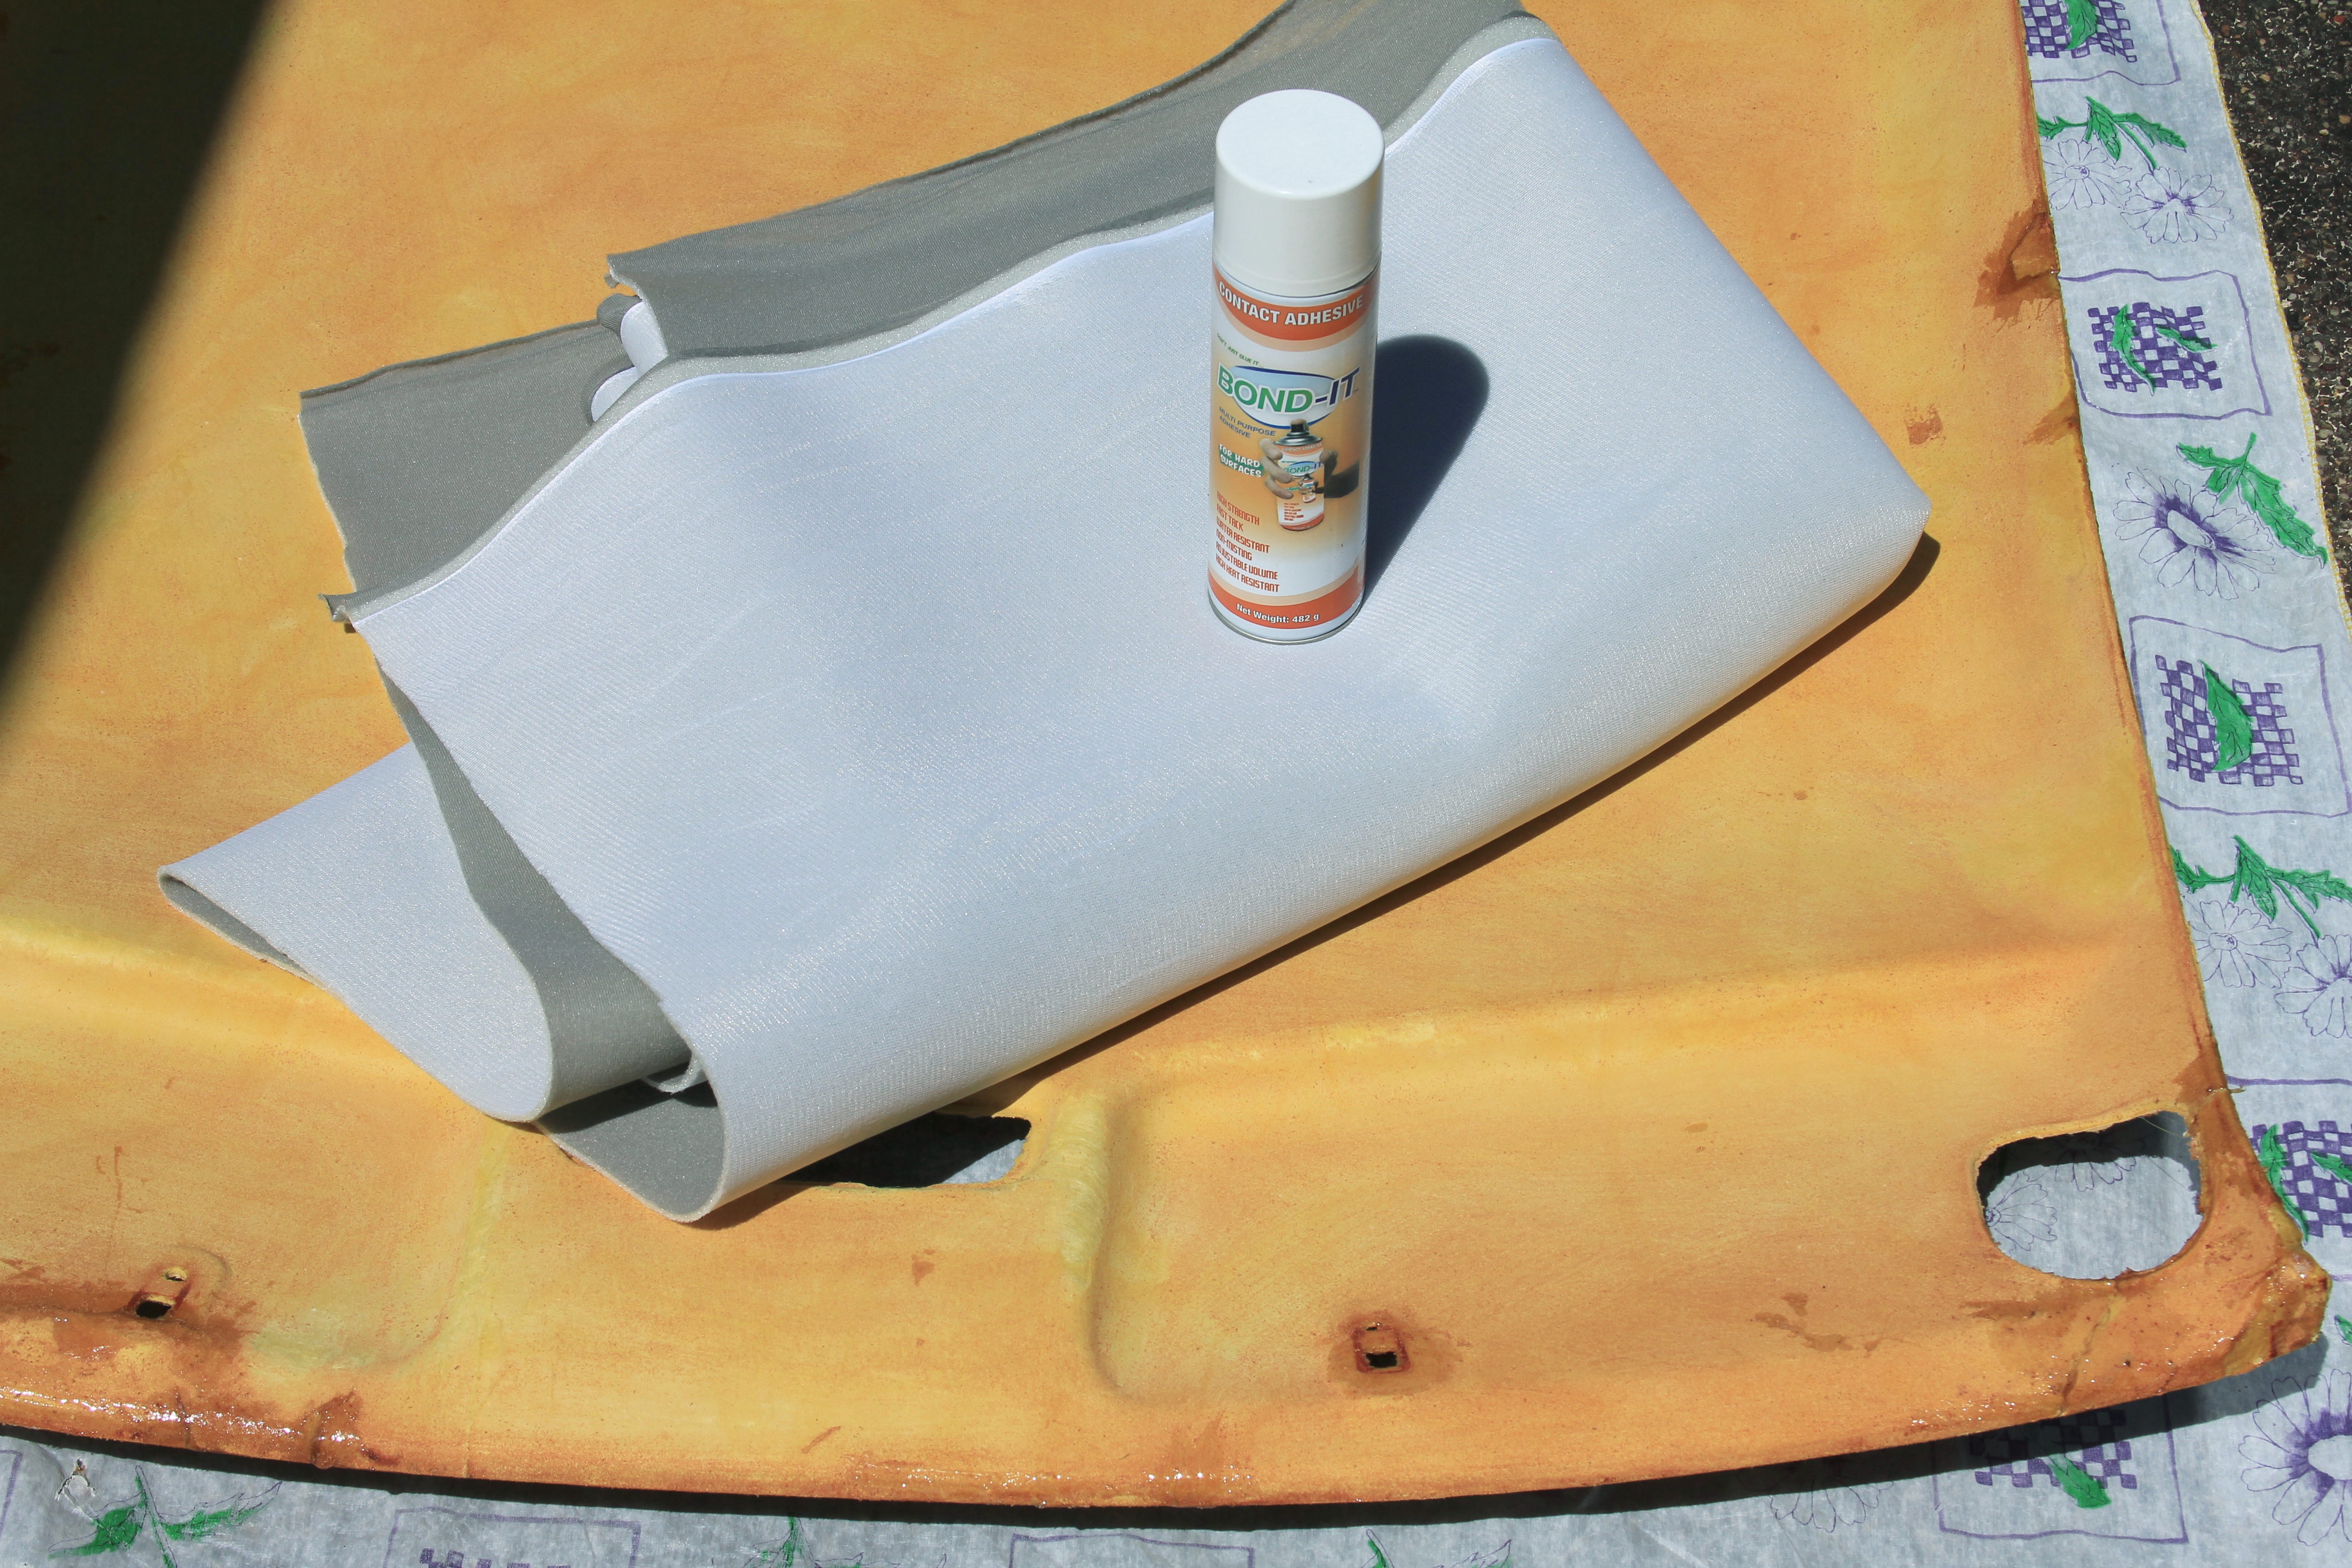
Toyota Camry 1998 Ready To Glue New Fabric
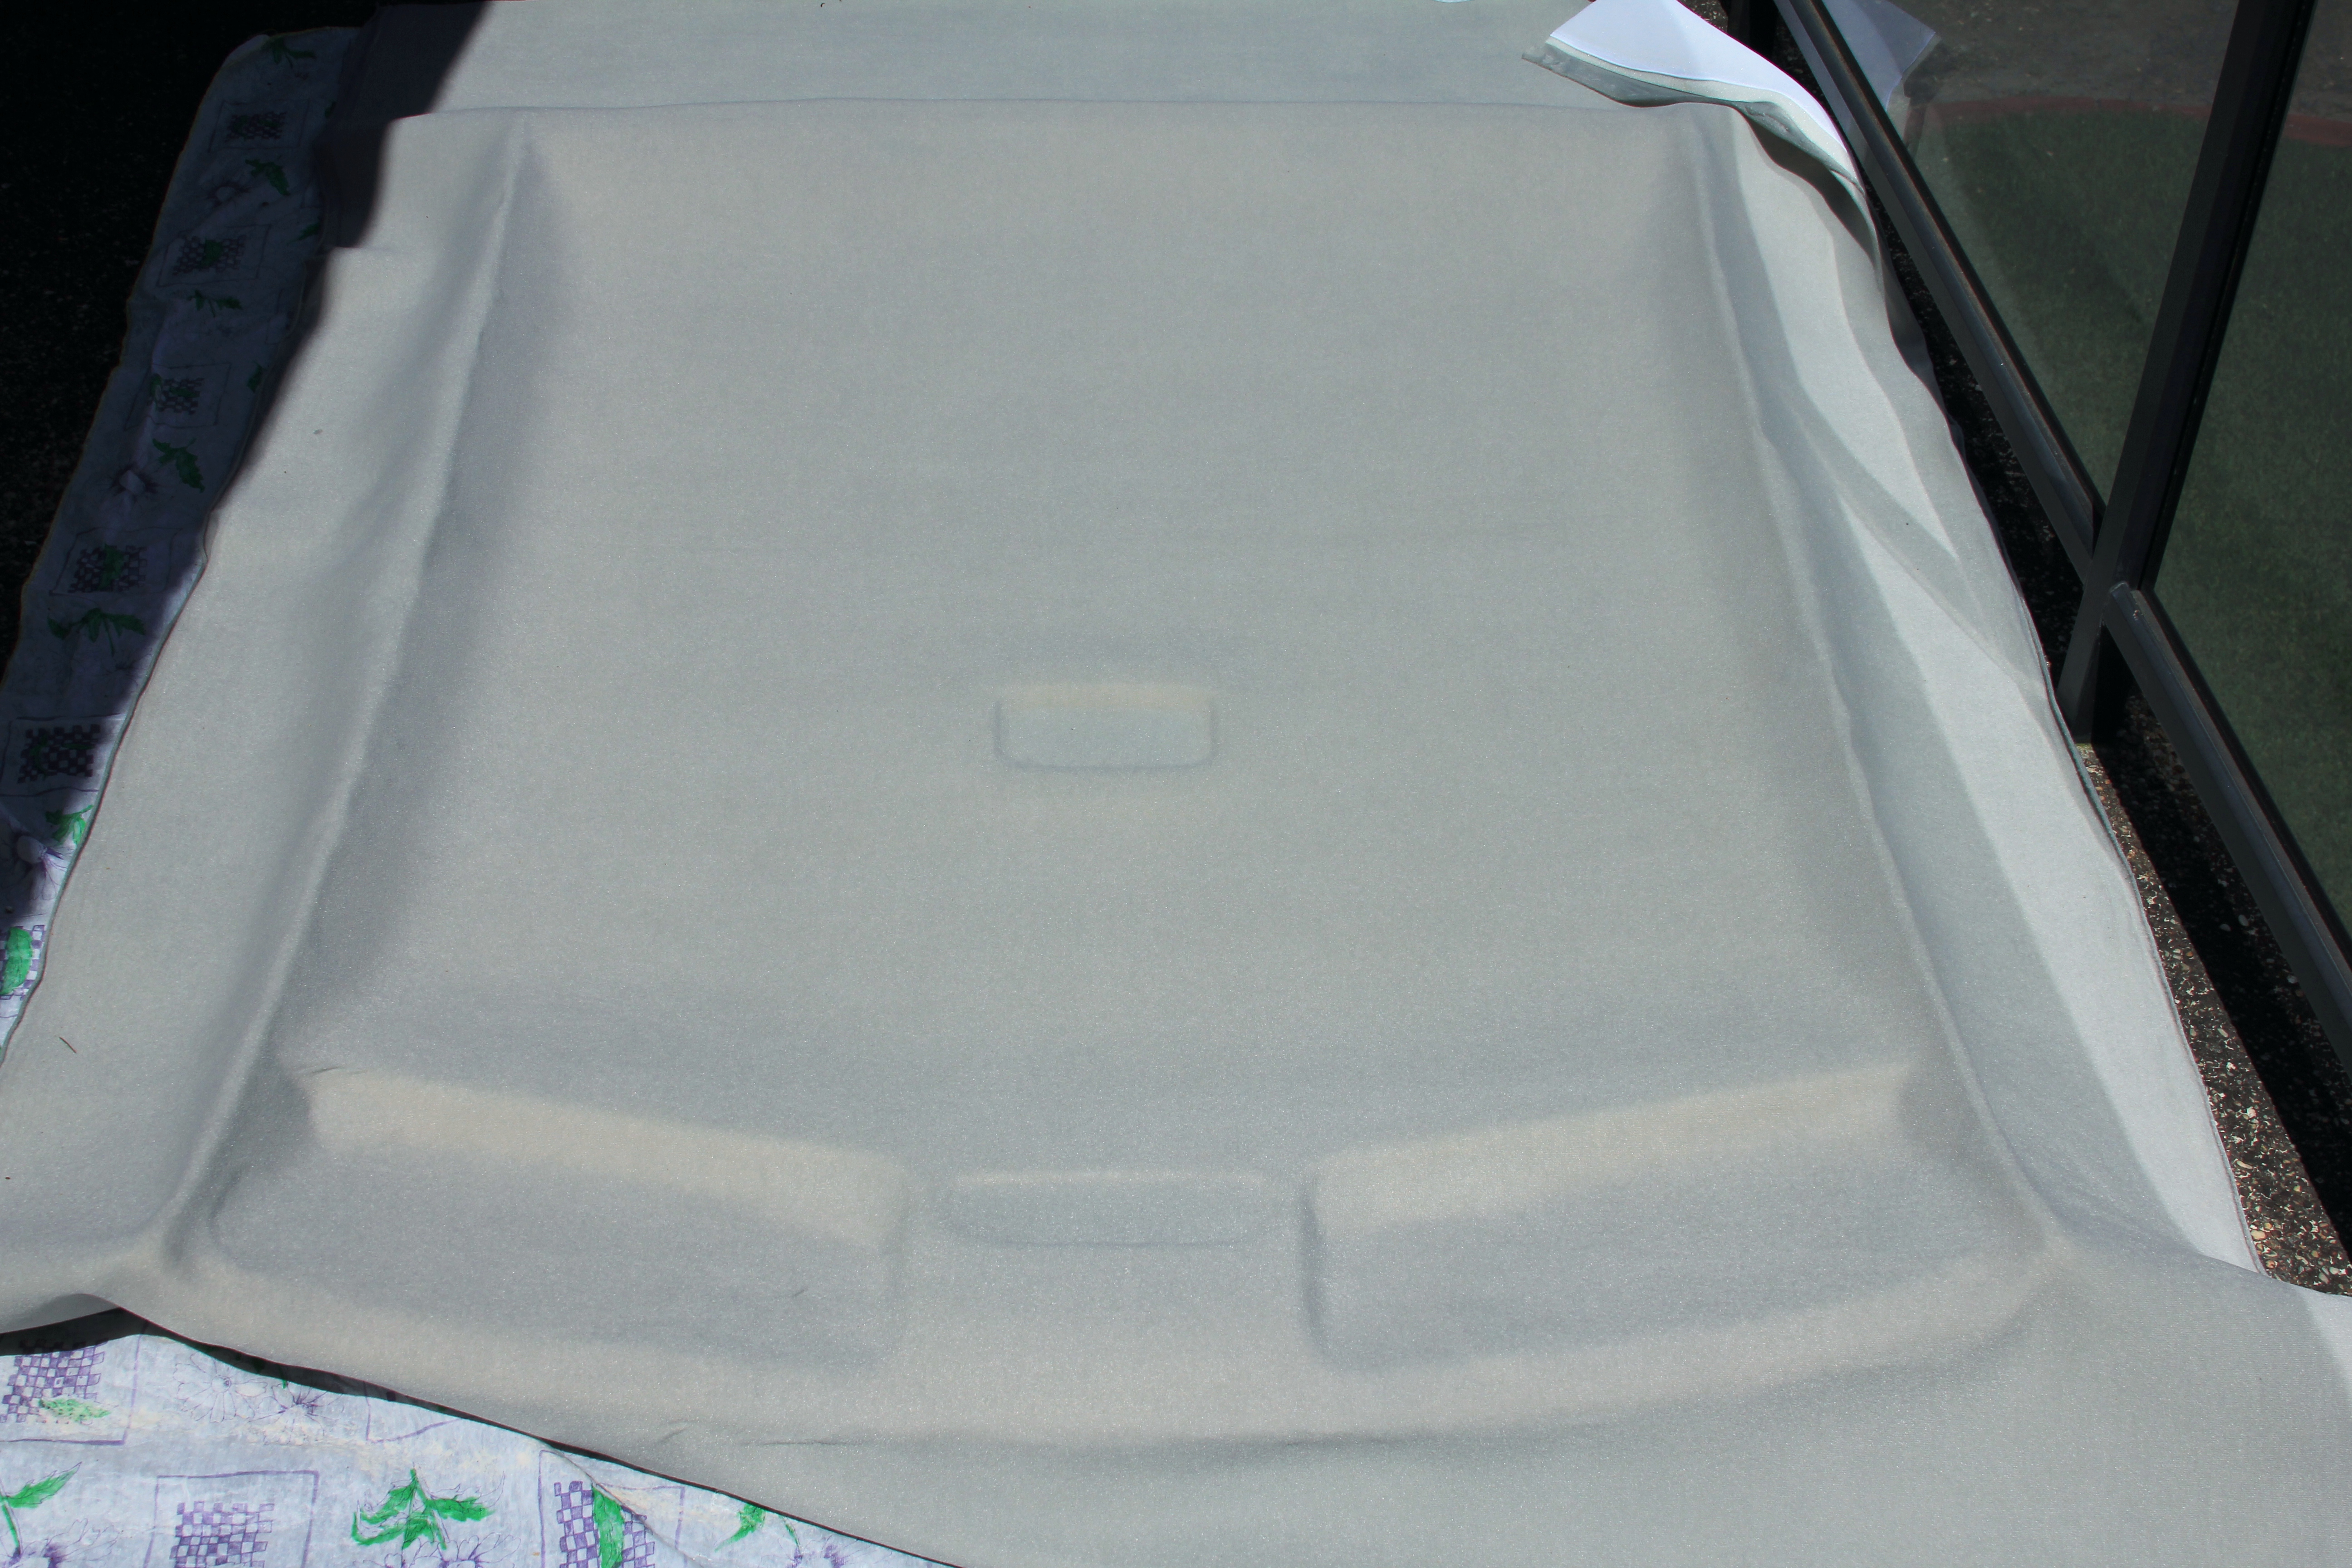
Before applying adhesive do the final try on to avoid unpleasant surprises.

Toyota Camry 1998 Fabric Final Try On
Start from the most difficult surface (usually it is the front one). Apply adhesive to the first quarter of the foam panel and to fabric, carefully glue and move on to the next quarter. At all cost avoid overlapping of the fabric with itself after adhesive is applied – it is very difficult to fix such issues. When done with gluing trim the excess of the fabric and let it dry for a few hours until the drying glue doesn’t smell anymore.
Toyota Camry 1998 Fabric Glued
Before putting the panel back decide how you are going to install video cameras and how to hide wiring. We picked two channel Blackvue, one of the best video recorders currently on the market. It has two, front and rear cameras and the rear one is supposed to be connected with the front one via a coaxial cable. It would be reasonable to hide the cable behind the foam panel.
Again, it would be highly desirable to do this part of job with more than just one pair of hands. This step is even more critical than panel removal – we can’t afford to make even one crack when installing the panel back. When the panel is finally back in its place adjust its location by installing grab-handles.
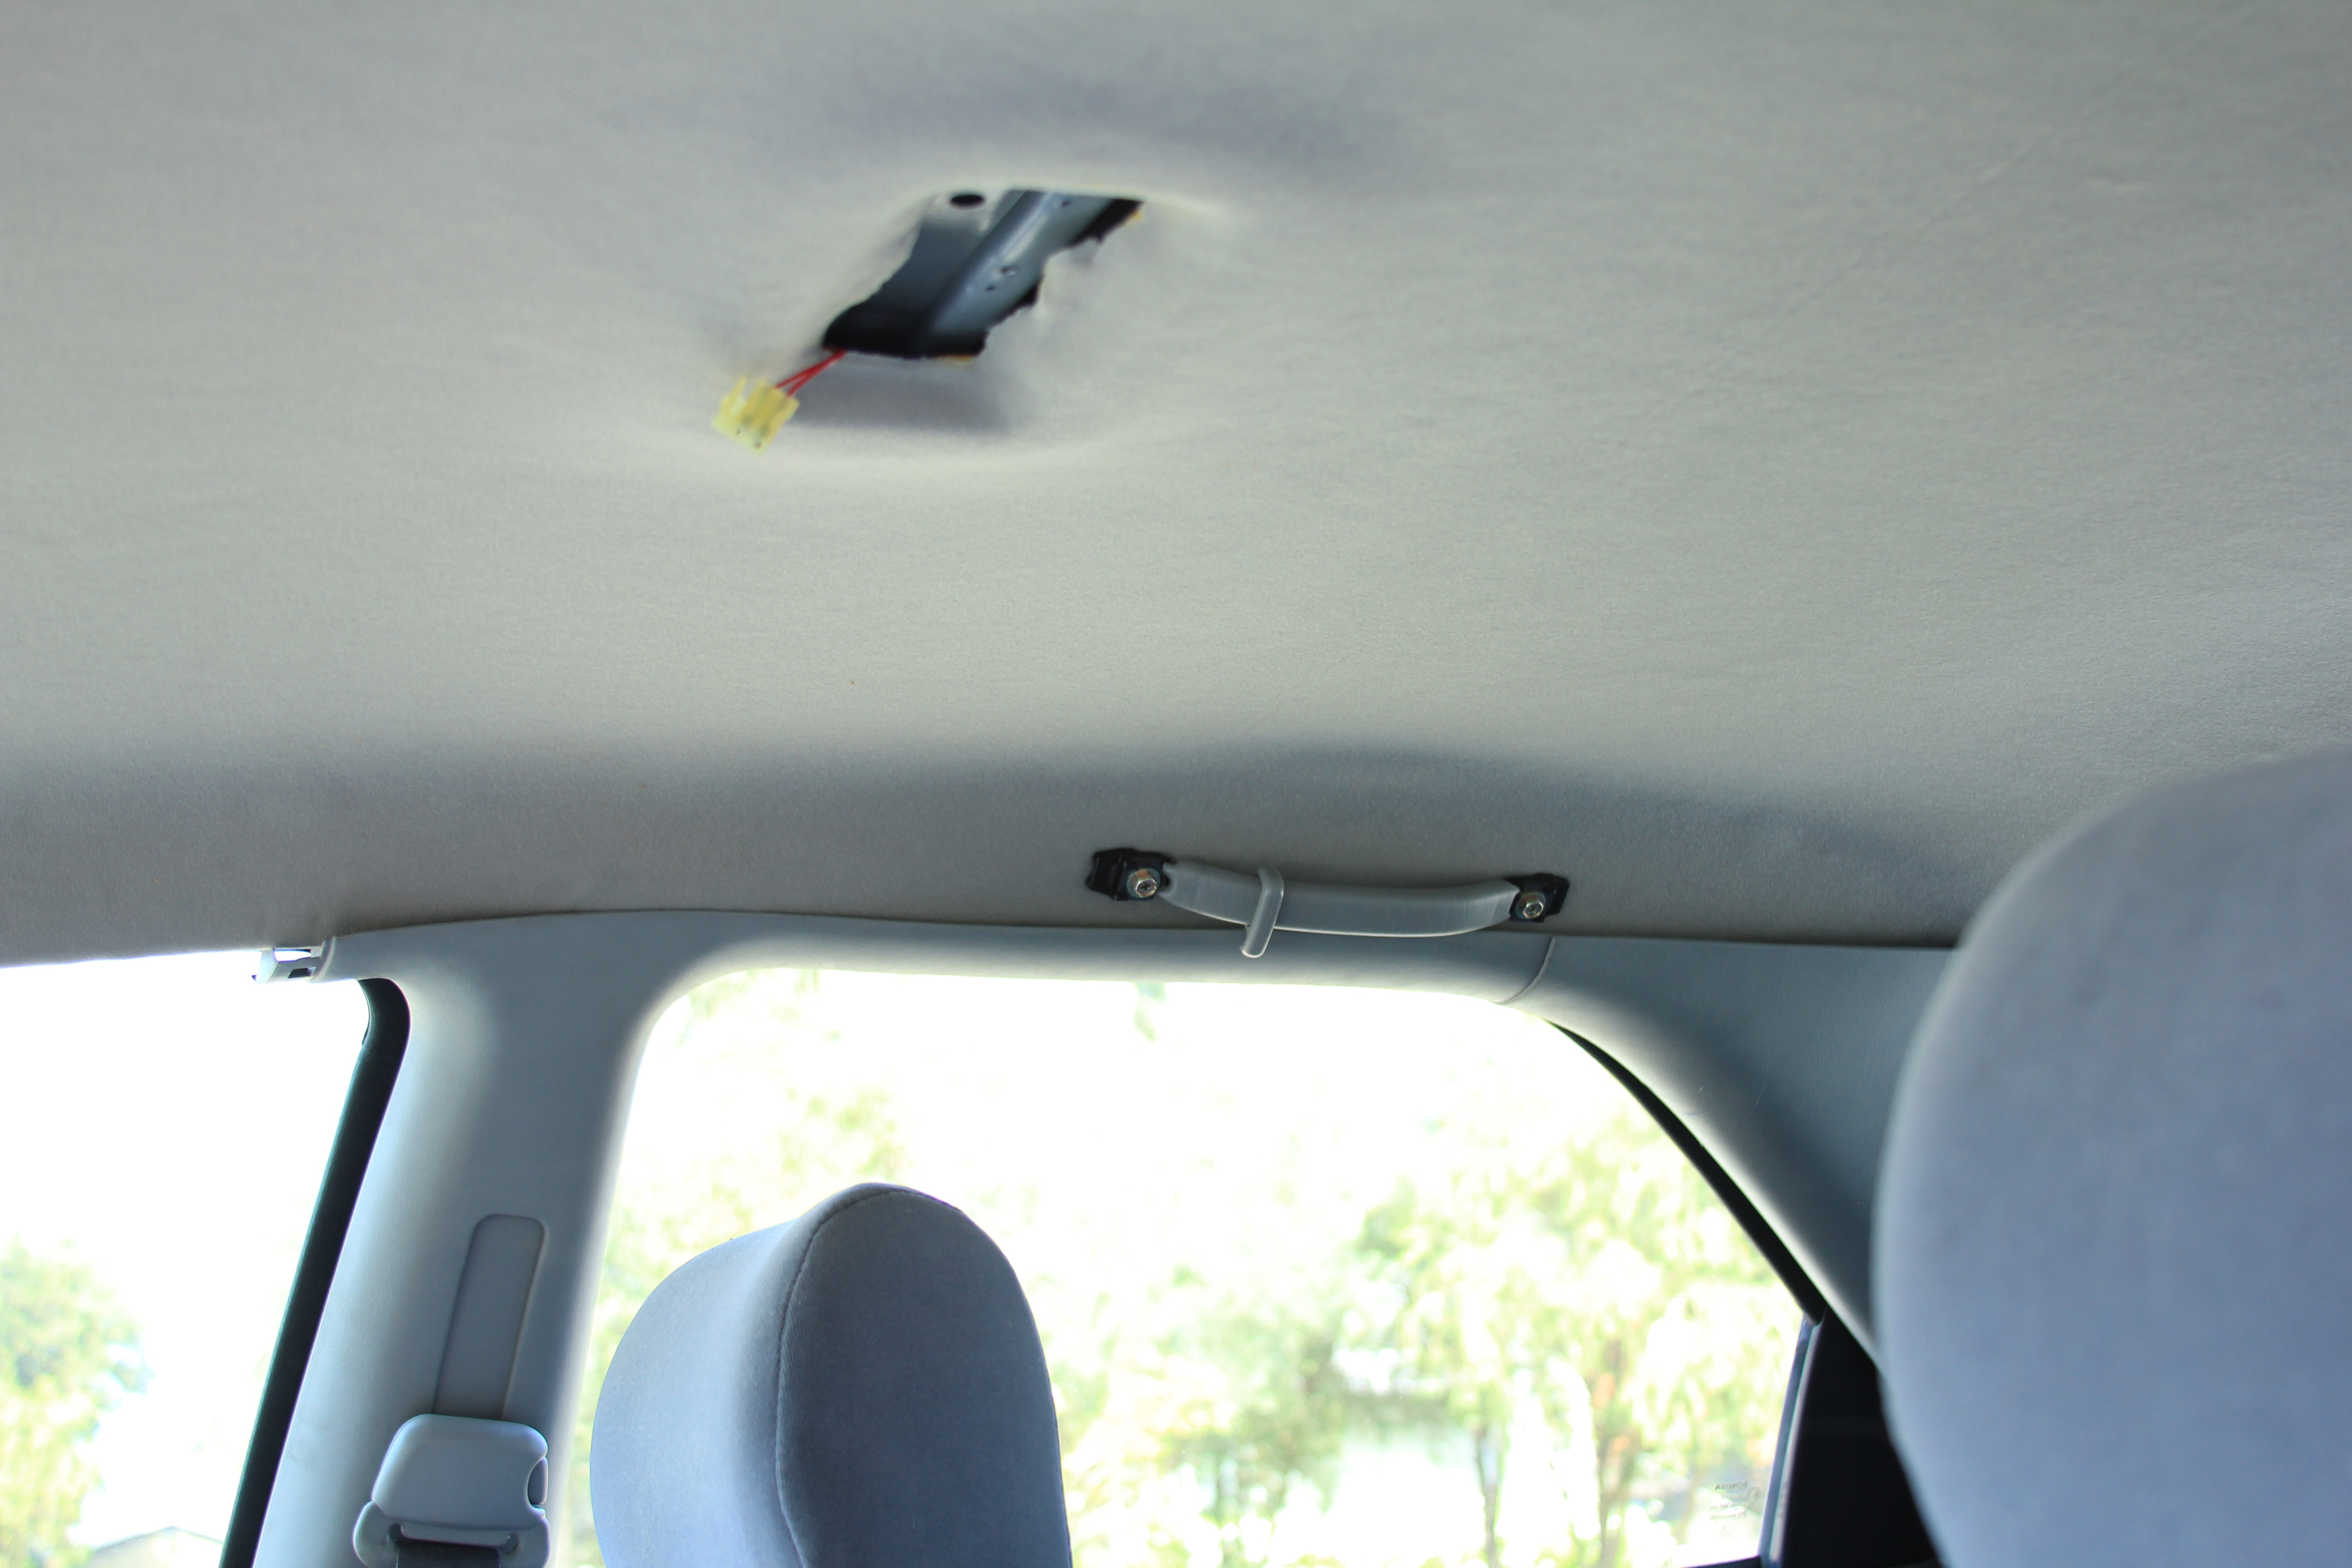
Plastic Panels Not Secured Yet
Next step is preparation for sun visors fitment.
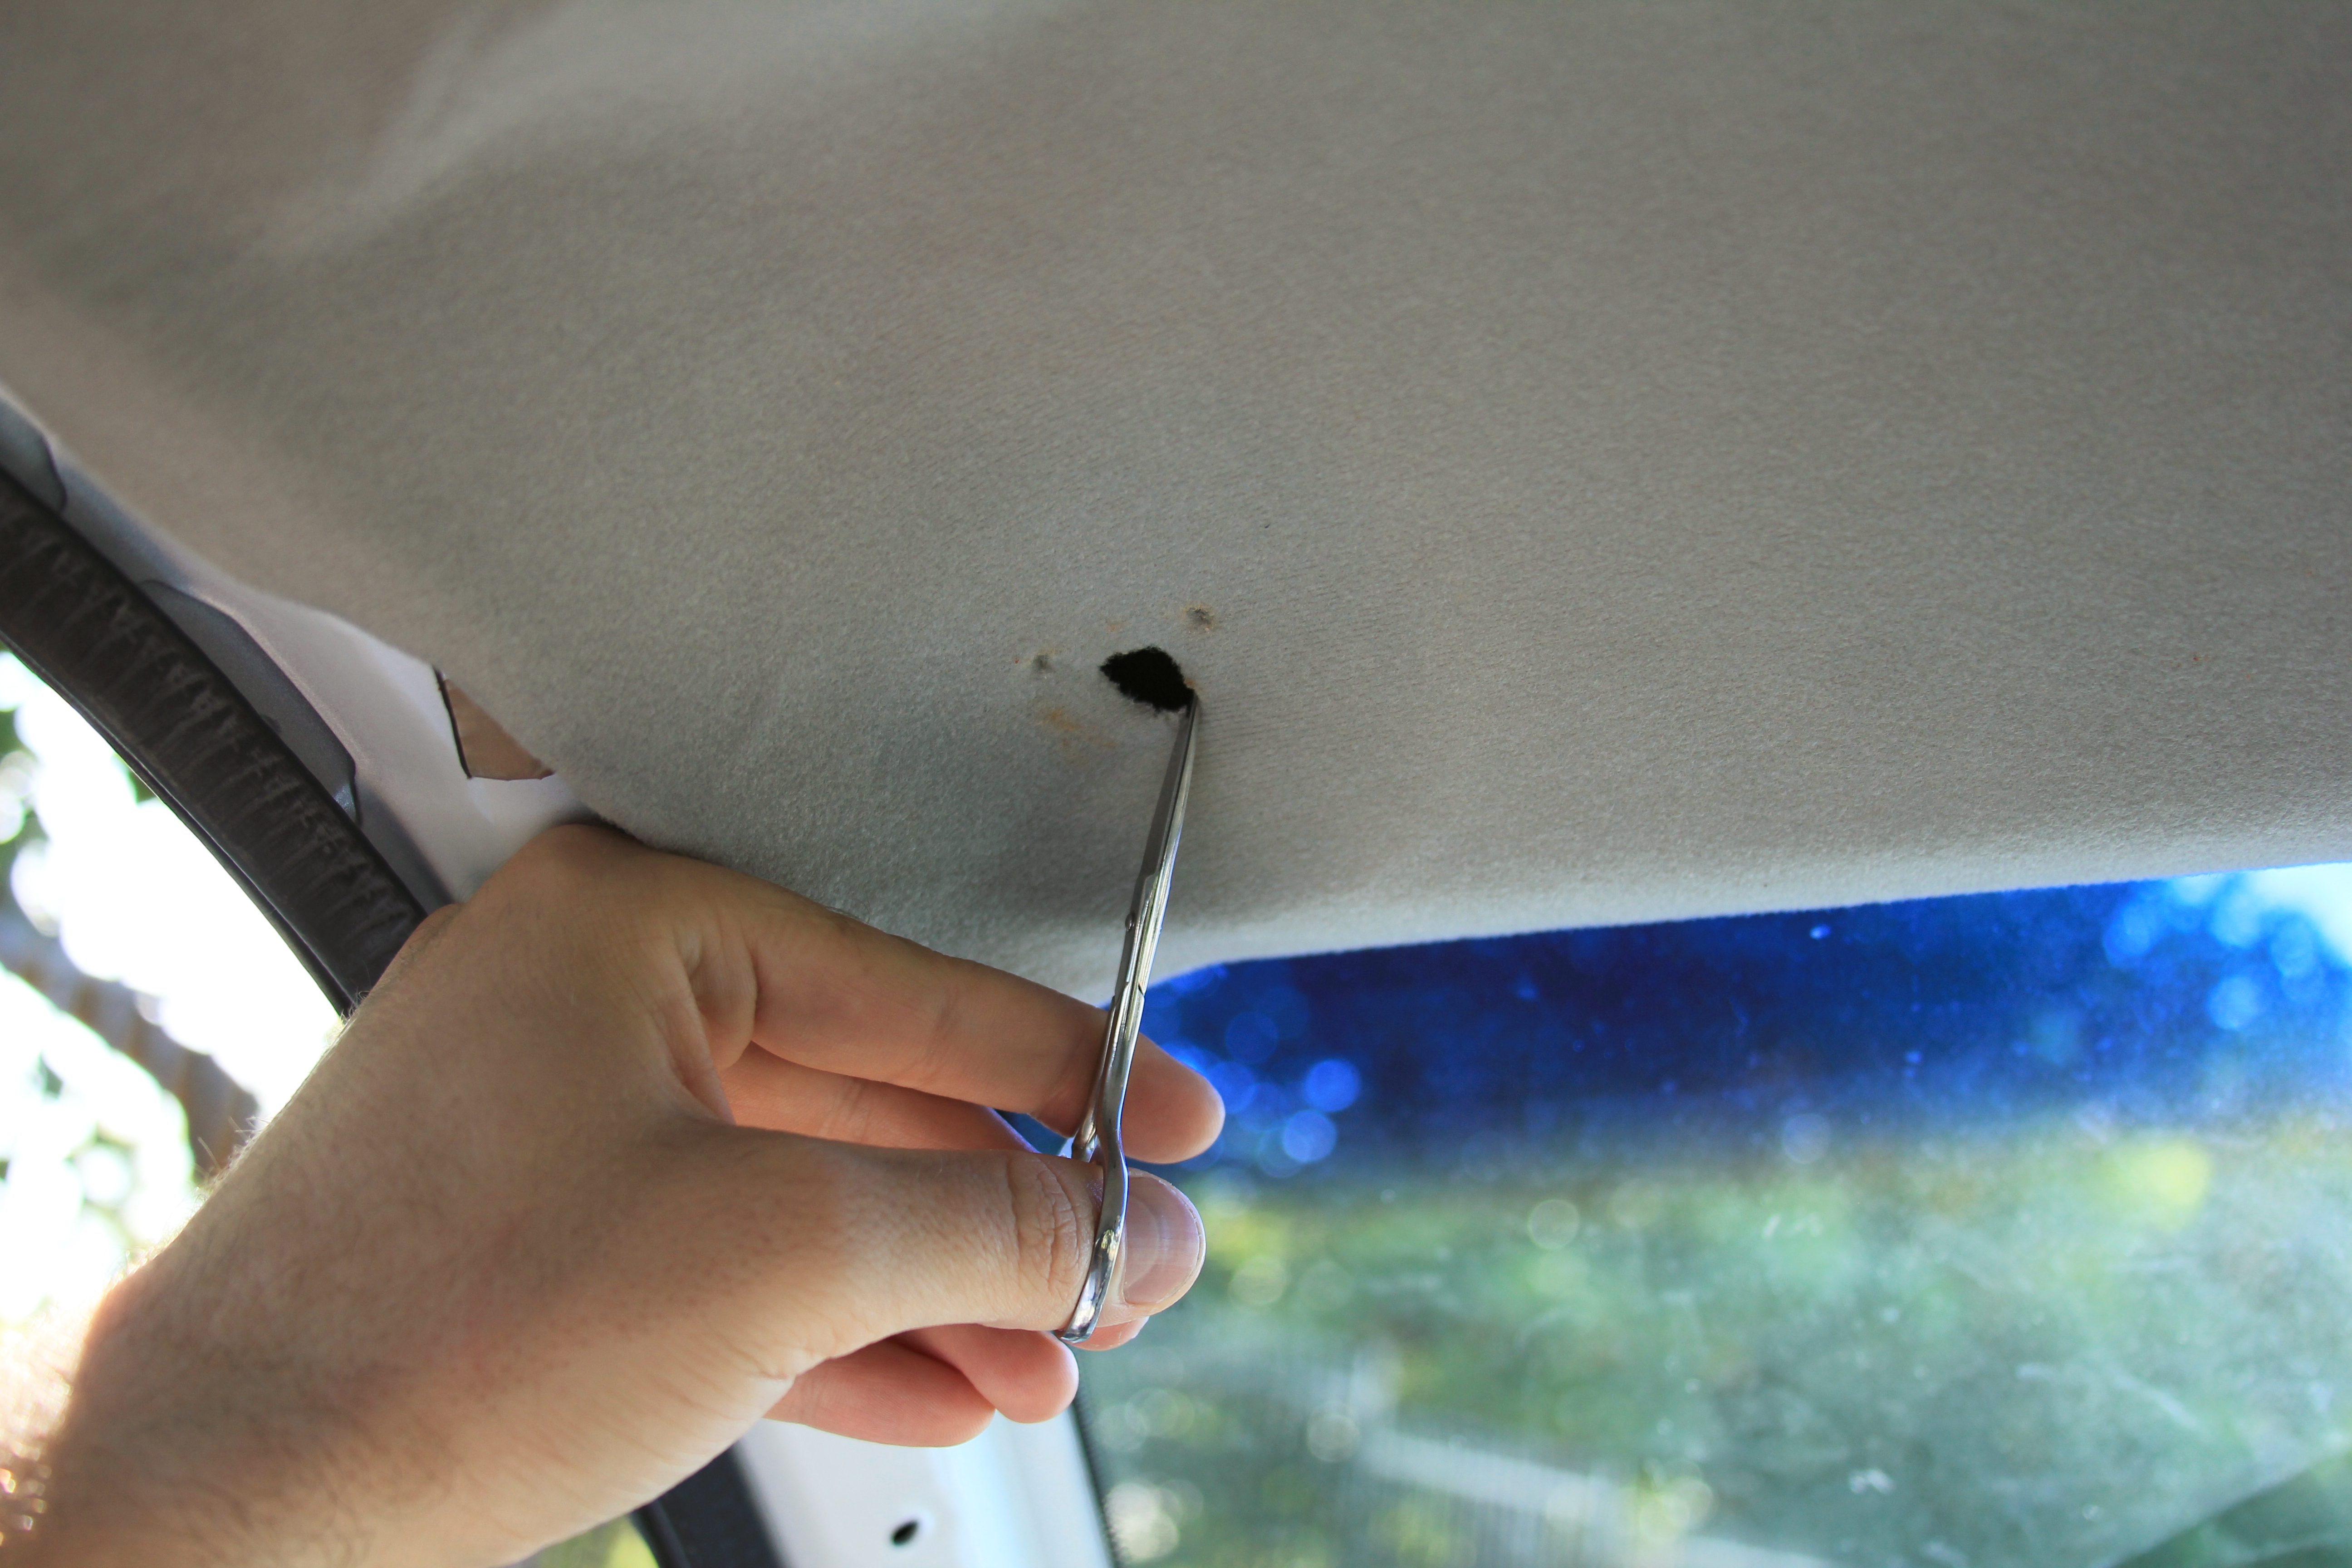
Preparation For Sun Visors Fitment
… and then comes the actual visor fitment.
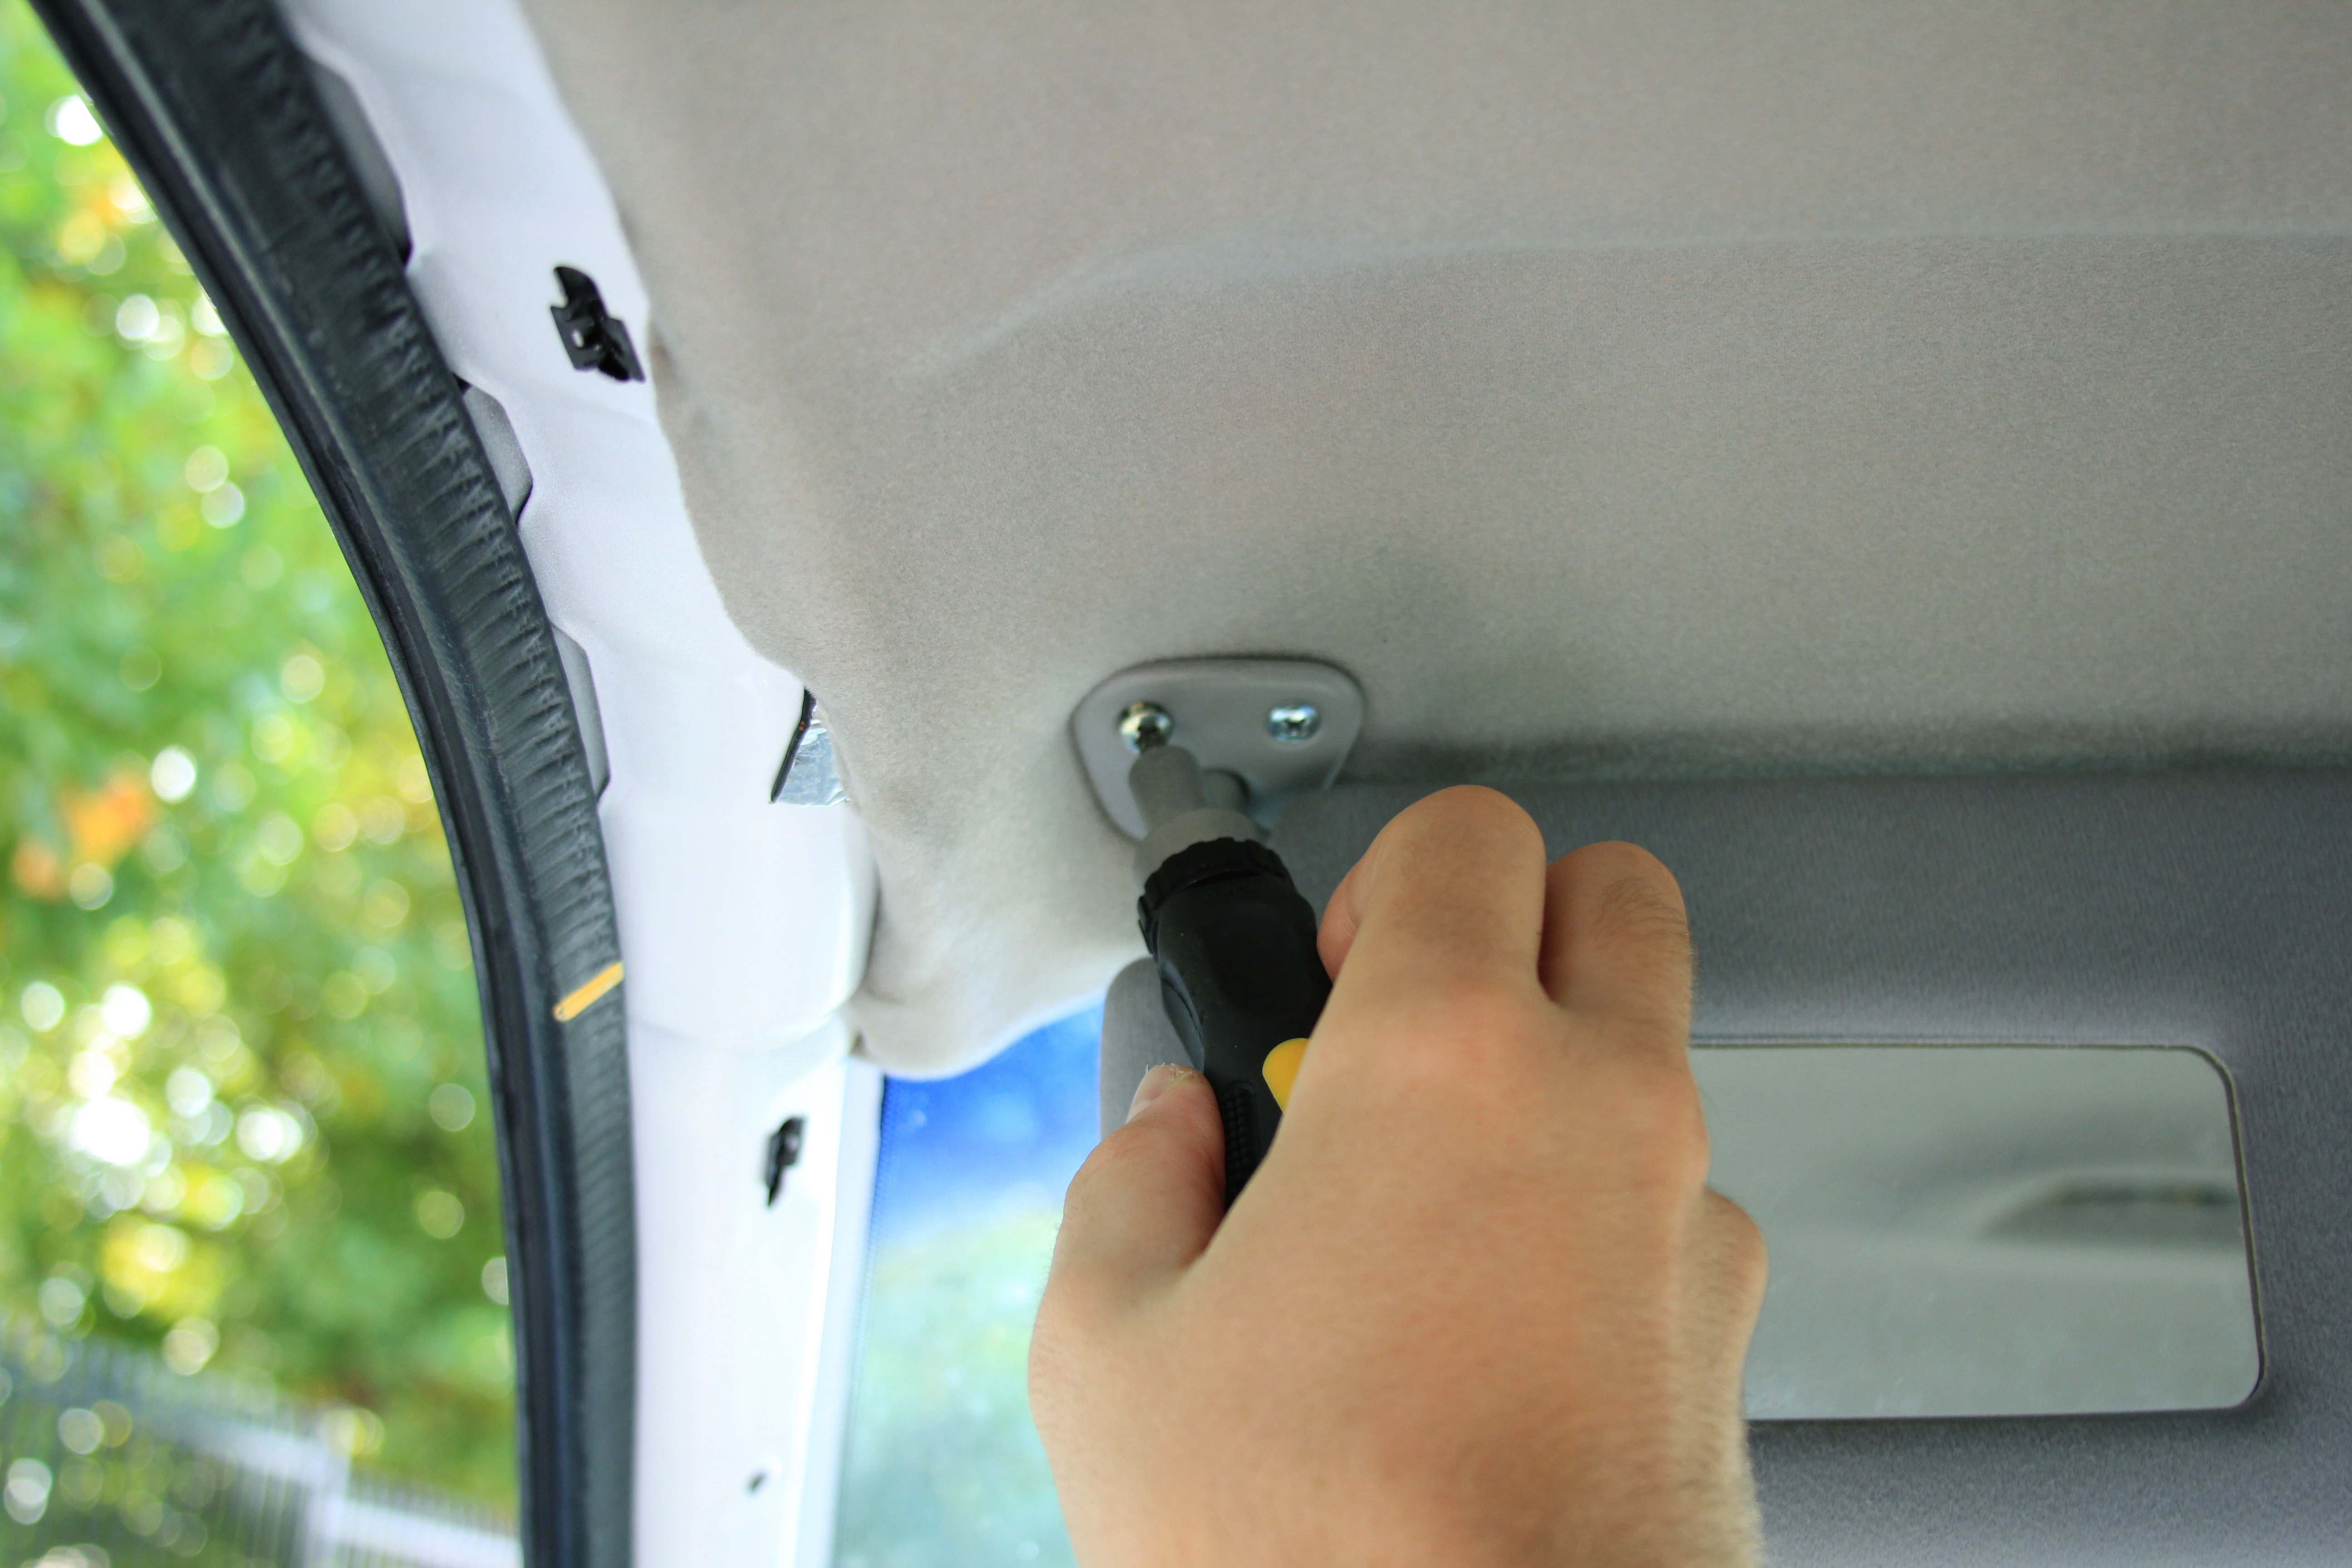
Sun Visors Fitment
Next step is to install front interior lights.
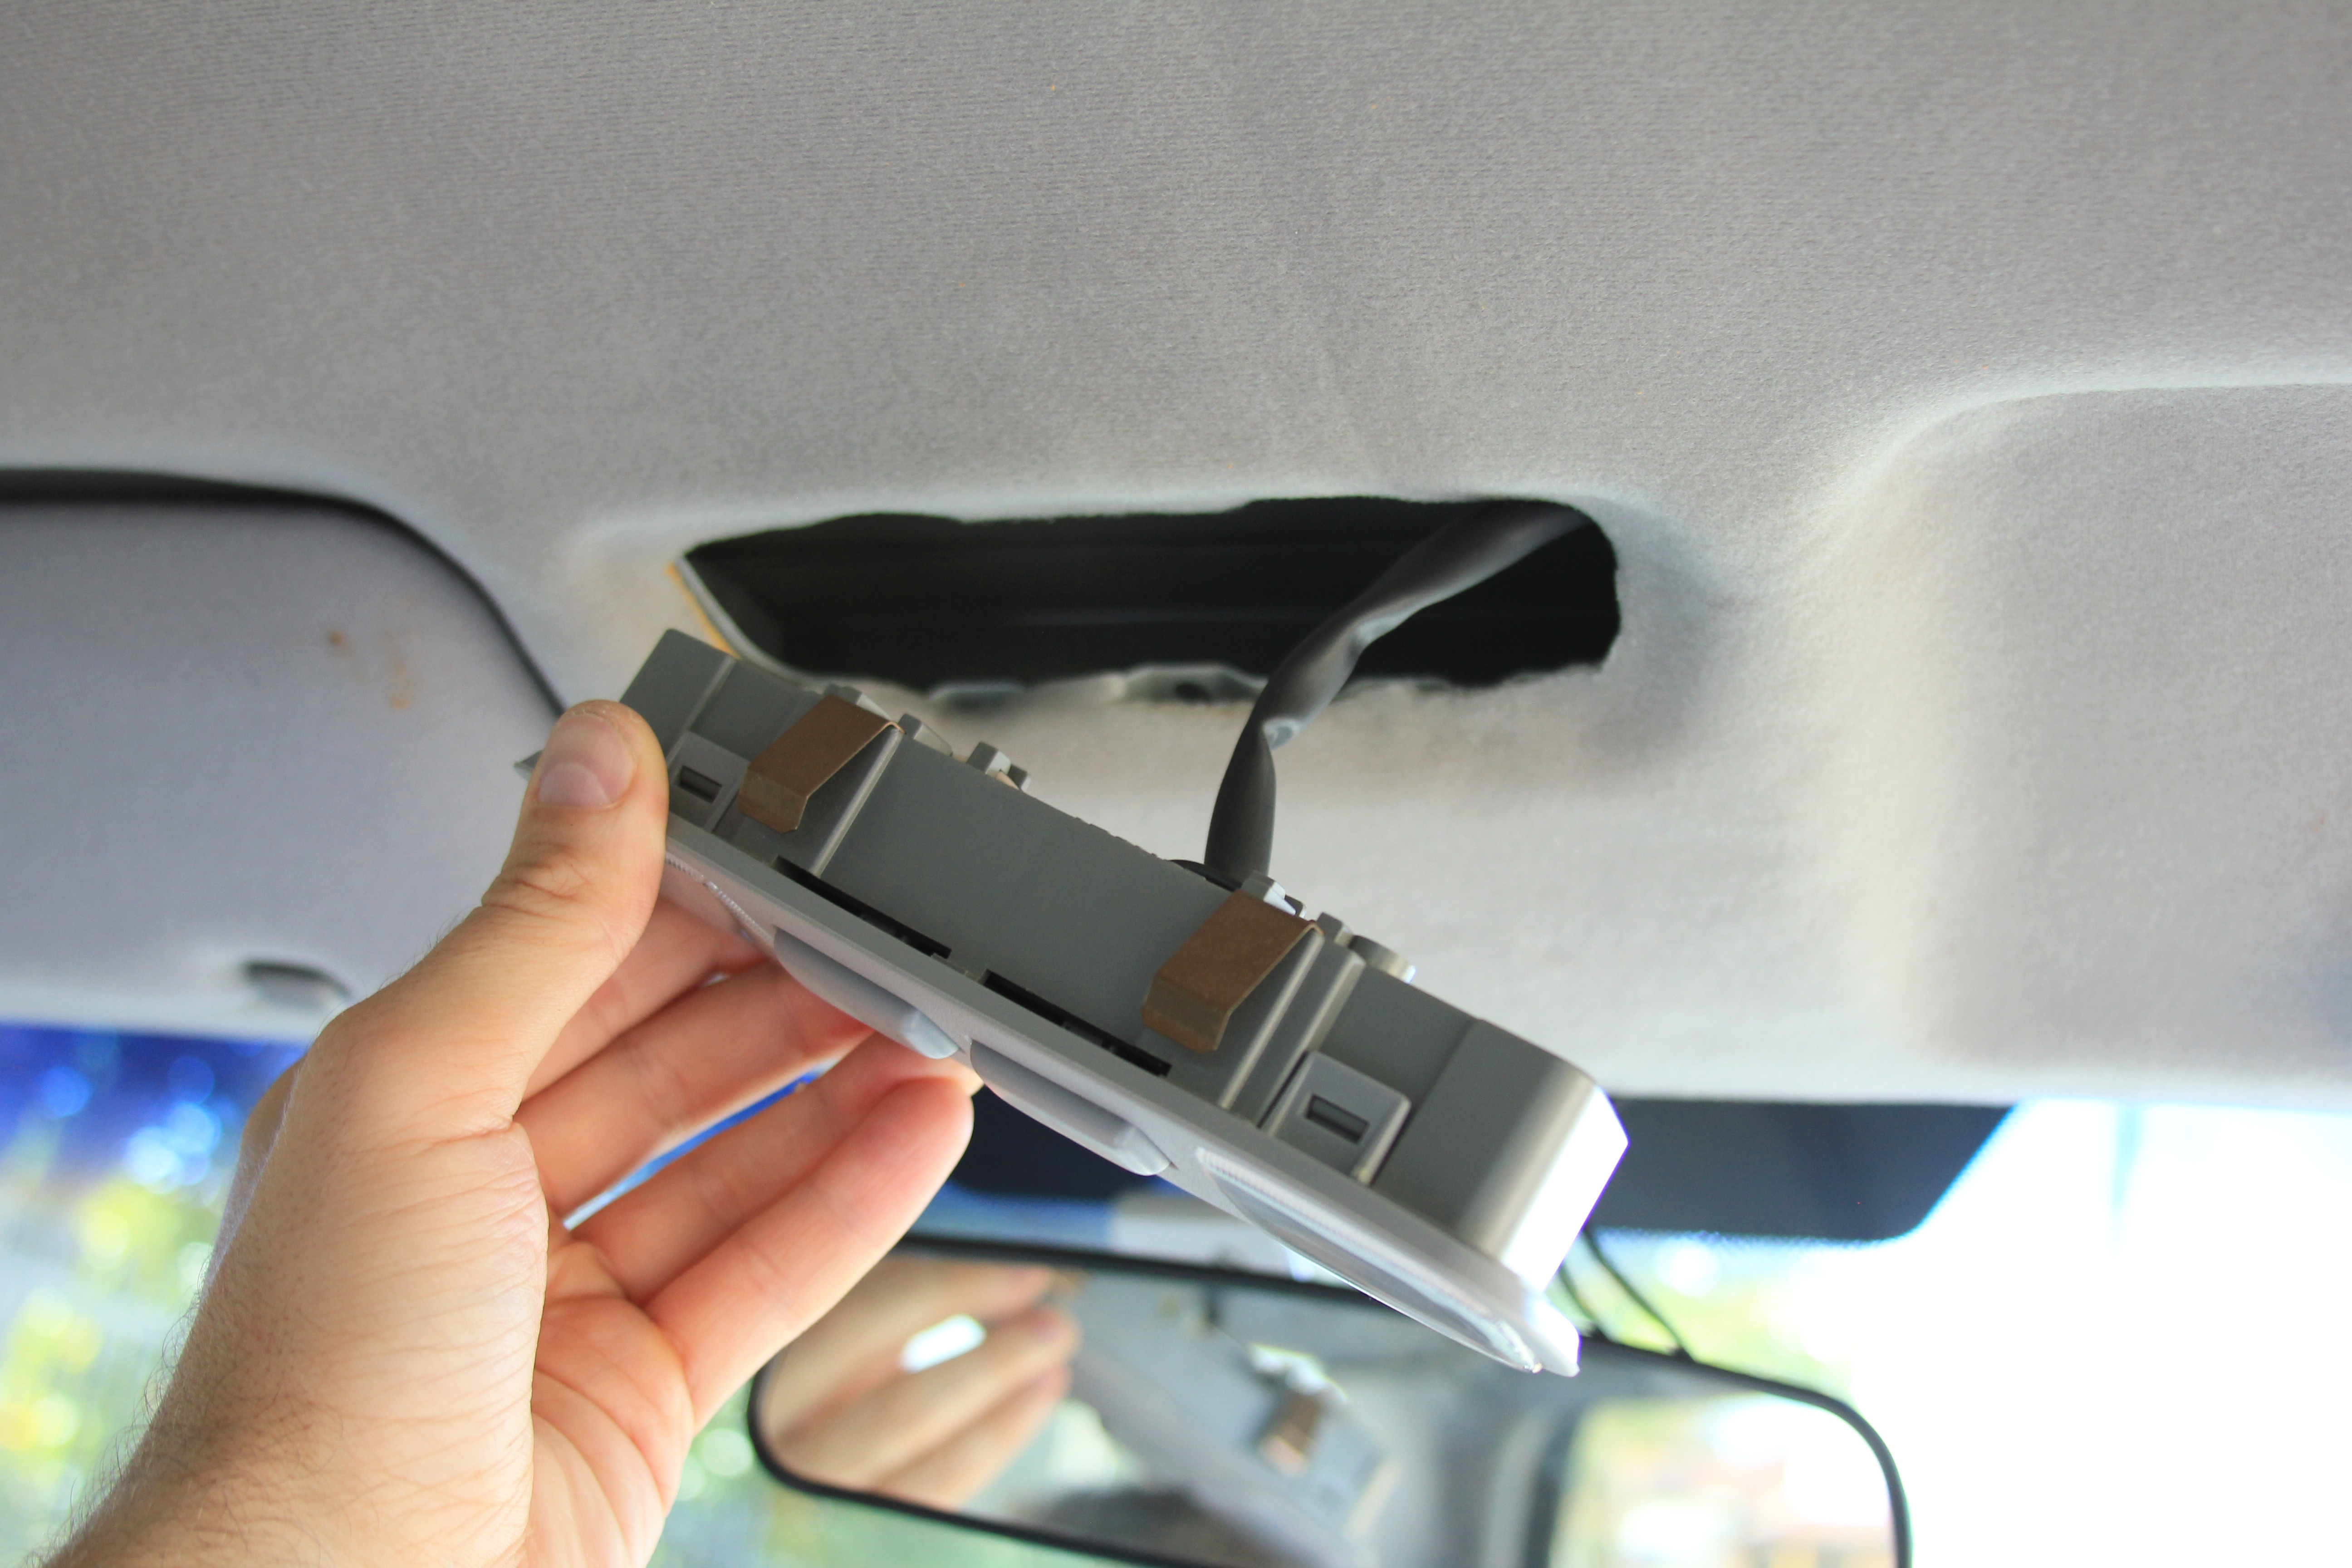
Fitting Front Interior Lights
Finally installing back primary interior lights…
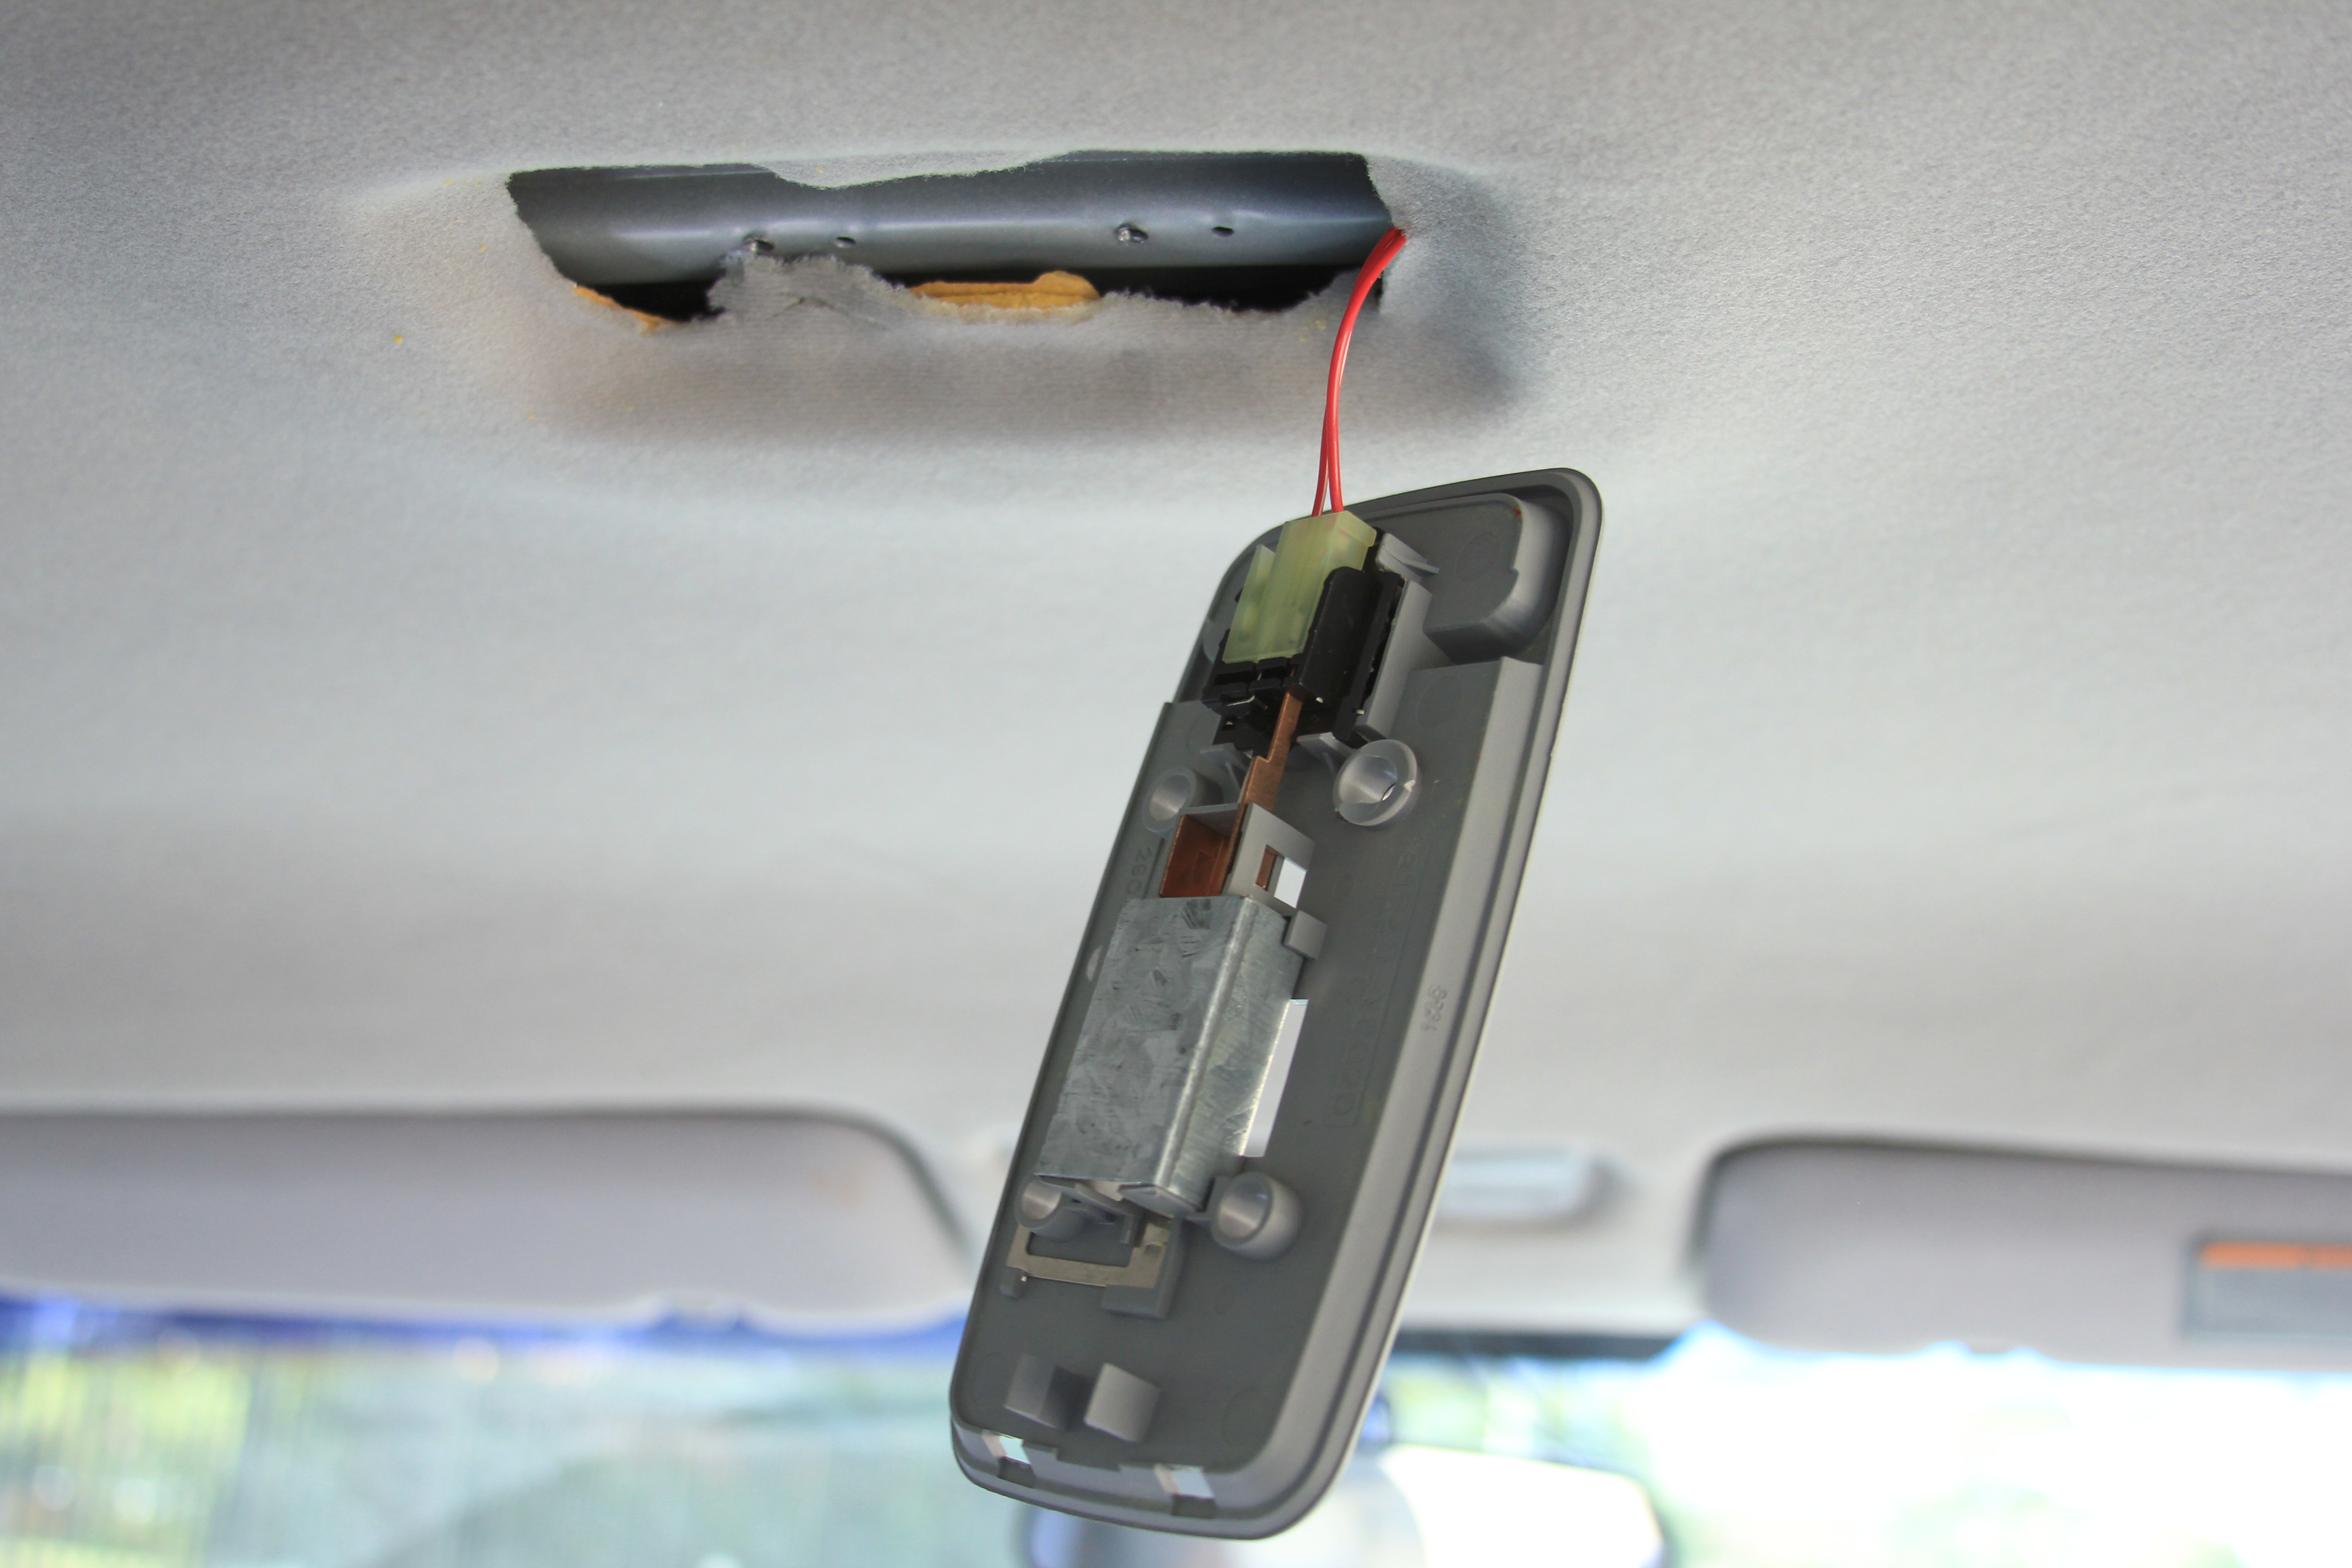
Fitting Interior Lights
And firmly securing the assembly in place.
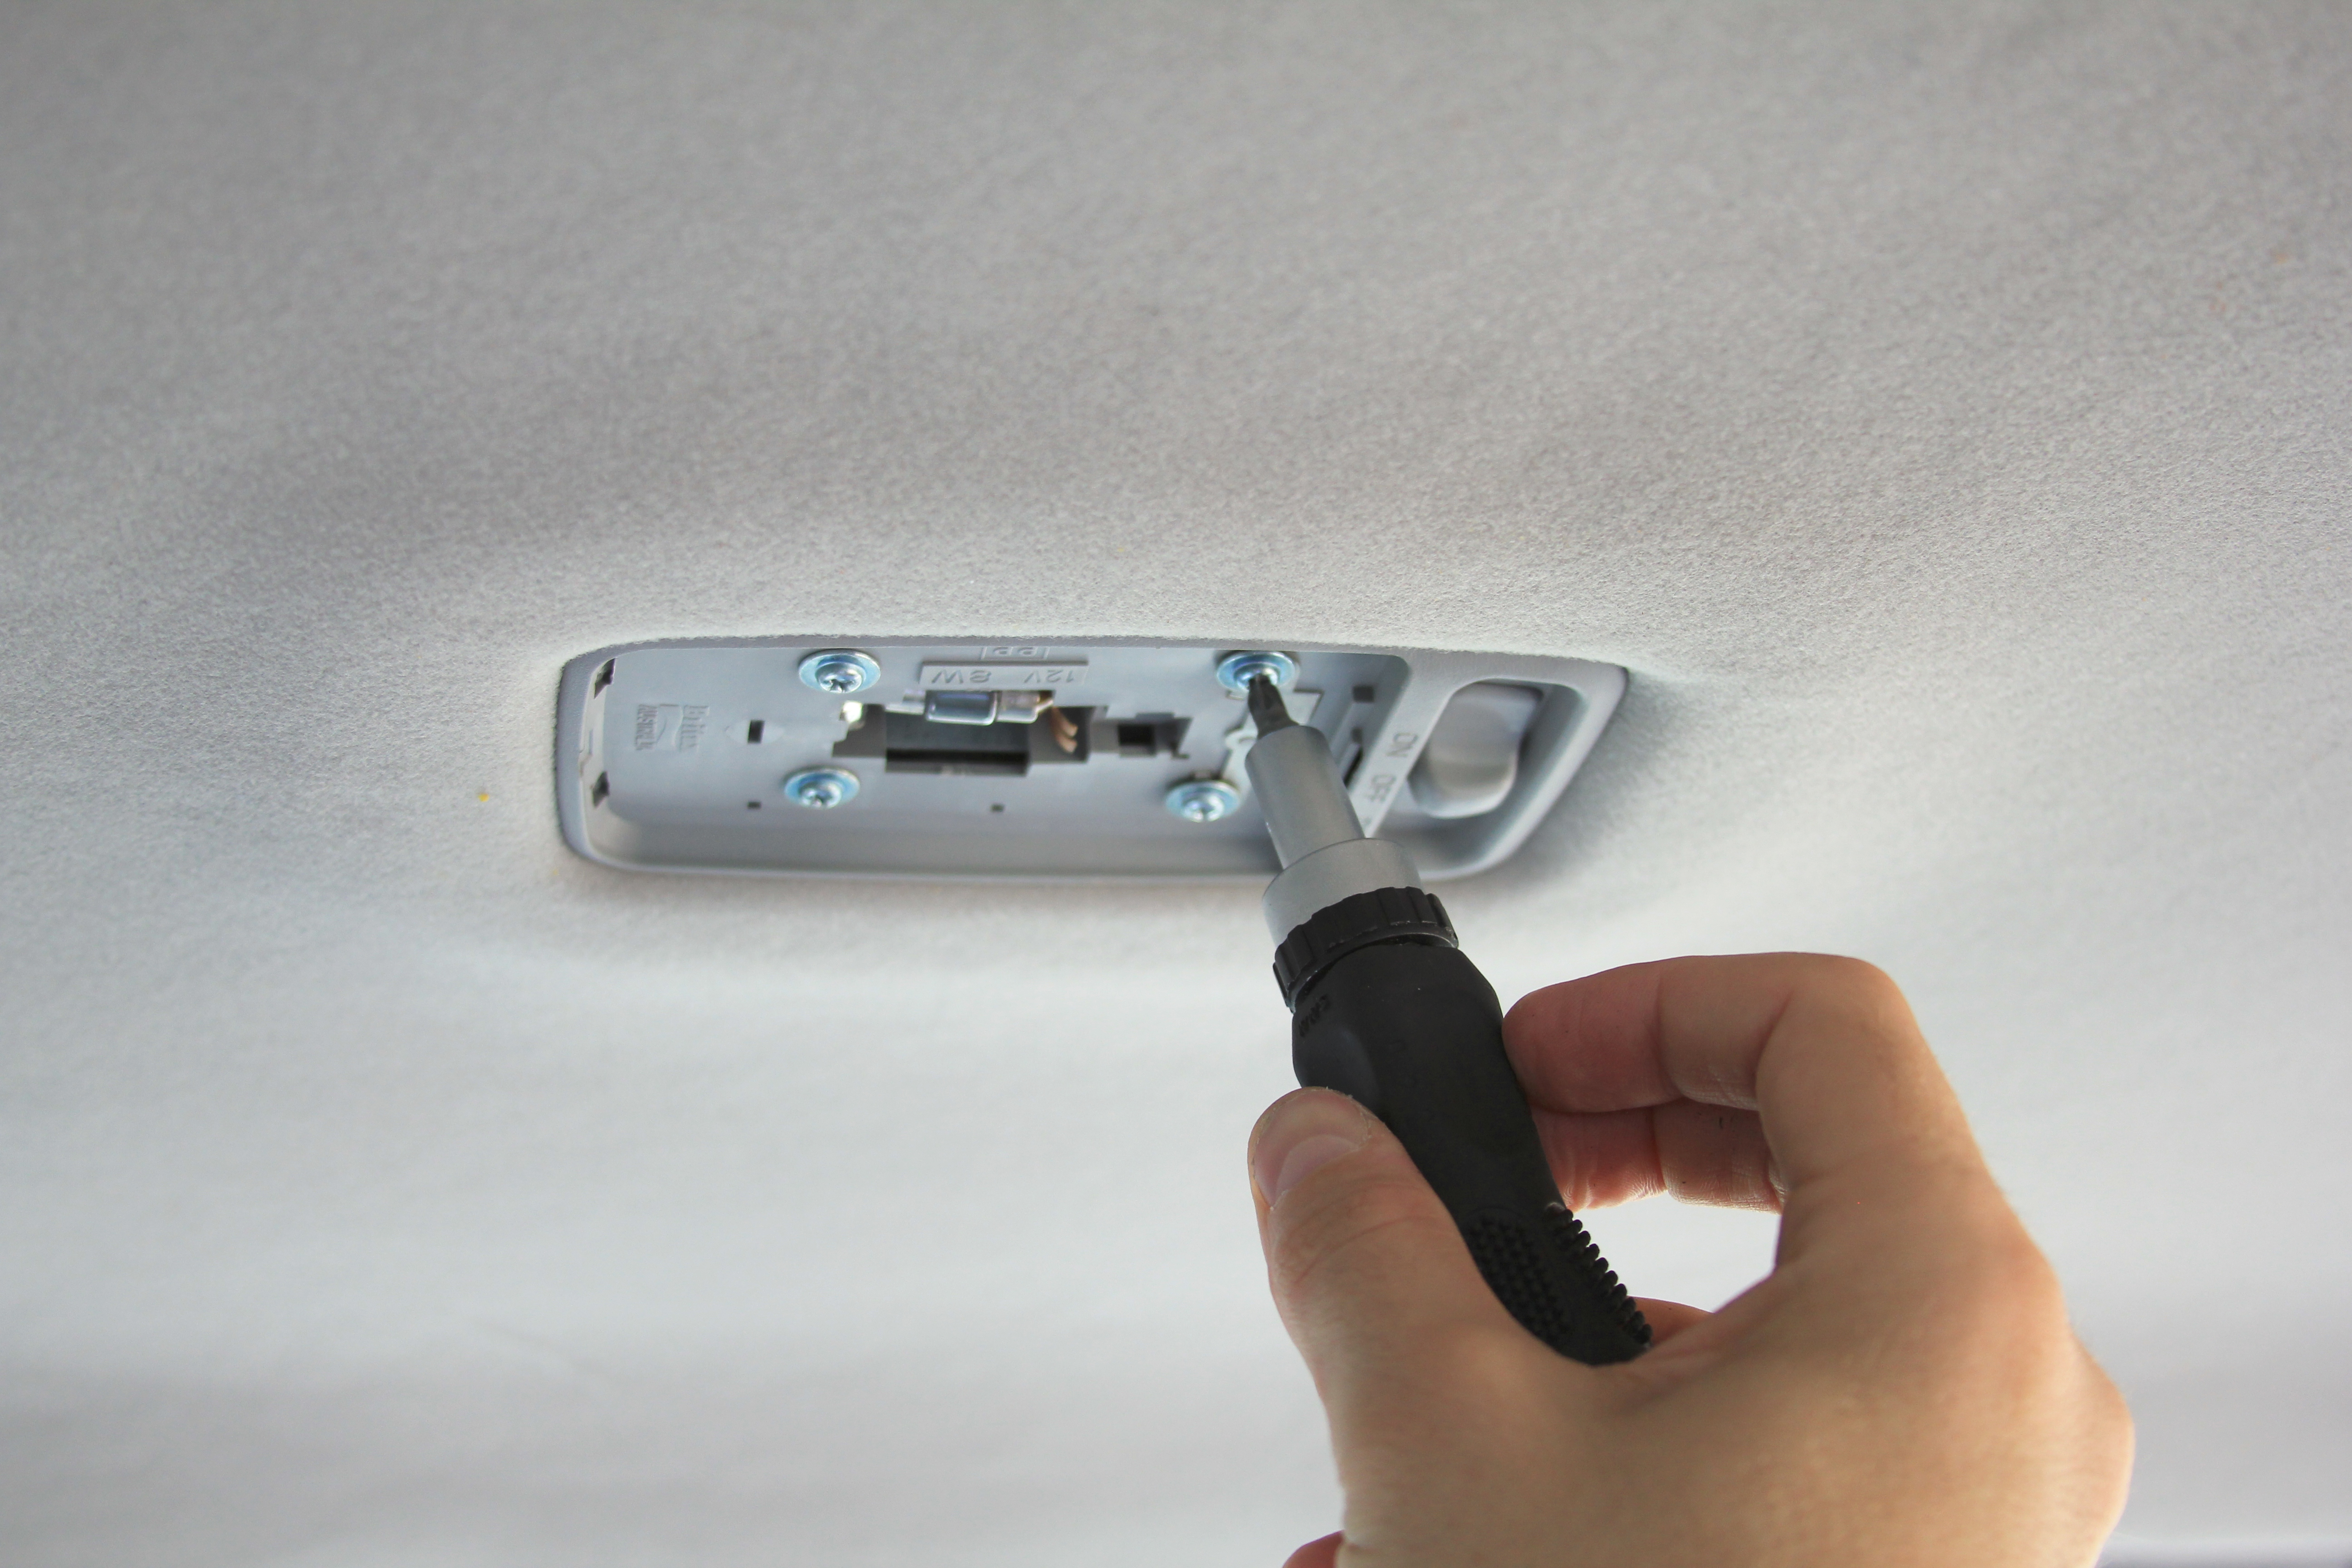
Fitting Interior Lights
Just doing the final touch to the elements of interior…
Final Touches
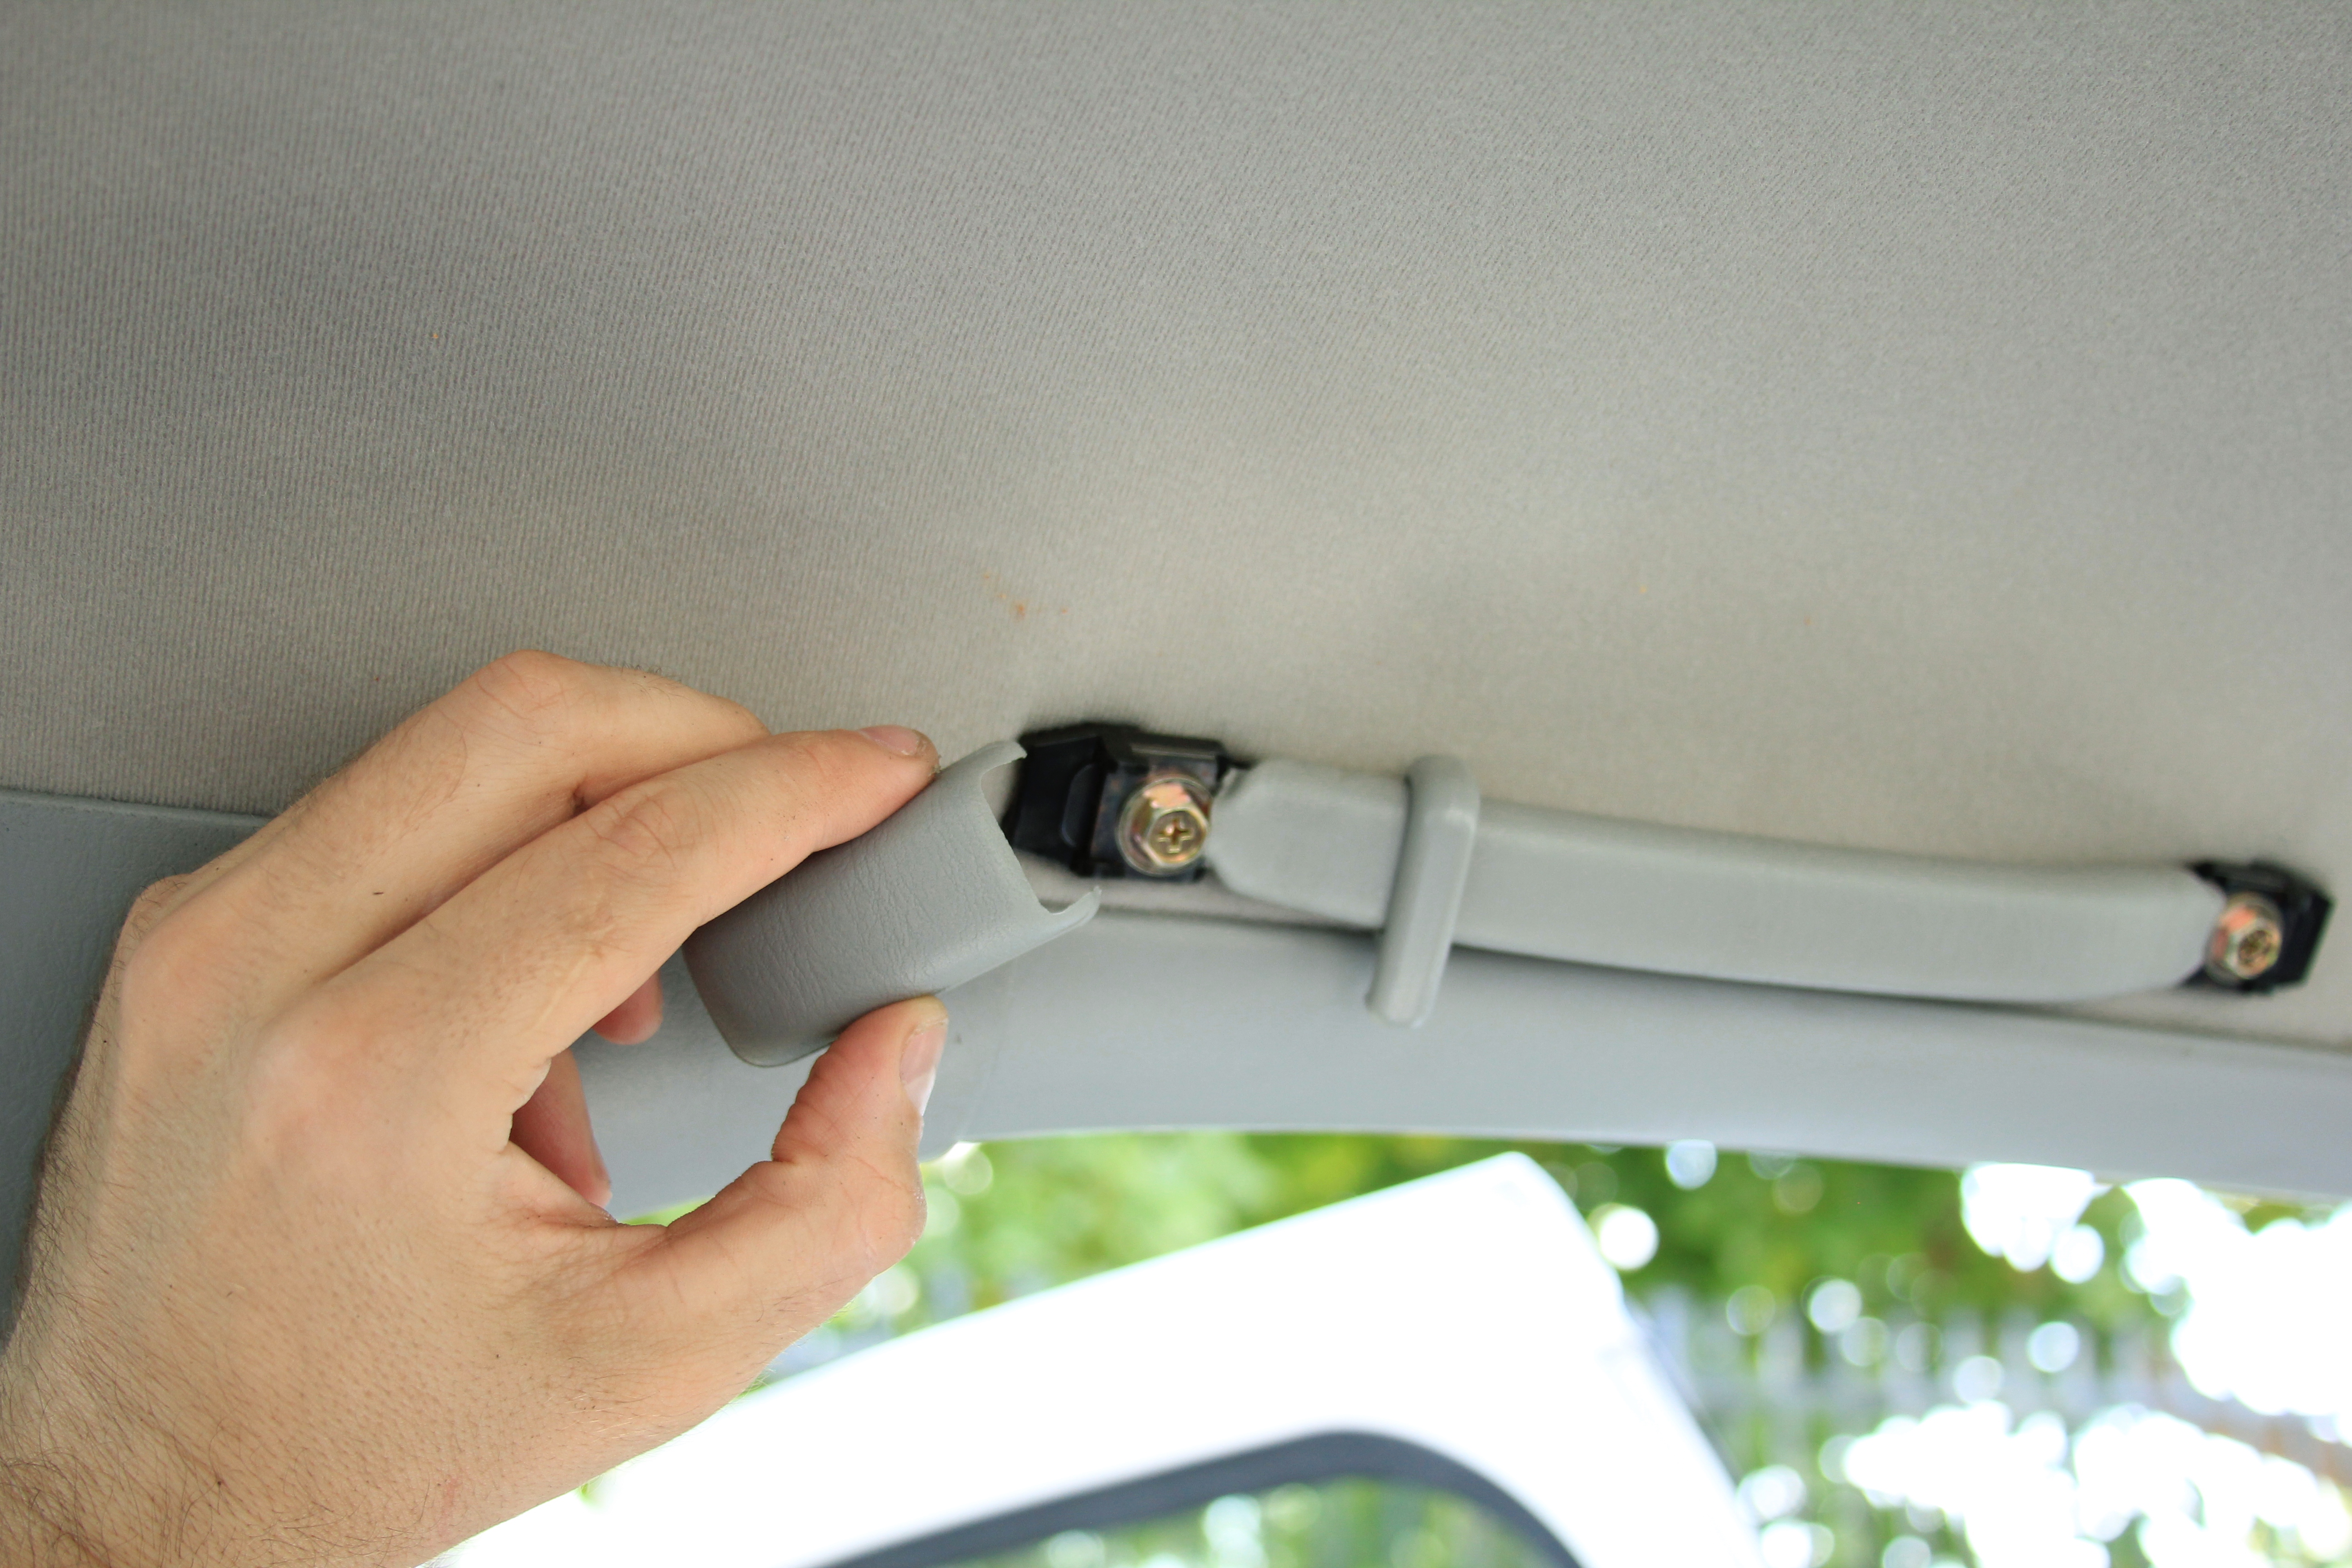
… and the only remaining parts is plastic panels. Before fitting panels make sure that black metallic brackets are on the panel, not inside slots on a car body otherwise you won’t be able to click panels back in place.
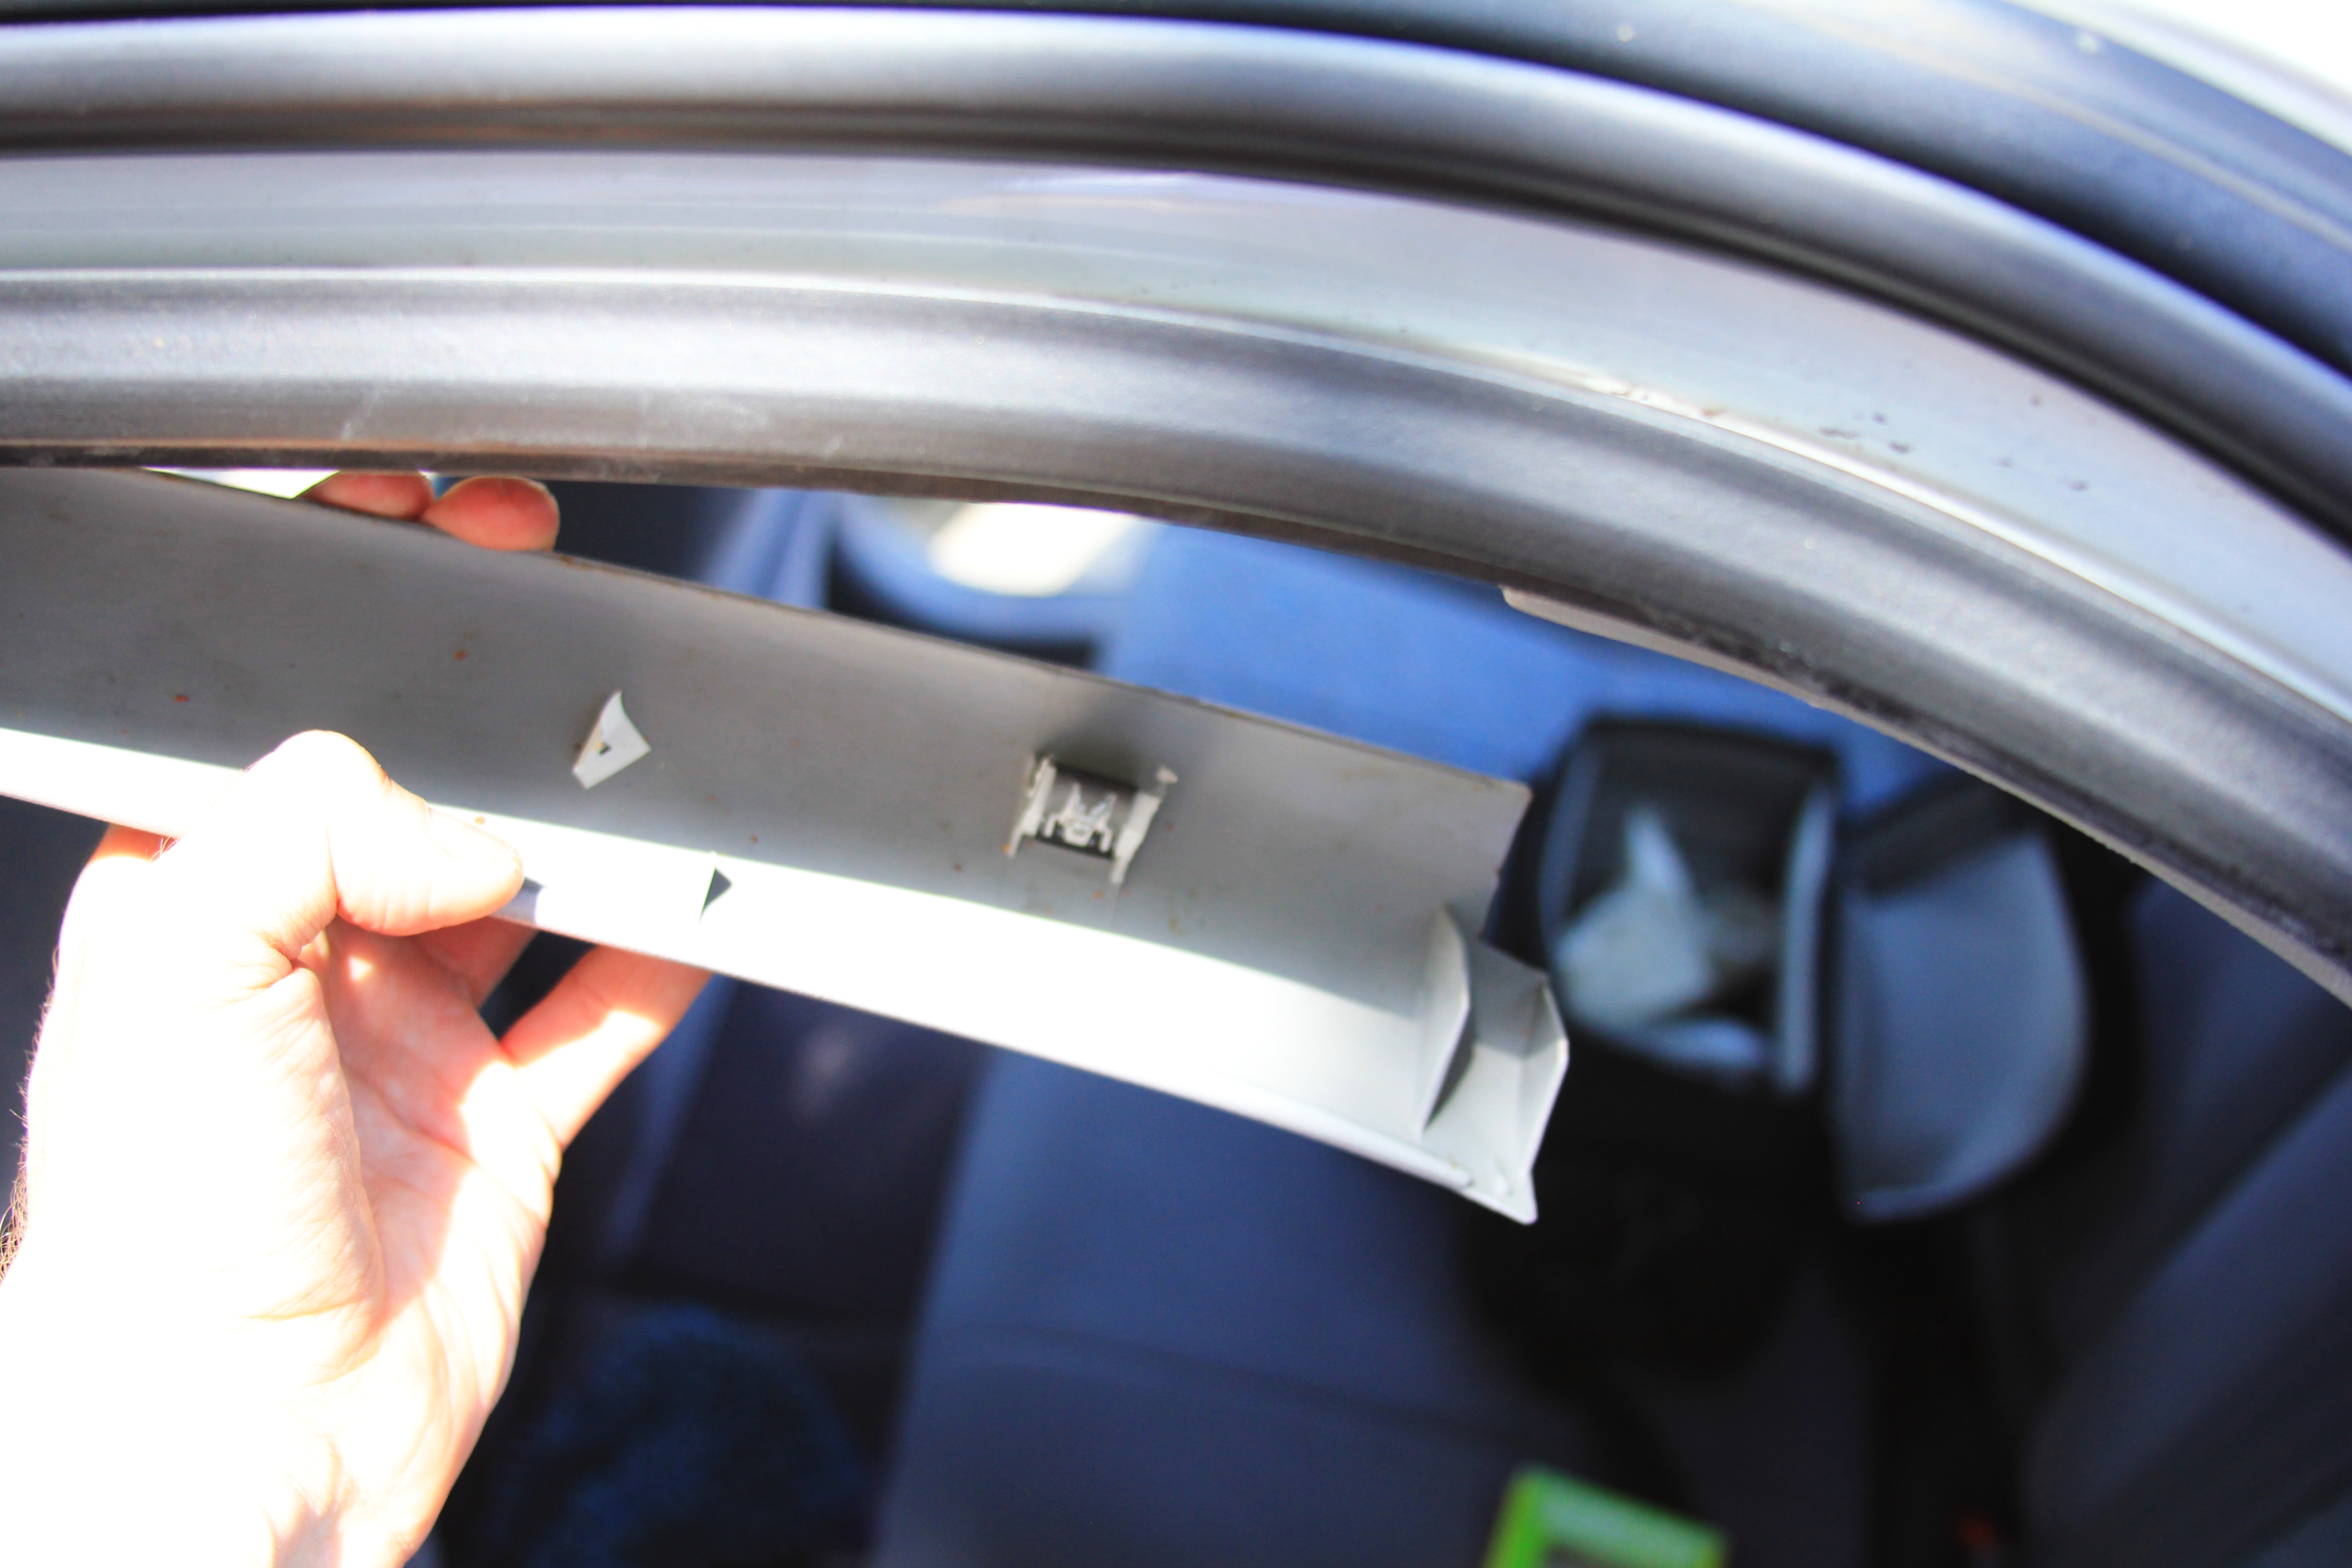
Securing Plastic Panels
Put power cable going from the front camera under the right front plastic panel as shown on the picture below. The cable then will go under the dashboard to a cigarette lighter socket where it will be connected with a SCA 3 way quick connect housing.
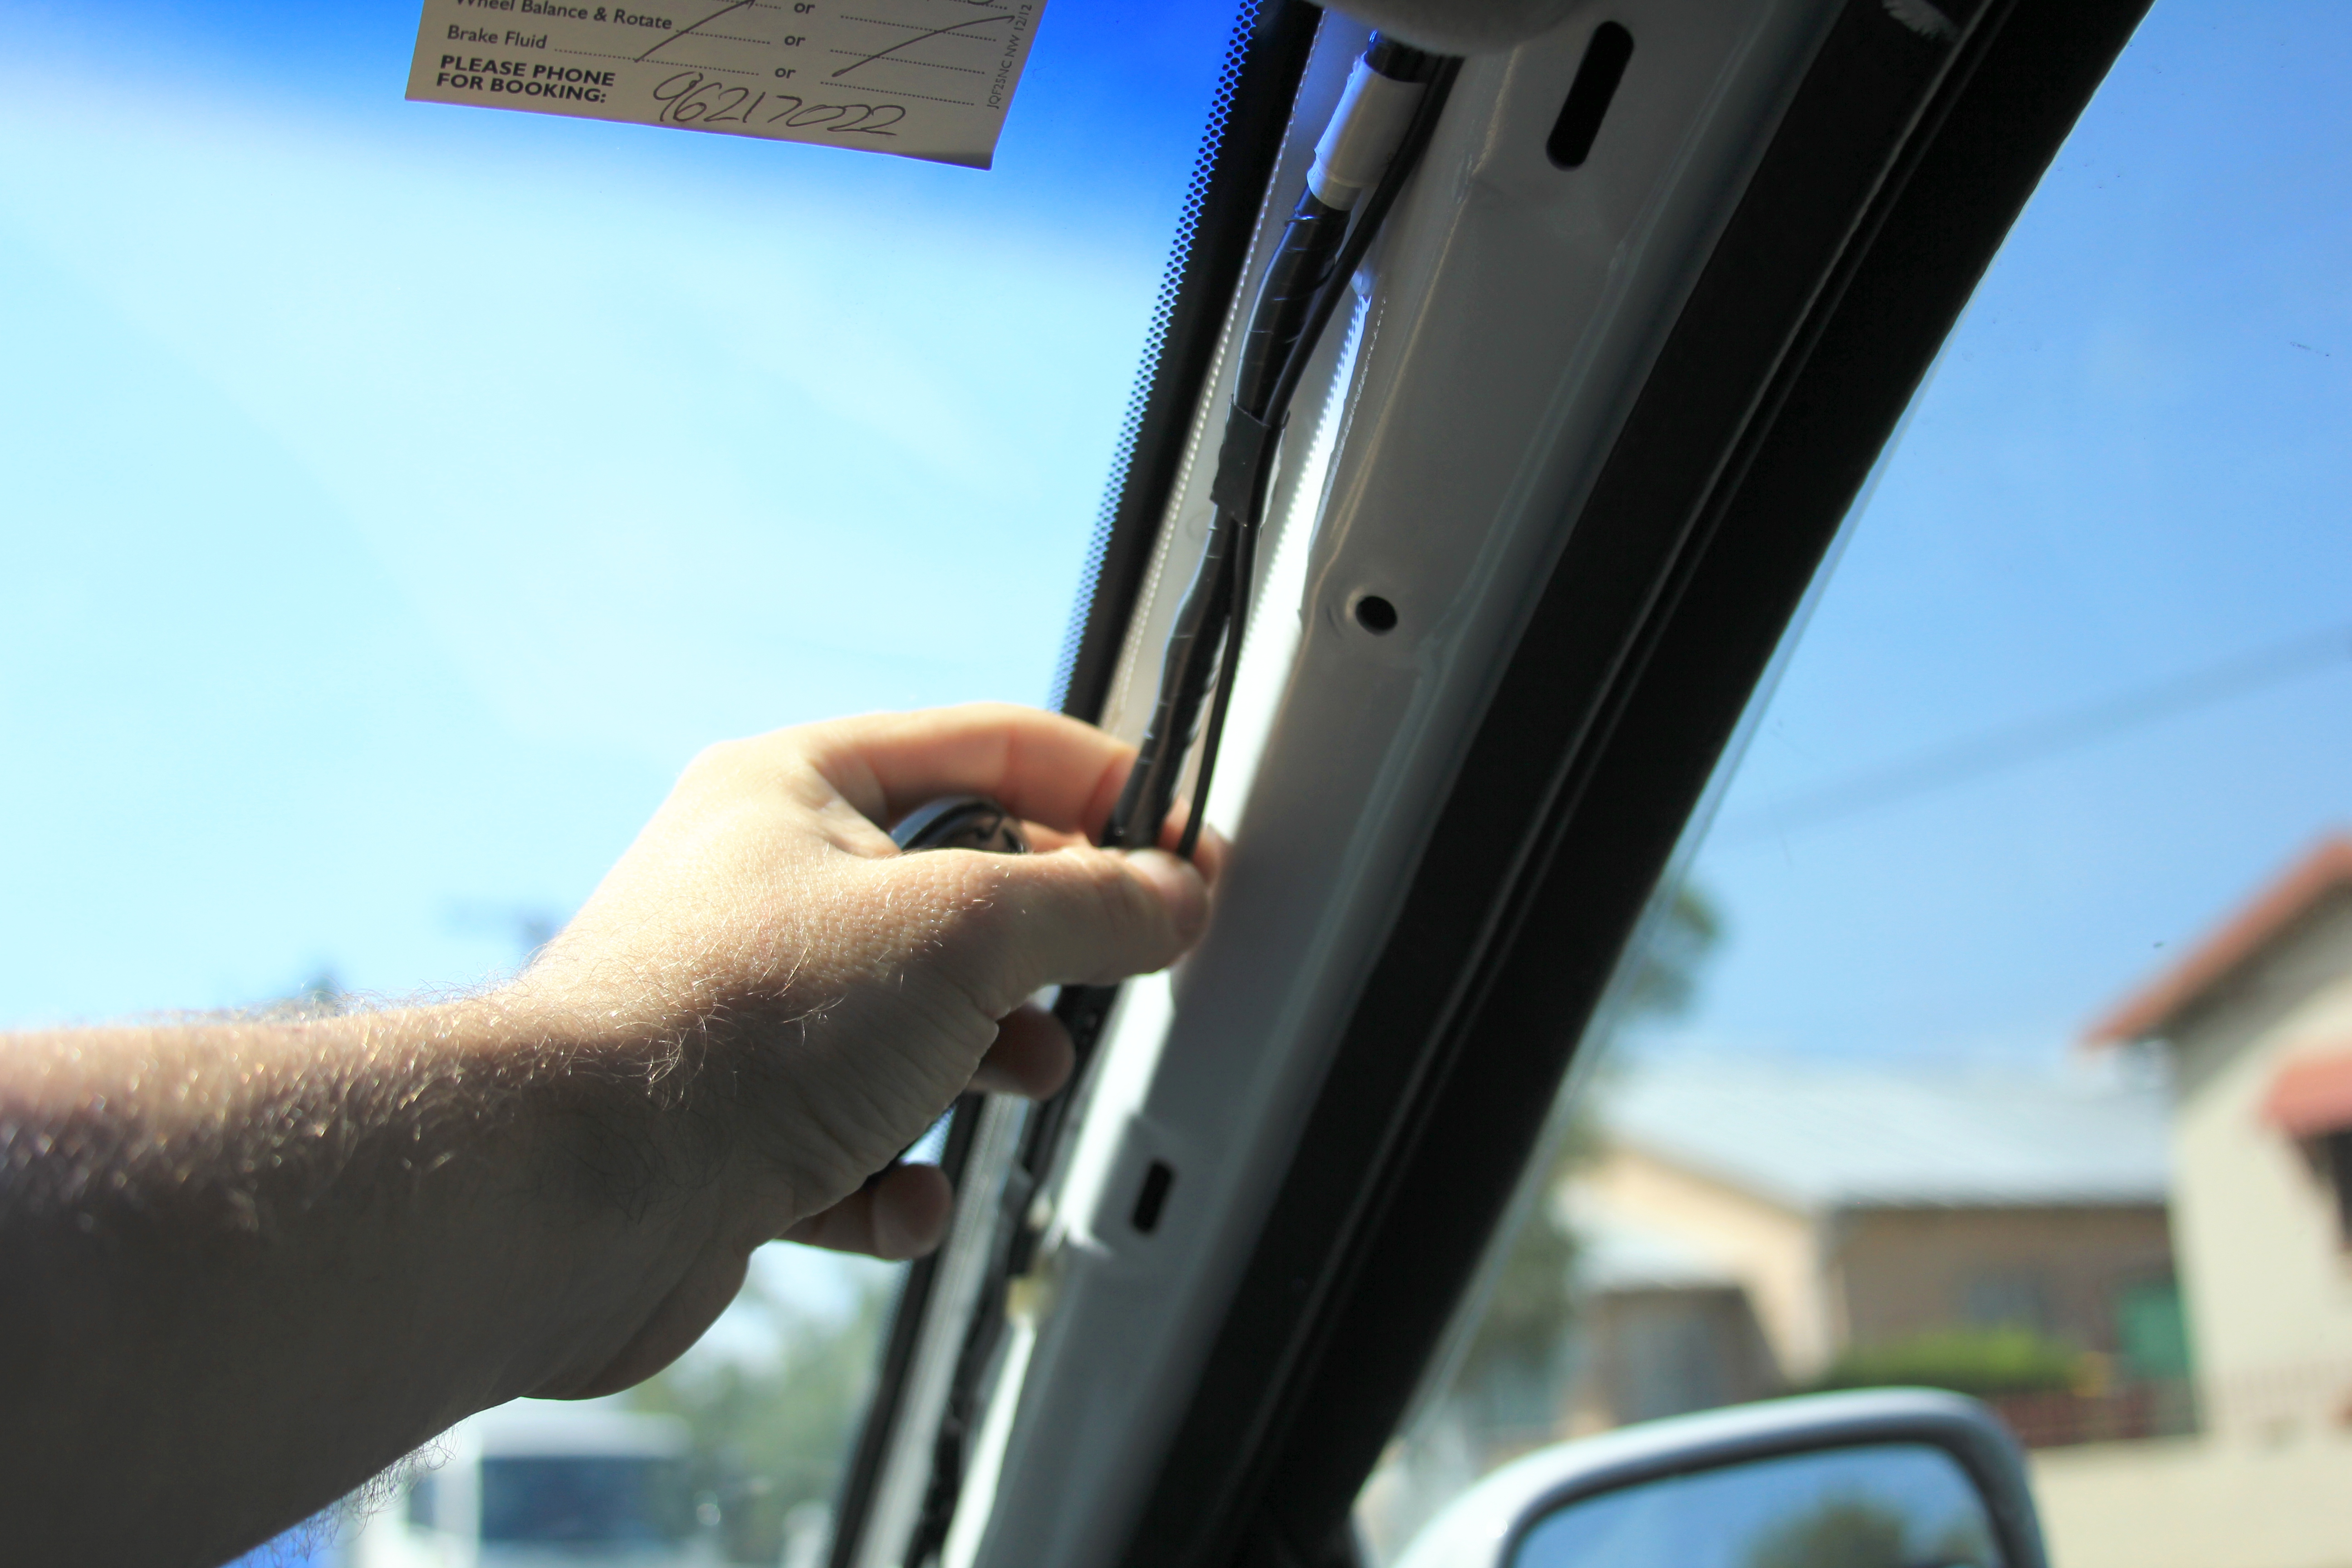
Camera Power Supply Cable
The final result of the fitted front camera is shown on the picture below. It is practically unnoticeable to the driver as it is positioned behind the mirror.
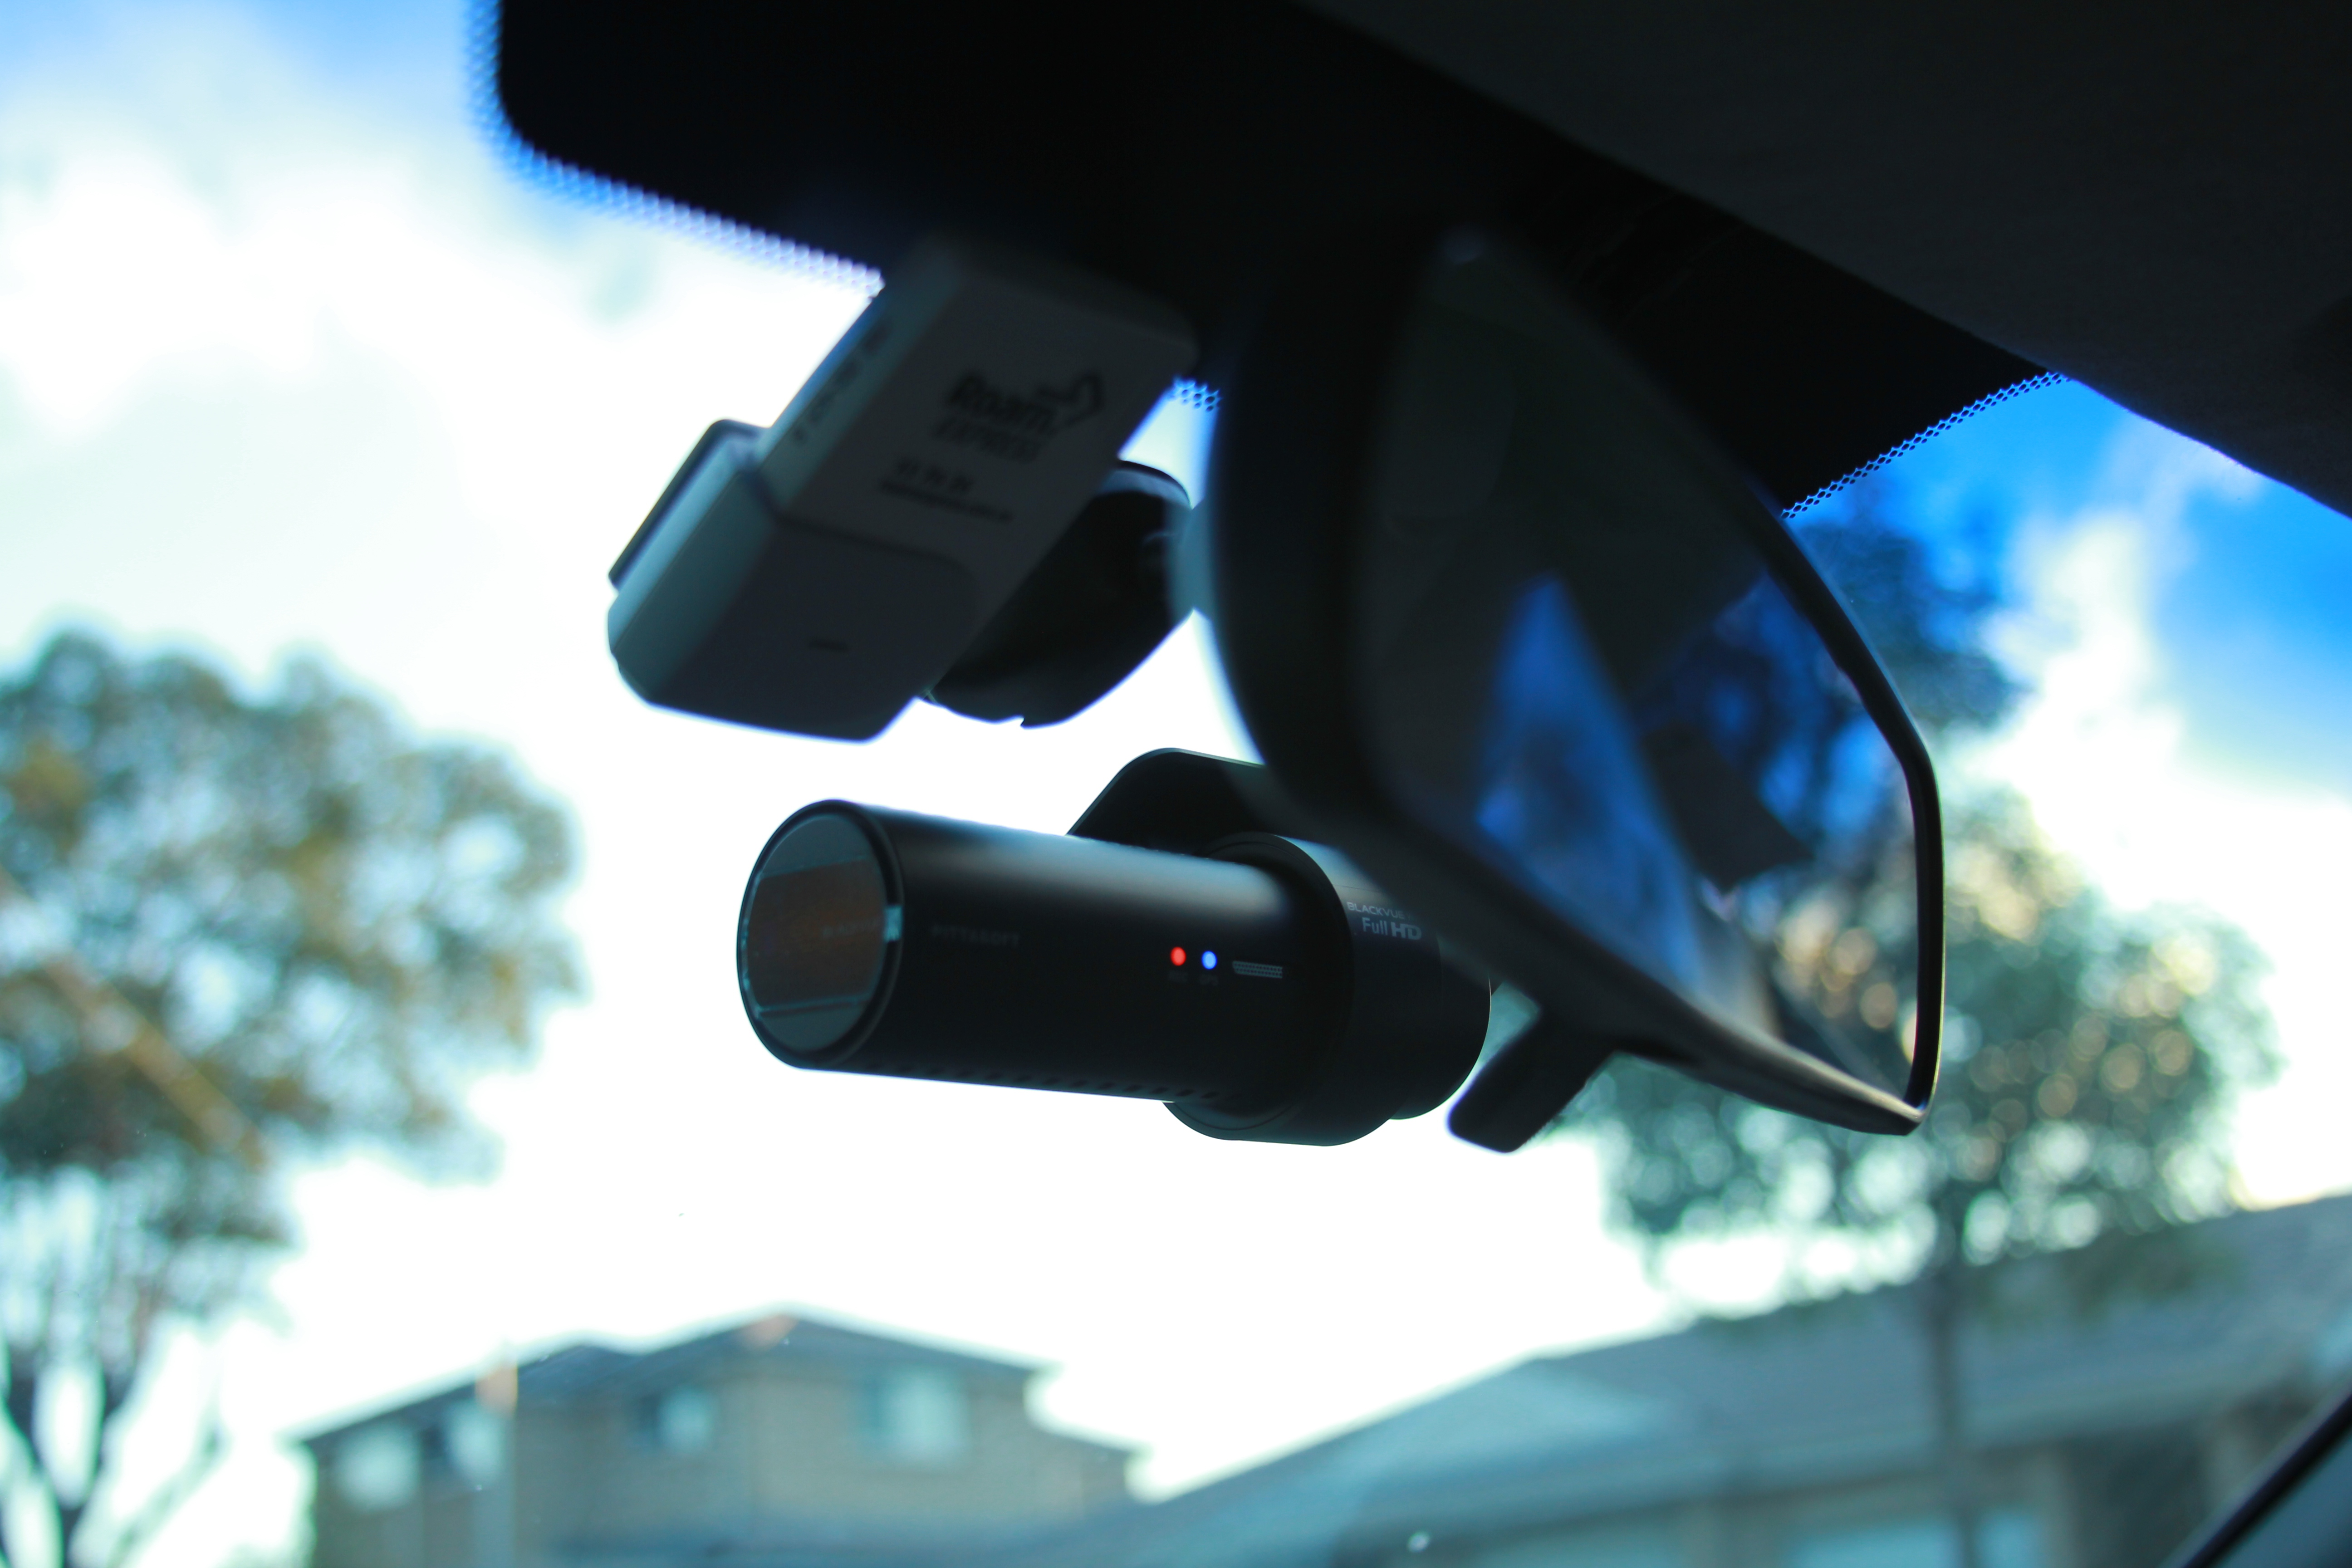
Front Camera Fitment
From another angle it is clearly seen how two cables (coaxial and power) disappear behind the panel that we just put back after repair.

Front Camera Fitment
The rear camera is also neatly mounted on the back with coaxial cable hidden under the panel.

Rear Camera Fitment
The two cameras in action can be seen in the following video:


Leave a Reply
You must be logged in to post a comment.