


Just recently we faced a problem when in order to lock/unlock doors of our Toyota Camry 1998 with a keyless entry remote we virtually had to be… inside the car as the remote’s effective radius shrank down to about 200 mm and even less! To make it worse, every subsequent button press led to even weaker signal up to a point when the remote was turning into an absolutely useless accessory. The cause for this was undoubtedly a battery in the 17-year-old remote. Quick Internet research suggested that a replacement for ‘such an old car’ is put in a ‘rarity’ category if judge by absolutely mindblowing price tag which normally starts from $80 on ebay! What is even more interesting, such things are claimed to be ‘genuine Toyota remotes’ but there is no a single word about their manufacturing date so we had some doubts about their longevity. And given that we needed to replace two remotes the prospect of paying $160 looked really daunting. So we decided to chose an alternative path.
First challenge was to open the shell to get access to the PCBA and battery. Two parts were fused together so chances of damaging plastic were relatively high. That is why before opening the thing we googled for a replacement and came out with 2 x TOYOTA Remote 1B shells for just $19.50 and free shipment on ebay. Going a bit further, two Lithium batteries cost us $0.99 each so the total typical expenses would look like this:
| Variant I – full replacement | |
| Item | Price |
|---|---|
| 2 x Keyless Entry Remote | 160.00 |
| Total | 160.00 |
| Variant II – battery and shell replacement | ||
| Item | Price | You save |
|---|---|---|
| 2 x Remote 1B Shell | 19.50 | |
| 2 x CR2032 Lithium battery, 2 pins | 01.98 | |
| Total | 28.48 | 131.52 |
To crack open the shell we used a couple of screwdrivers, one was thinner and used to make the seal weaker, the second one was used as a leverage. While doing it, keep in mind two things: 1) never mind the damage to the shell and 2) remember, that there is PCBA inside the shell which must be in good condition after the operation. The picture below shows an opened remote:
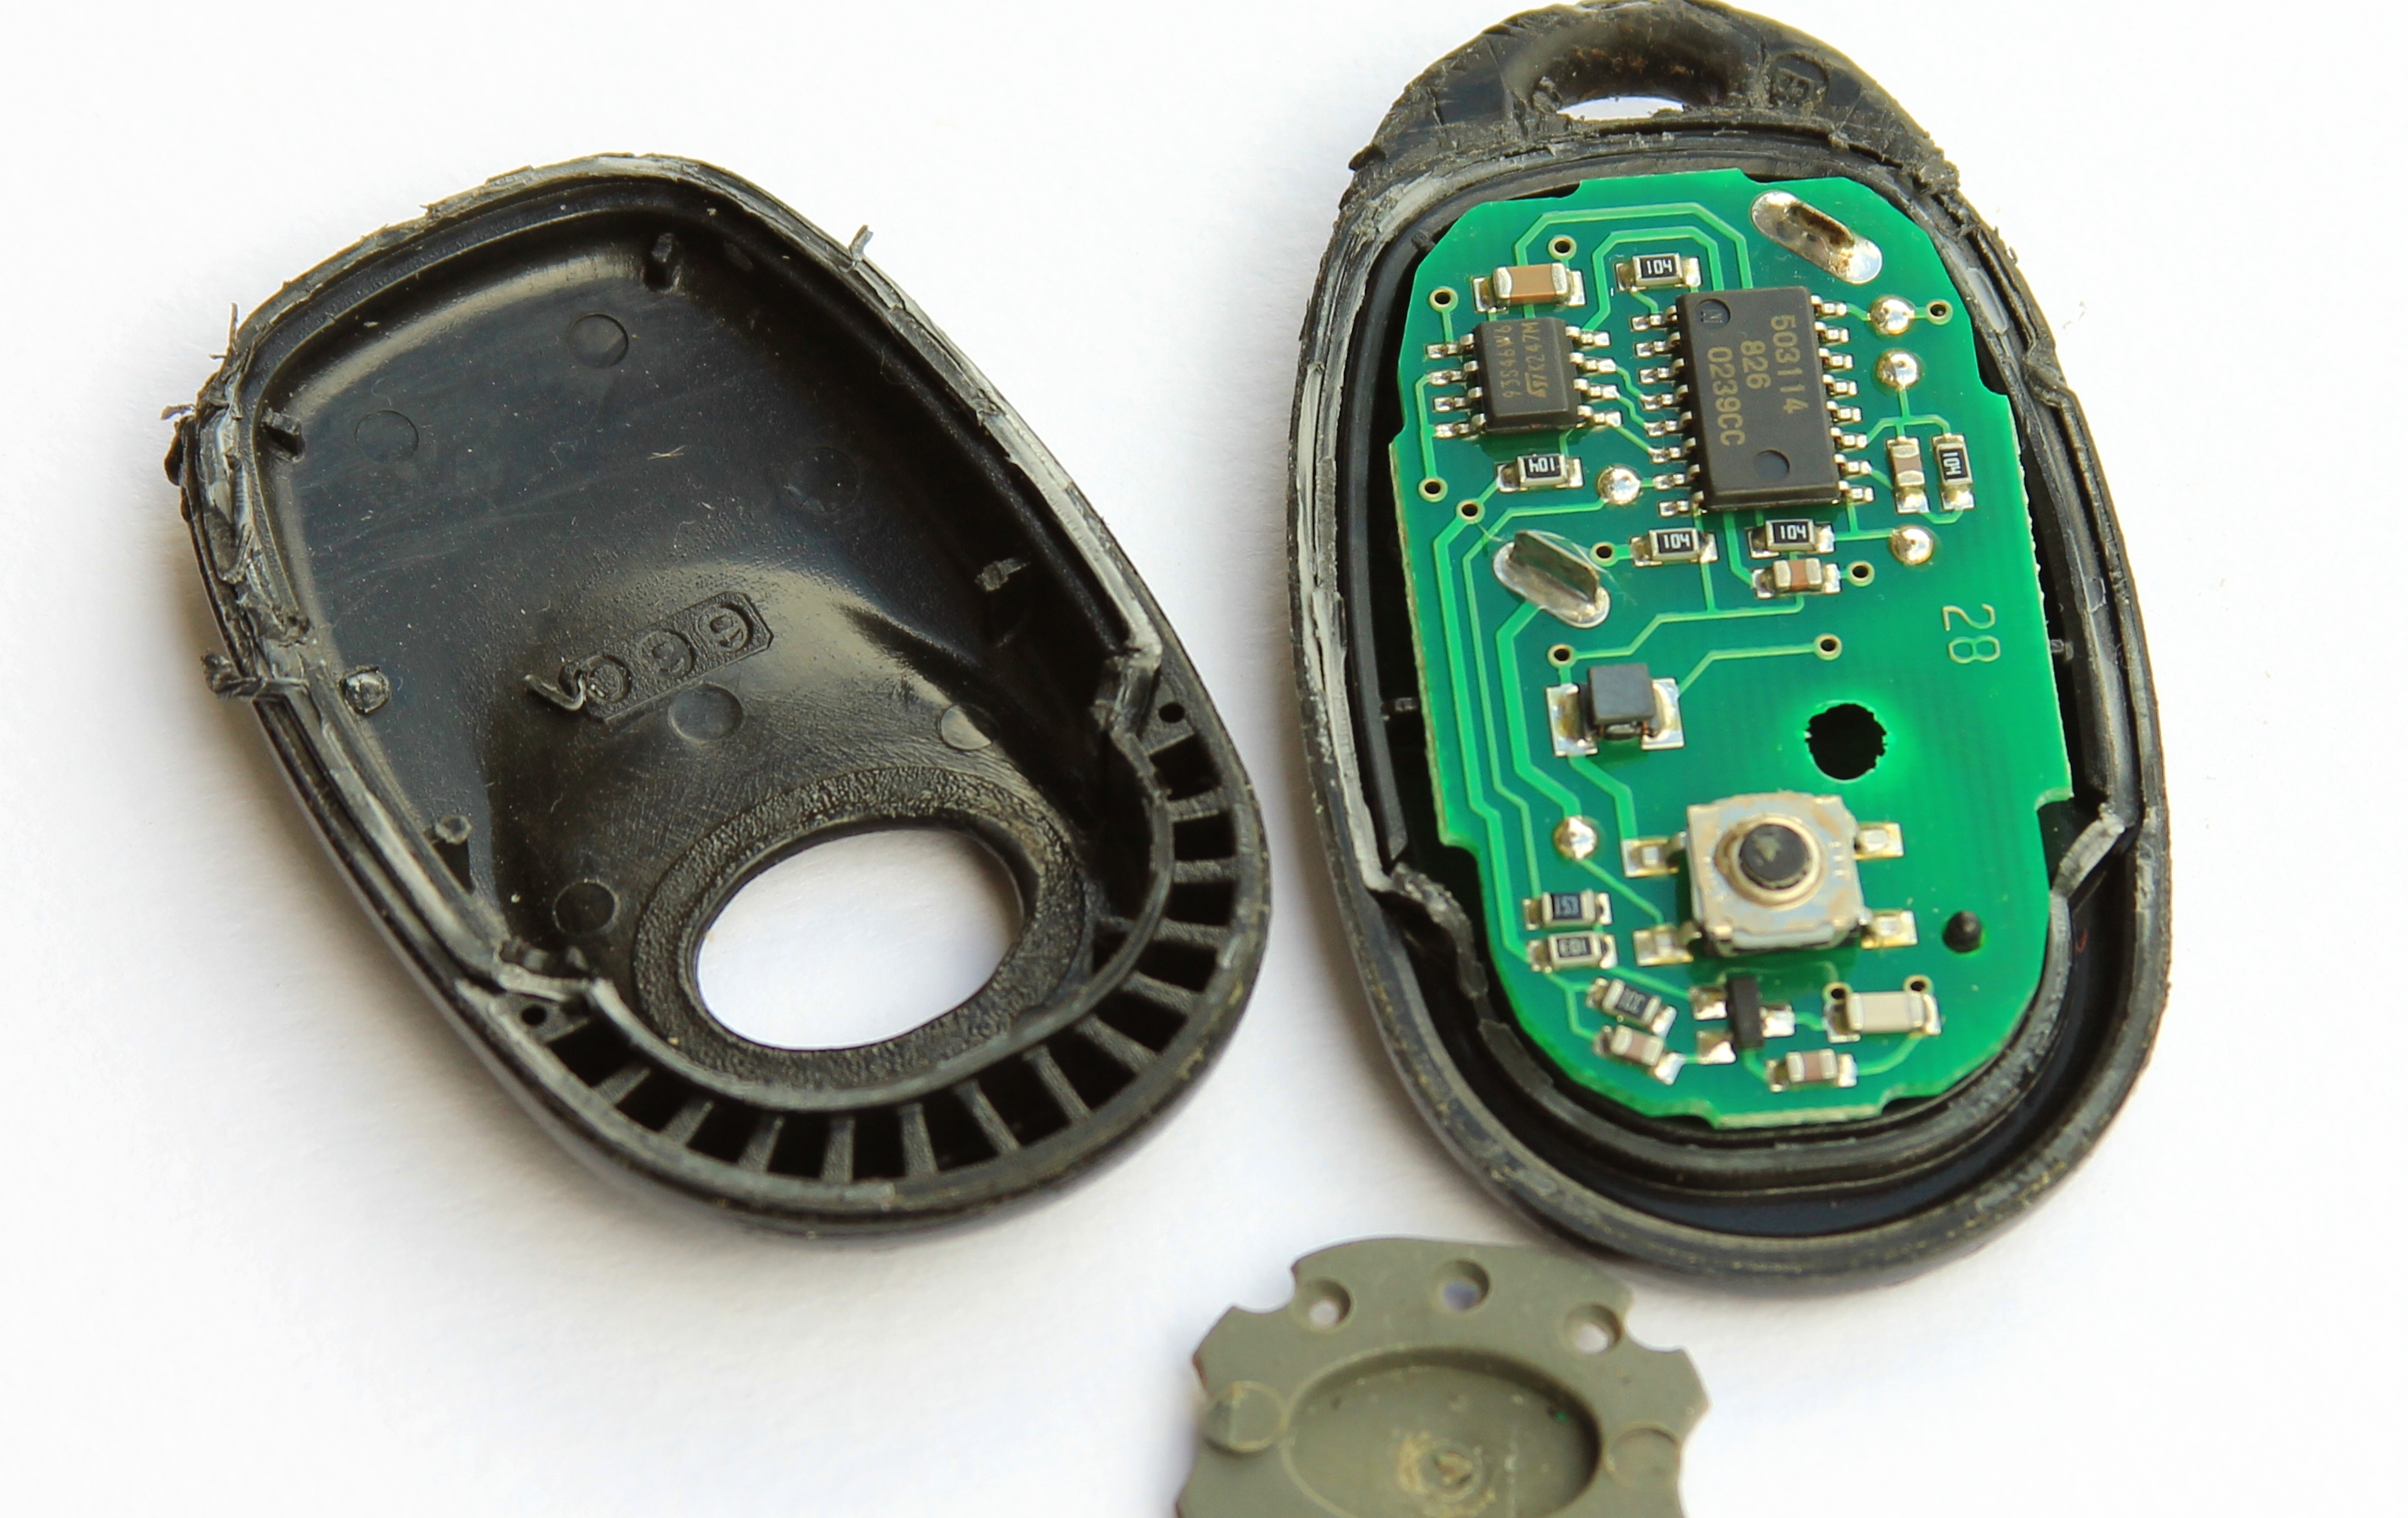
Keyless Entry Remote Cracked Open
On the next picture remote’s PCBA successfully extracted from the shell:
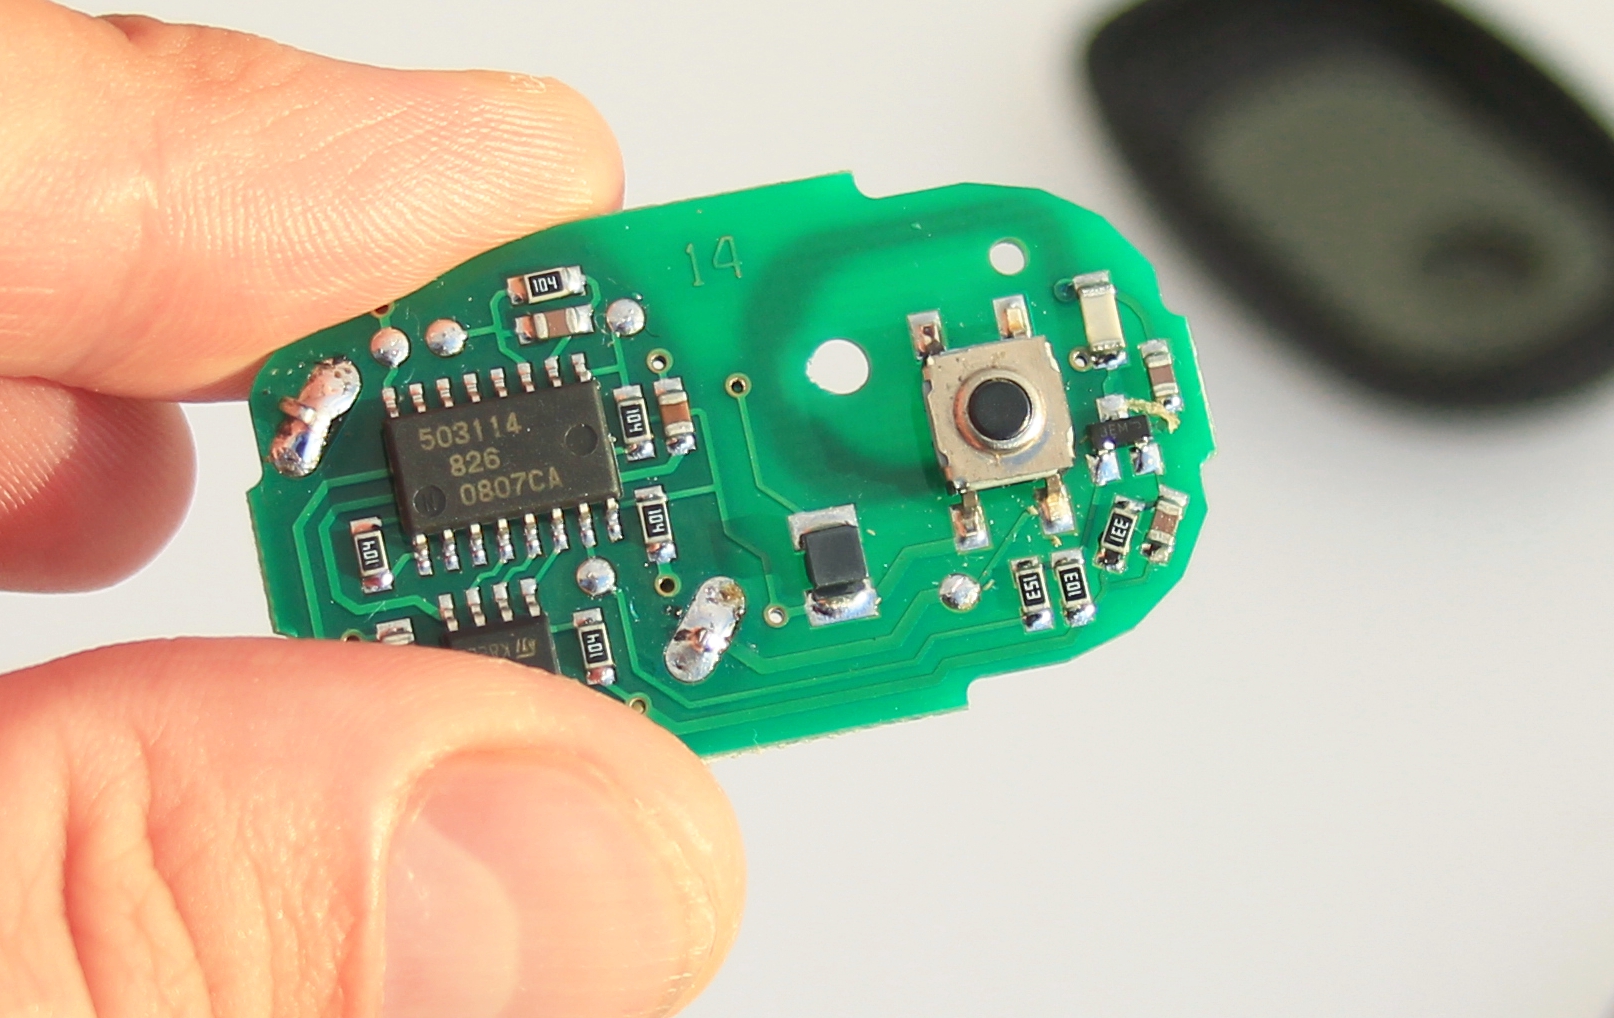
Toyota Camry 1998 Keyless Entry Remote PCBA
… and the opposite side of the PCBA reveals that there is no battery holder so we would need to use a soldering iron in order to do the replacement:
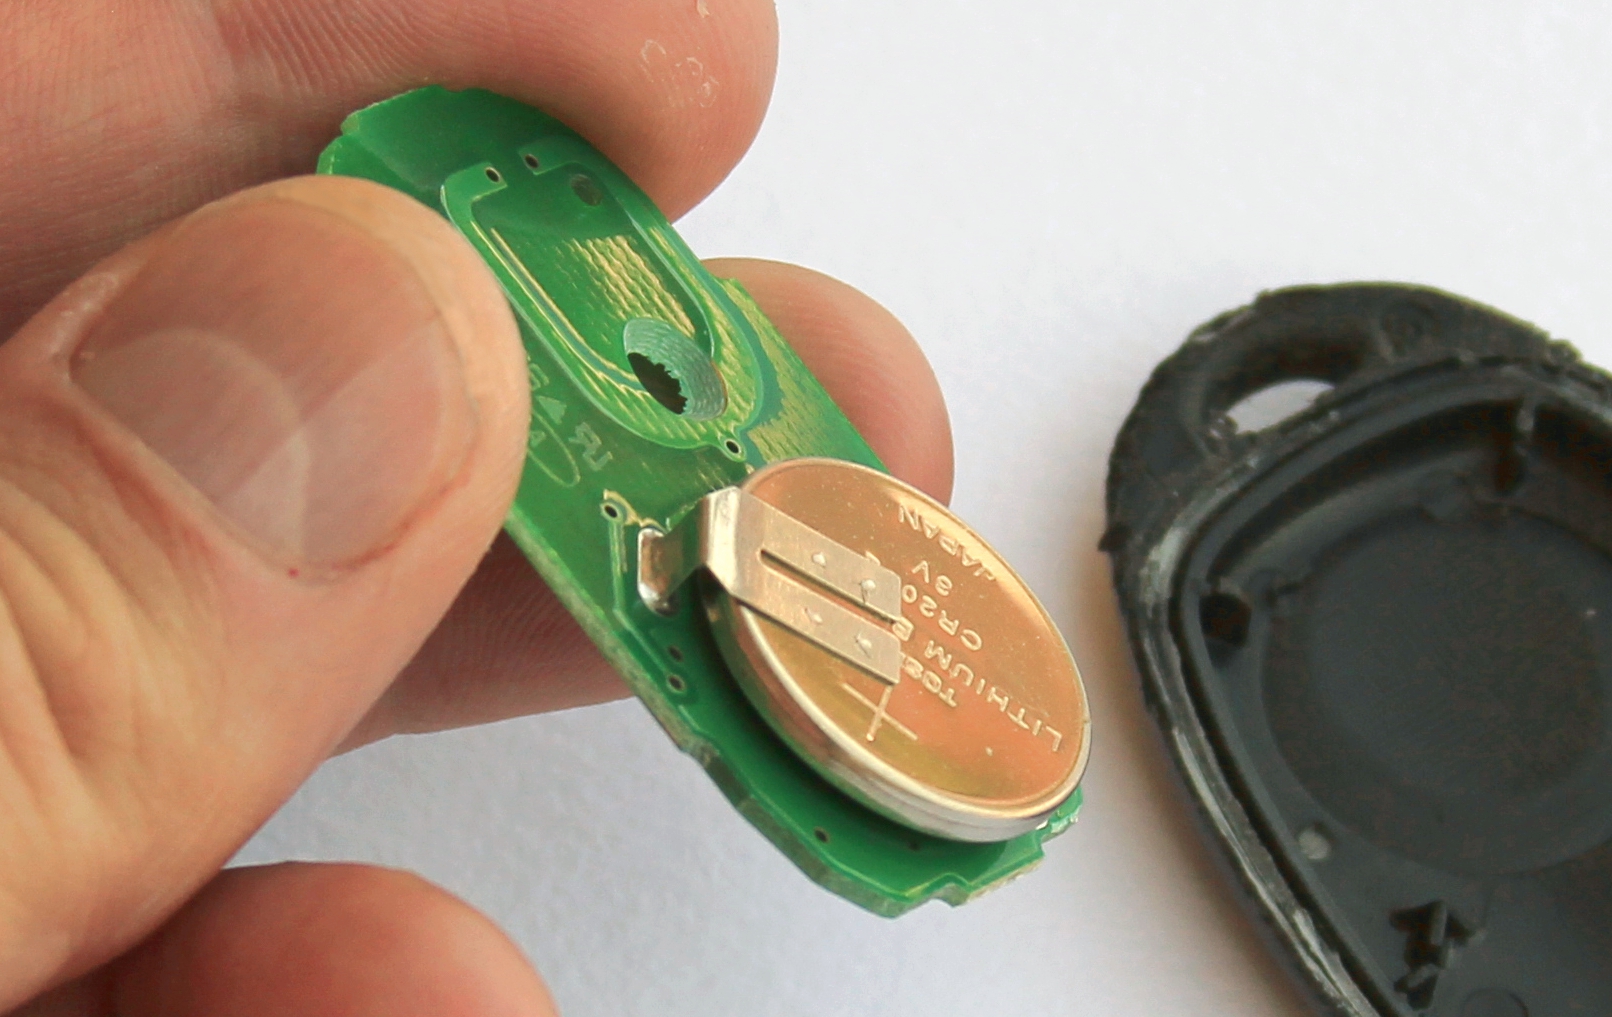
Toyota Camry 1998 Keyless Entry Remote PCBA Battery
The next picture below shows PCBA and battery for replacement. In our case it was CR2032 with pins. Be careful when ordering such batteries – make sure that the distance between two pins and battery’s height is what you really need. When soldering, try to minimise battery’s overheating. And of course ensure that the polarity is correct:
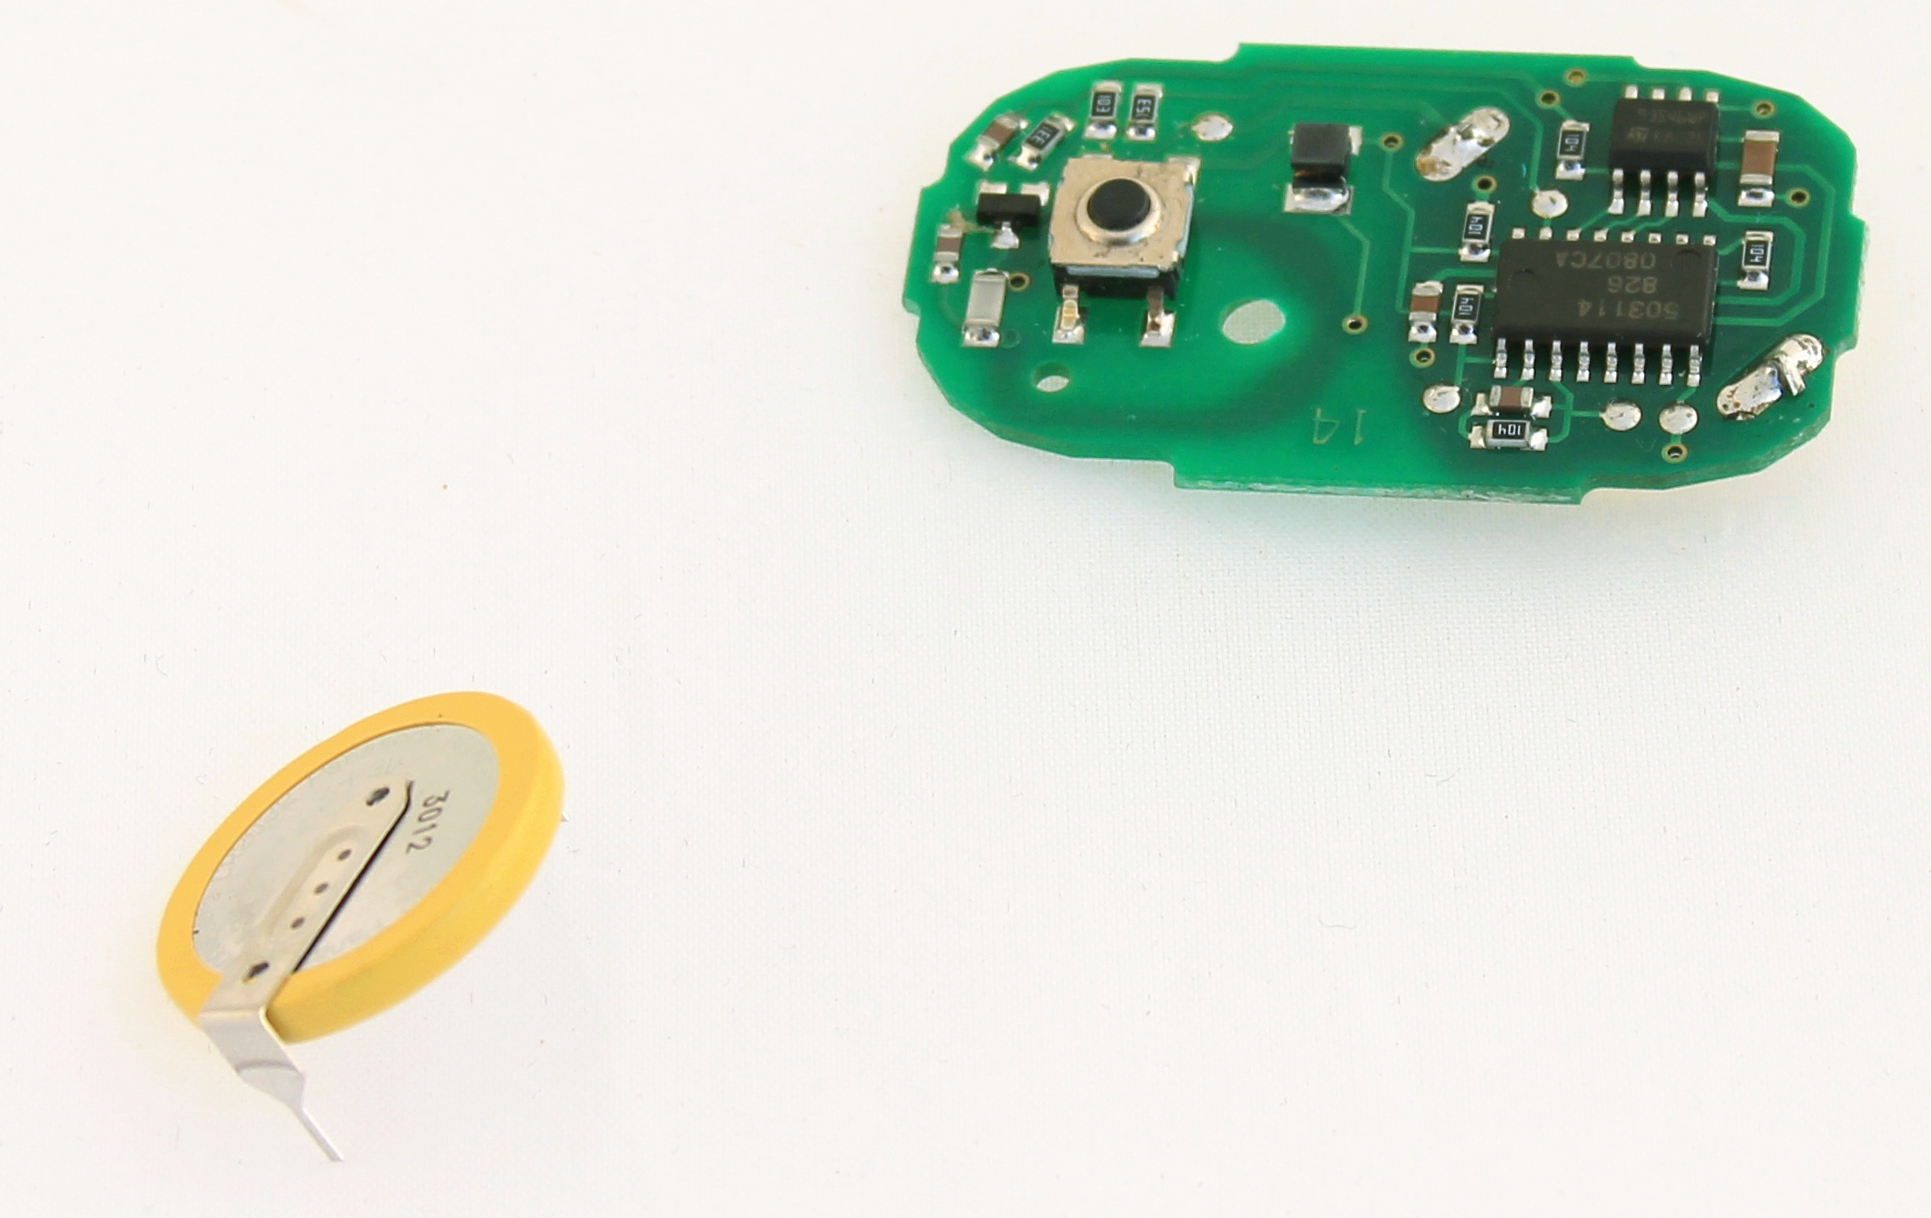
Toyota Camry 1998 Keyless Entry Remote Before Battery Replacement
The actual soldering is anything but difficult – all that needs to be done is to desolder and solder two pins:
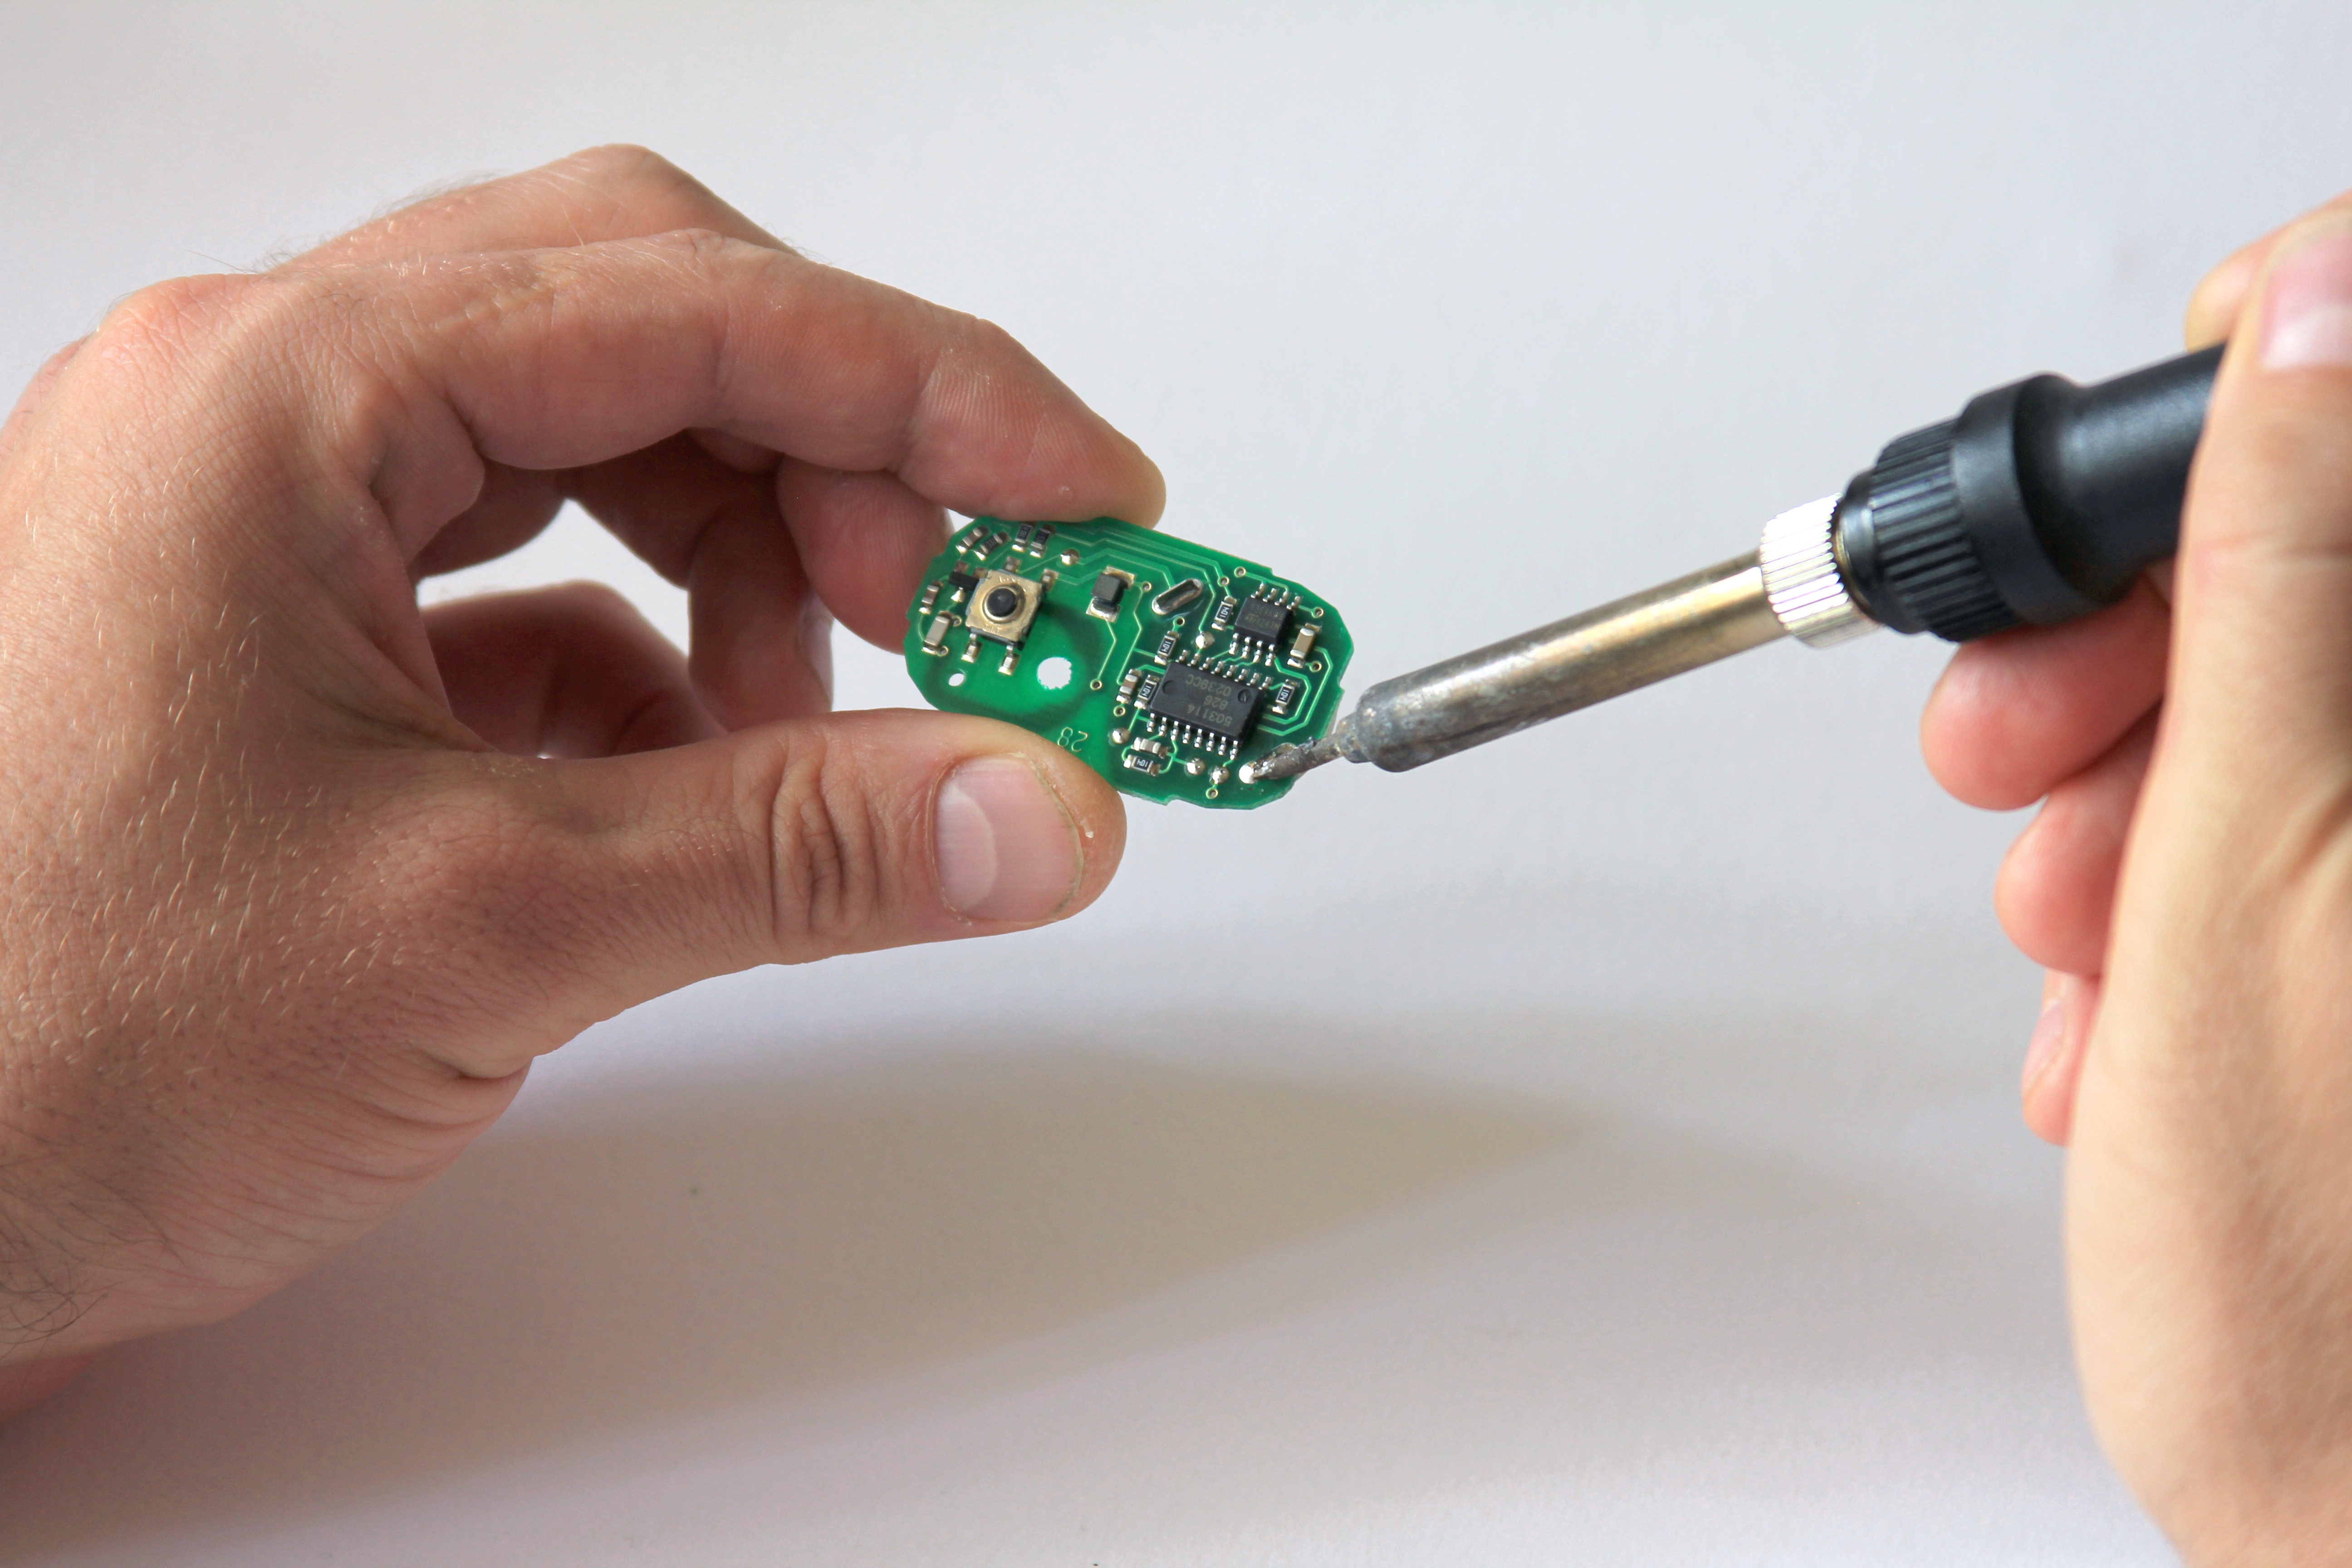
Soldering New Battery
When soldering is done, trim both pins:
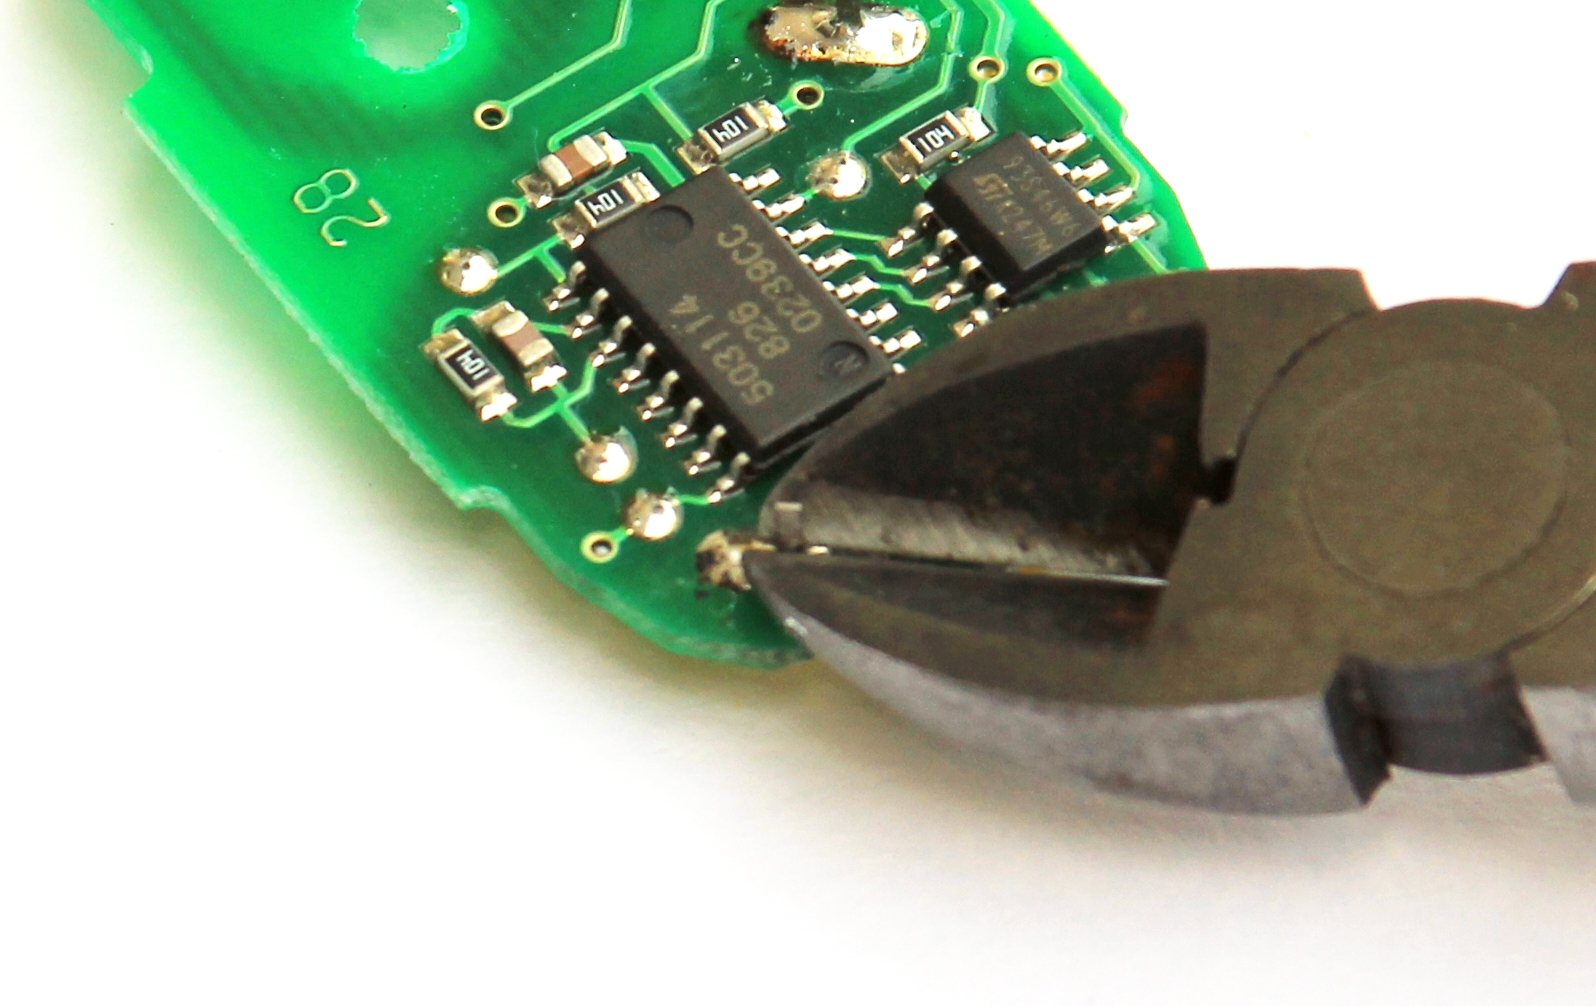
Trimming Battery Pins
The battery is finally replaced. Before putting into a new shell it is a good idea to go to your car and check that it works indeed:

Toyota Camry 1998 Keyless Entry Remote After Battery Replacement
Final step: putting the PCBA in a shell. It is a good idea to make sure that there are no chances for short circuit when two plastic parts hold your PCBA in place. In our case we also needed to trim rubber button as our microswitch on the PCBA remained always on.
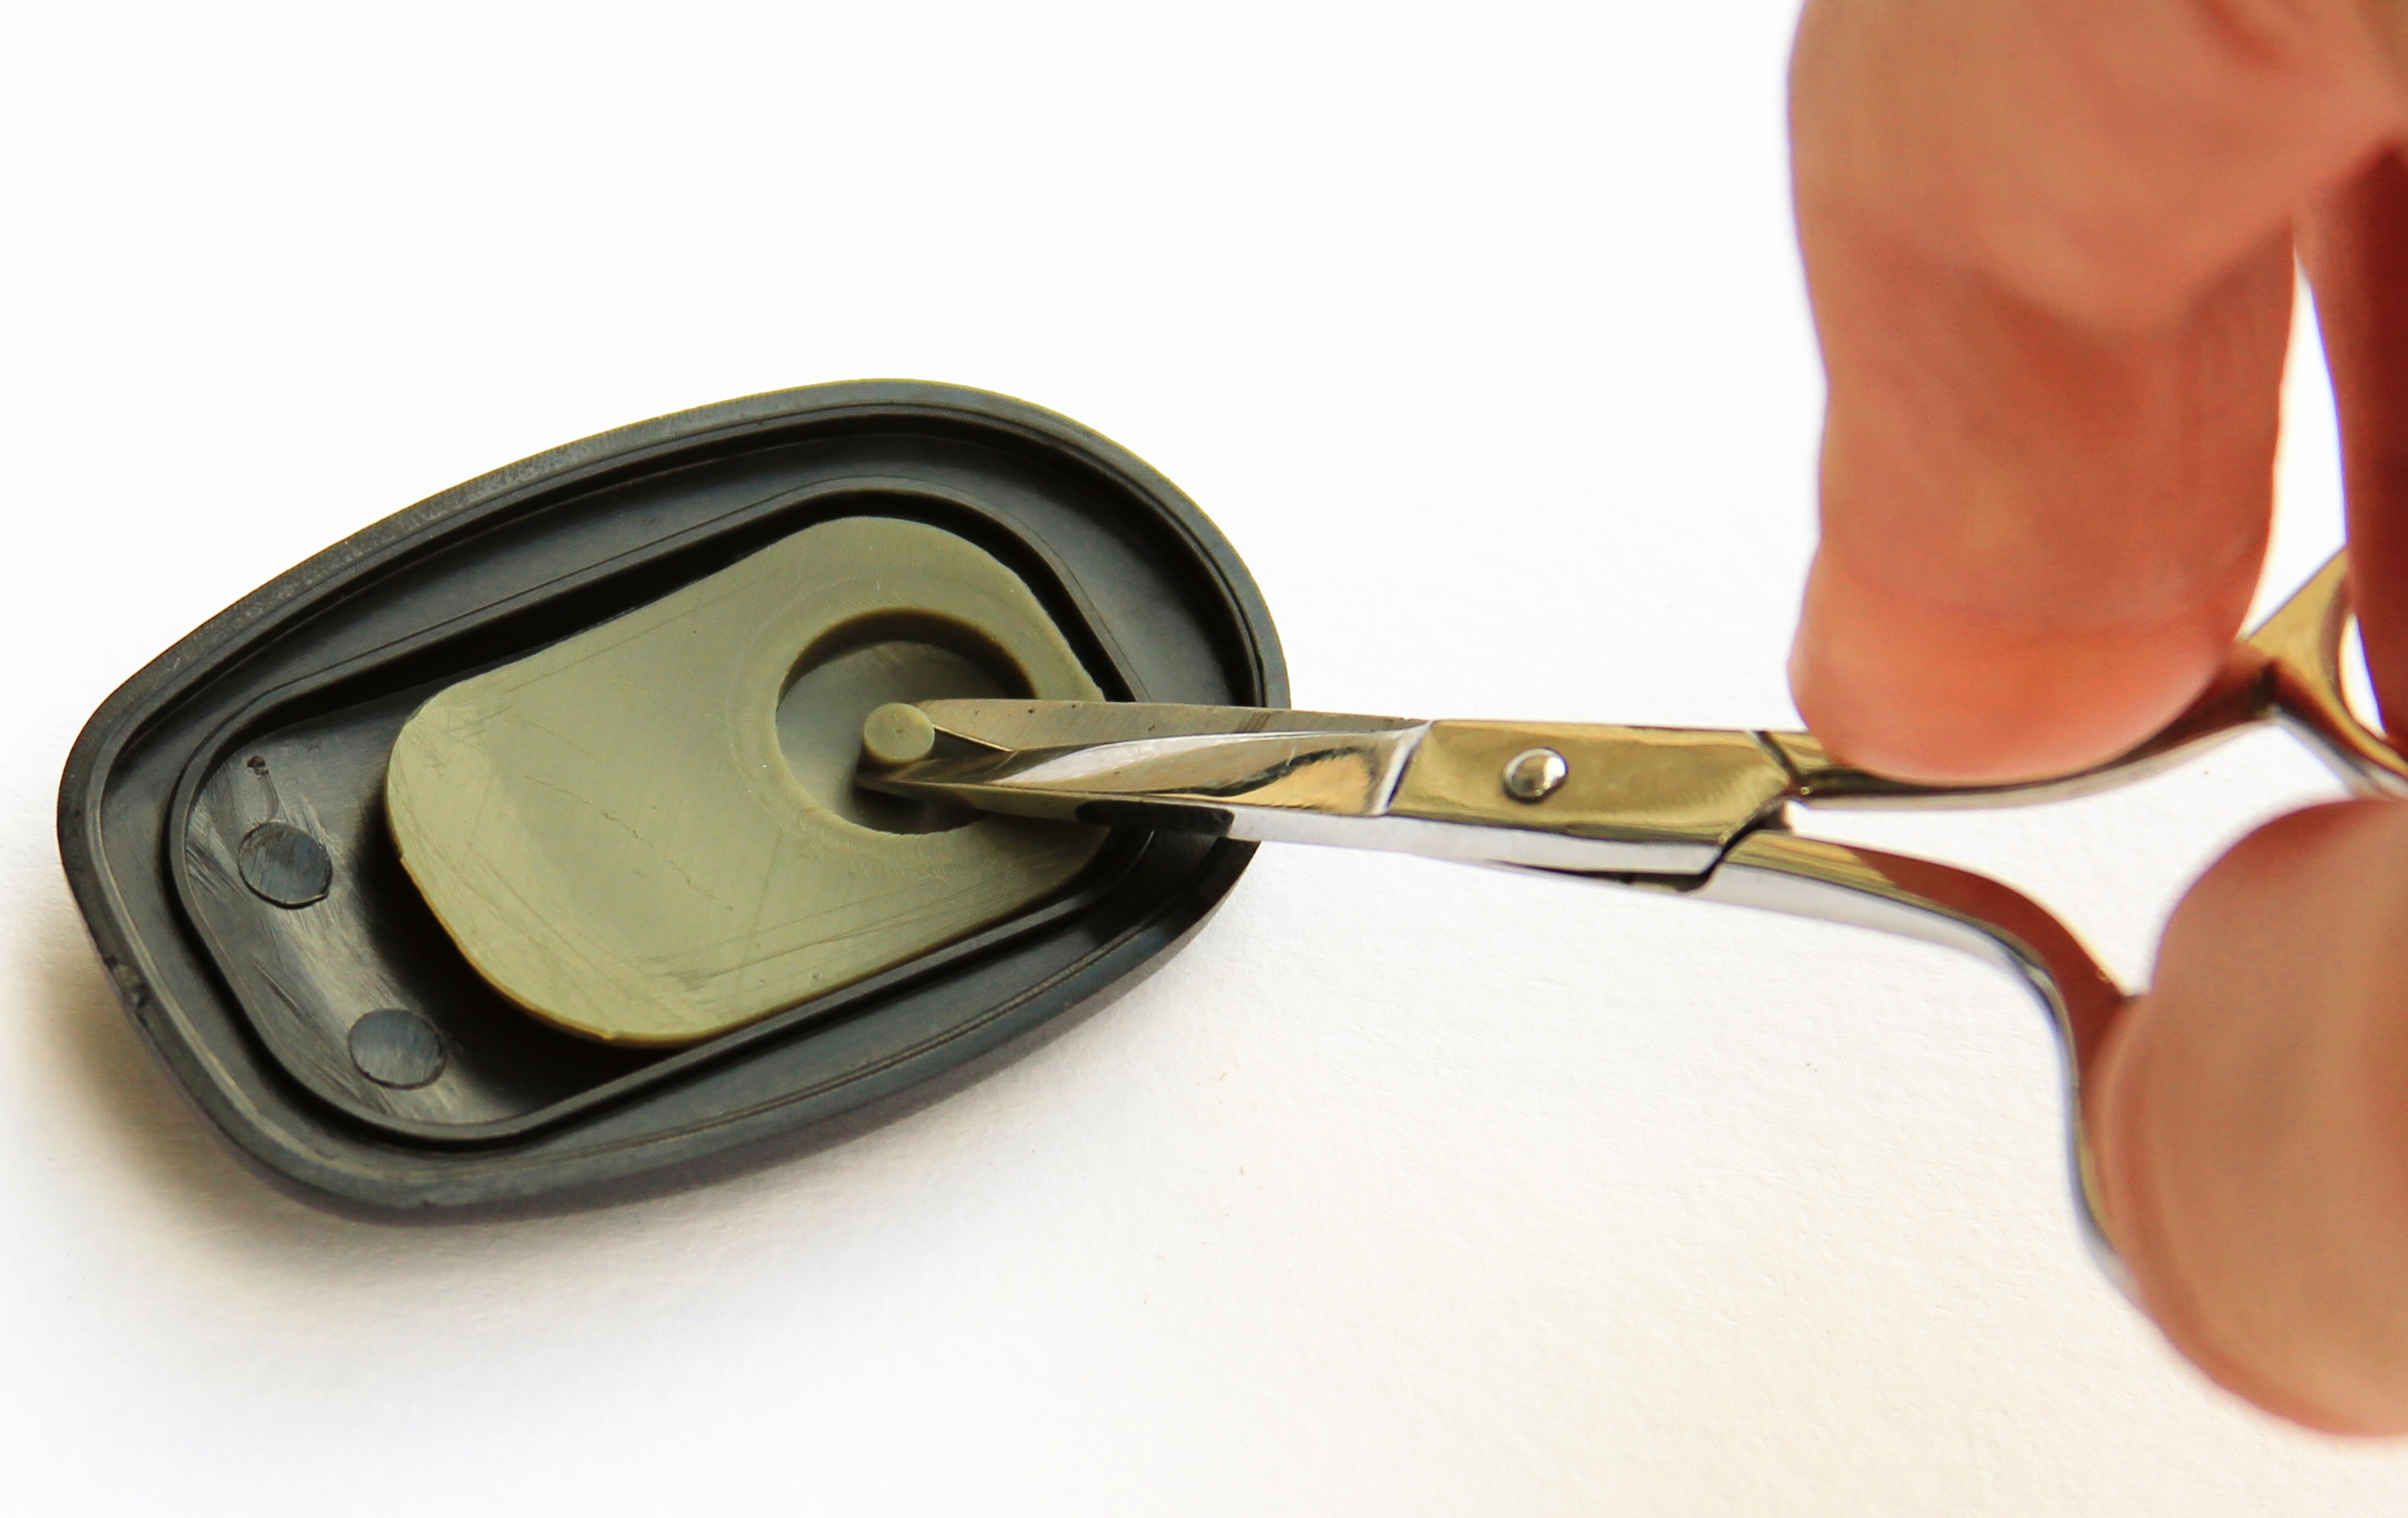
Trimming Rubber Button
The result of our effort is shown below:
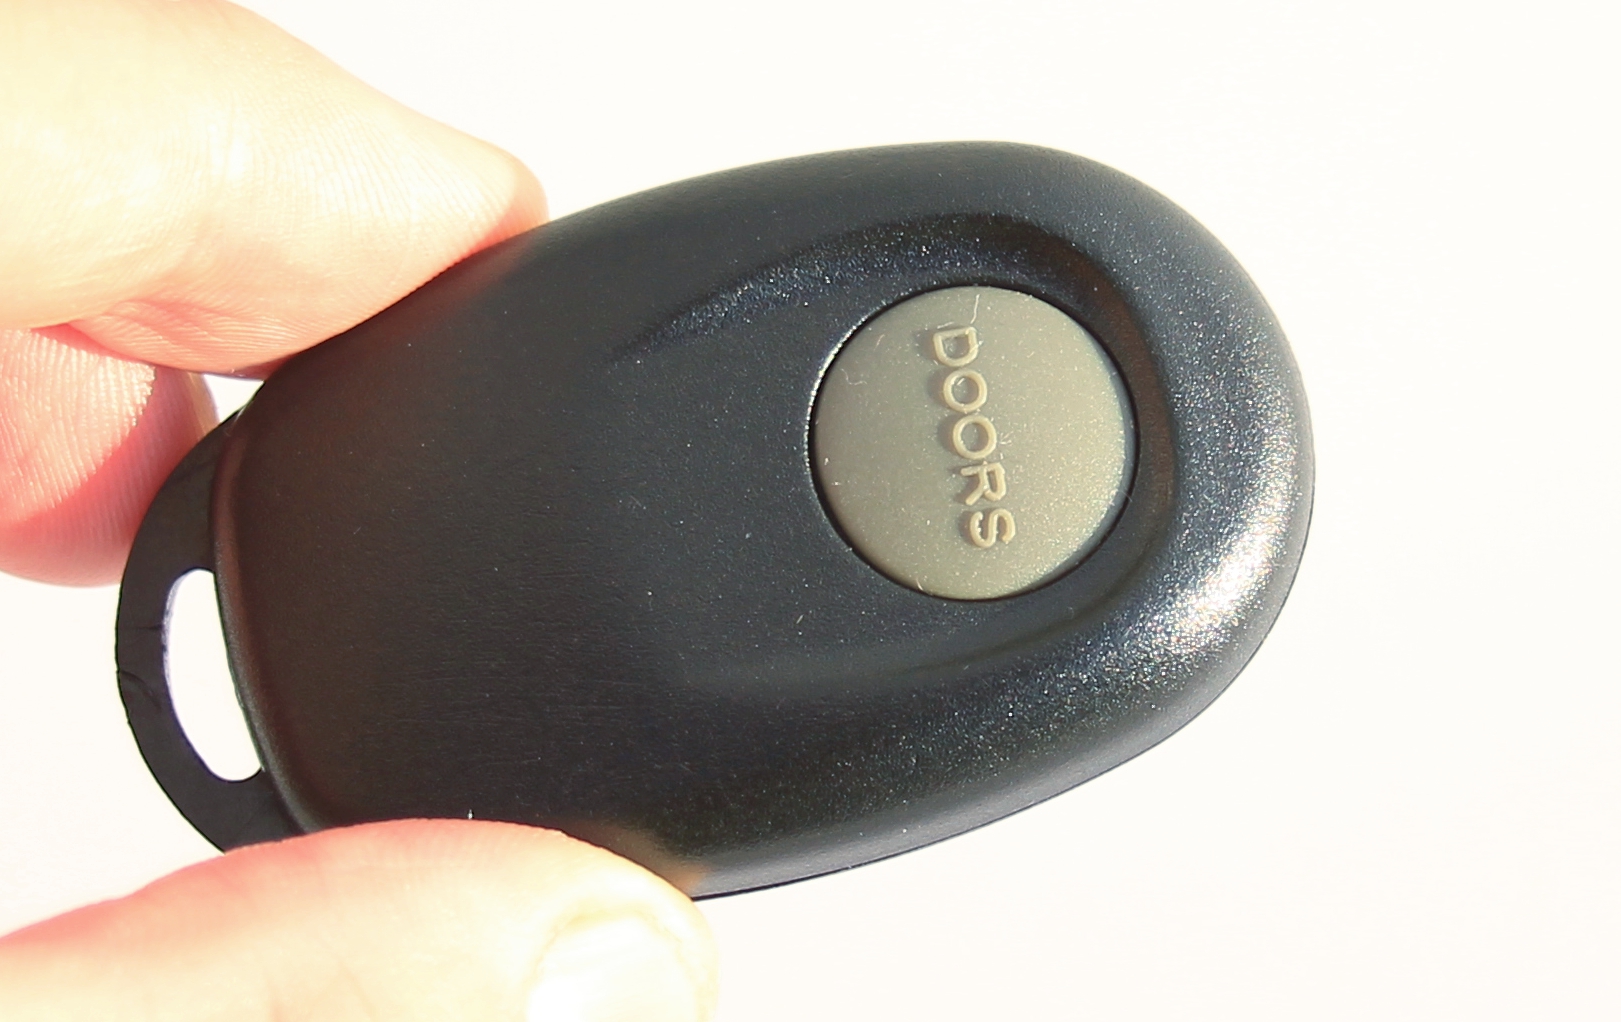
Toyota Camry 1998 Keyless EntryRemote In New Case
Although in this post we described set of actions for a specific make and model, we believe that the idea is applicable to the majority of modern (and not very modern) cars. The same basic principle remains: quite often it is more cheaper to replace just a few parts rather than replacing the whole module or accessory. In addition, you will gain more skills and dump less which is also beneficial for our planet.


Leave a Reply
You must be logged in to post a comment.